This post may contain affiliate links. Please read our disclosure policy.
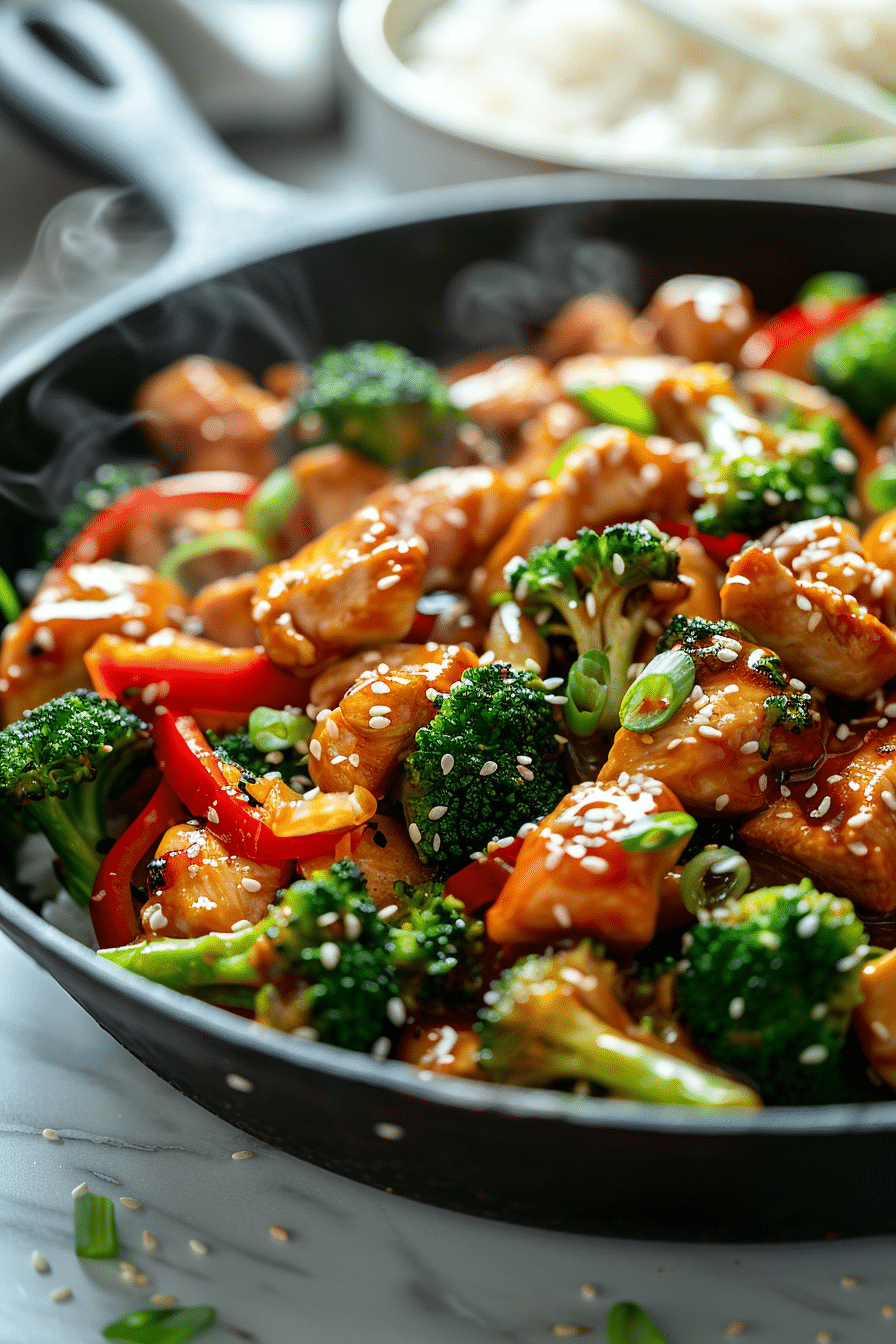
Looking for simple chicken recipes that don’t compromise on flavor? This Teriyaki Chicken Stir-Fry is about to become your go-to quick dinner idea. With tender chicken breast pieces, vibrant vegetables, and a glossy homemade teriyaki sauce, this dish brings the flavors of your favorite Asian restaurant straight to your kitchen no takeout required.
Table of Contents
Why You’ll Love This Teriyaki Chicken Stir-Fry
Weeknight dinners don’t have to be boring or time-consuming. This recipe proves that you can create a restaurant-quality meal in 30 minutes or less. The secret? Proper prep work and a blazing hot skillet. The cornstarch coating on the chicken creates an irresistibly crispy exterior, while the homemade teriyaki sauce clings to every piece of chicken and vegetable.
Unlike store-bought sauces loaded with preservatives, this homemade version uses simple ingredients you probably already have in your pantry. The balance of sweet brown sugar, savory soy sauce, and tangy rice vinegar creates a complex flavor profile that will have everyone asking for seconds.
Essential Equipment for Perfect Stir-Fry
The right tools make all the difference when preparing stir-fry dishes. A quality frying pan is essential for achieving proper heat distribution and that coveted golden-brown sear on your chicken. You’ll also need a reliable cutting board and sharp chef’s knives for efficiently prepping your vegetables and chicken.
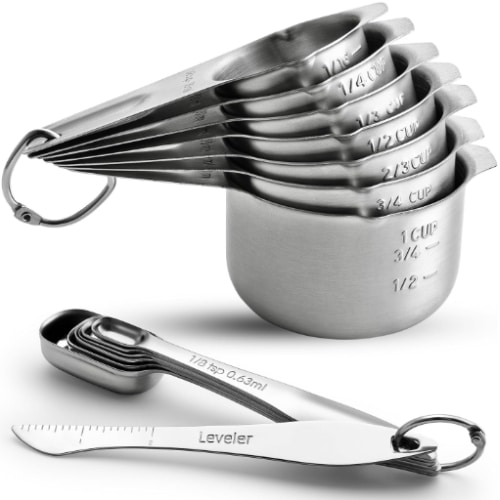
Don’t forget your measuring cups and spoons set for precise sauce preparation accuracy matters when balancing flavors. A good set of kitchen utensils, particularly tongs, will help you flip the chicken pieces with ease and toss everything together at the end.
Ingredients Breakdown
For the Chicken and Vegetables
| Ingredient | Quantity | Notes |
|---|---|---|
| Boneless skinless chicken breasts | 2 | Cut into 1-inch pieces |
| Garlic powder | 1/2 teaspoon | Enhances chicken flavor |
| Black pepper | To taste | Fresh ground preferred |
| Cornstarch (for coating) | 3 tablespoons | Creates crispy texture |
| Olive oil | 3 tablespoons divided | For cooking |
| Medium onion | 1/2 | Cut into bite-size pieces |
| Broccoli florets | 2 cups | Cut small for even cooking |
| Red bell pepper | 1/2 | Adds color and sweetness |
For the Teriyaki Sauce
| Ingredient | Quantity | Purpose |
|---|---|---|
| Chicken broth | 1/2 cup | Sauce base |
| Mirin | 3 tablespoons | Sweet rice wine |
| Soy sauce | 2 tablespoons | Umami and saltiness |
| Rice vinegar | 1 teaspoon | Tang and brightness |
| Brown sugar (packed) | 1/4 cup | Sweetness and caramelization |
| Cornstarch | 1 tablespoon | Thickening agent |
| Fresh ginger (grated) | 1 teaspoon | Aromatic warmth |
| Garlic (minced) | 2 cloves | Savory depth |
Step-by-Step Instructions
Preparation Phase
Before you turn on the heat, complete all your prep work. Stir-frying happens fast, so having everything ready is crucial. Use your cutting board and chef’s knives to cut your vegetables into uniform bite-size pieces. The broccoli should be cut smaller than the peppers and onions since it takes slightly longer to cook.
Grab a mixing bowl and whisk together all the sauce ingredients. This only takes a minute but ensures even distribution of the cornstarch, preventing lumps later.
Coating the Chicken
Cut your chicken breasts into 1-inch cubes for optimal cooking. In another bowl, toss the chicken pieces with garlic powder and black pepper. Add the 3 tablespoons of cornstarch and stir until every piece is evenly coated. This coating is the secret to achieving that addictive crispy texture.
Cooking the Chicken
Heat your frying pan over medium-high heat and add 2 tablespoons of olive oil. Let the pan get properly hot this takes 2-3 minutes. Resist the urge to rush this step; a hot pan is essential for browning.
Cook the chicken in two batches to avoid overcrowding. Shake off excess cornstarch before adding each piece to the pan. This prevents burning and ensures even browning. Cook the first batch for 4 minutes, then flip using tongs and cook for another 3-4 minutes until golden brown and cooked through. Transfer to a plate and repeat with the remaining chicken, adding the third tablespoon of oil.
Cooking the Vegetables
If your pan looks dry, add a small splash of olive oil. Add the onions first and cook for 1 minute, stirring frequently. Then add the broccoli and red bell peppers. Cook for 3 minutes, stirring often, until the vegetables are tender-crisp. They should still have a slight bite nobody wants mushy vegetables in their stir-fry.
Bringing It All Together
Return the cooked chicken to the pan with the vegetables. Give your sauce a quick whisk (the cornstarch settles), then pour it into the pan. The sauce will bubble and thicken almost immediately in less than a minute. Stir constantly to ensure everything gets coated in that beautiful, glossy teriyaki sauce. Remove from heat and serve immediately.
Pro Tips for the Best Results
Temperature Control: Keep your heat at medium-high throughout cooking. Too low, and your chicken will steam instead of sear. Too high, and the cornstarch coating will burn.
Batch Cooking: Never overcrowd the pan. Cooking the chicken in batches ensures proper browning and prevents steaming.
Prep Everything First: Stir-frying moves fast. Having all ingredients prepped and measured using your measuring cups and spoons set before you start cooking is essential.
Sauce Consistency: If your sauce seems too thick, add a tablespoon of chicken broth. Too thin? Mix another 1/2 teaspoon cornstarch with a tablespoon of cold water and stir it in.
Vegetable Variations: Feel free to add snap peas, carrots, or mushrooms. Just adjust cooking times based on the density of the vegetables.
Serving Suggestions
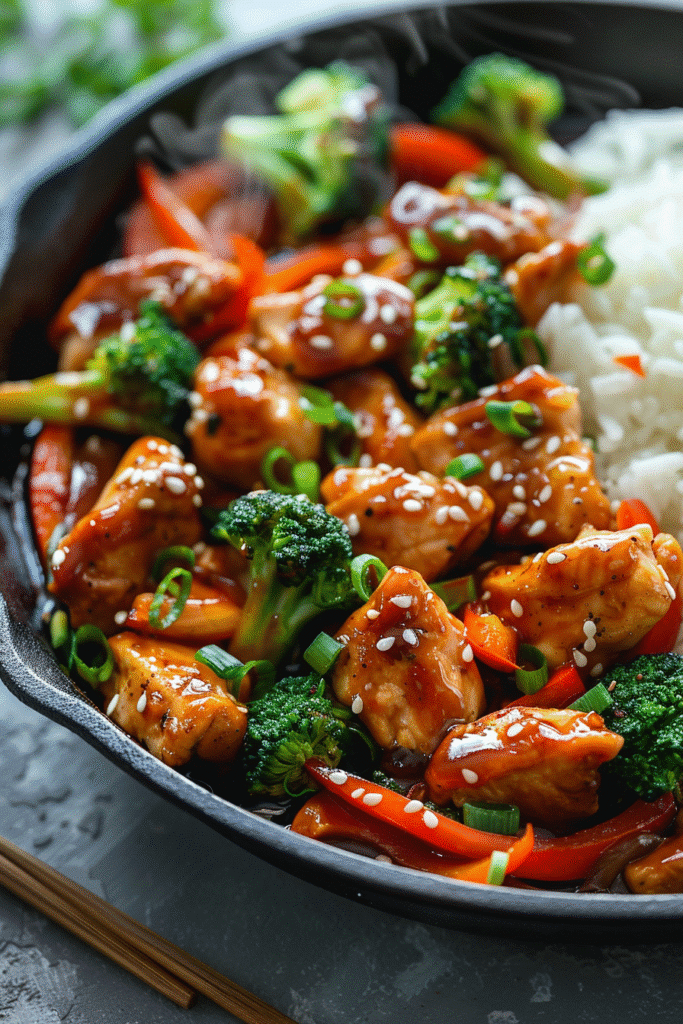
This teriyaki chicken stir-fry is incredibly versatile. Serve it over steamed white rice, brown rice, or cauliflower rice for a low-carb option. Noodles also work beautifully try it with soba noodles or rice noodles for an extra-satisfying meal.
Garnish with sesame seeds and sliced green onions for restaurant-style presentation. A sprinkle of red pepper flakes adds a nice kick if you like a little heat.
Storage and Meal Prep
This recipe is perfect for meal prep. Store cooled stir-fry in airtight containers in the refrigerator for up to 4 days. Reheat in a frying pan over medium heat until warmed through, or microwave in 30-second intervals.
For best results, store the rice or noodles separately from the stir-fry to prevent sogginess. The chicken and vegetables can be frozen for up to 3 months, though the texture of the vegetables may soften slightly upon thawing.
Frequently Asked Questions
Can I use chicken thighs instead of breasts?
Absolutely! Boneless, skinless chicken thighs work wonderfully in this recipe. They’re slightly more forgiving and won’t dry out as easily. Use the same cooking time and method.
What can I substitute for mirin?
If you don’t have mirin, substitute with 3 tablespoons of white wine or apple juice plus 1/2 teaspoon of sugar. The flavor will be slightly different but still delicious.
Can I make this gluten-free?
Yes! Use tamari or gluten-free soy sauce instead of regular soy sauce, and ensure your chicken broth is gluten-free. Everything else in the recipe is naturally gluten-free.
Why is my sauce not thickening?
Make sure you’re whisking the cornstarch into the sauce thoroughly before adding it to the pan. The pan should also be hot enough for the cornstarch to activate quickly. If it’s still thin, mix 1/2 teaspoon cornstarch with a tablespoon of cold water and stir it in.
Can I add more vegetables?
Definitely! This recipe is flexible. Try adding snap peas, mushrooms, baby corn, or water chestnuts. Just adjust cooking times based on the density of the vegetables you choose.
How do I prevent the chicken from being rubbery?
Don’t overcook the chicken, and make sure your pan is hot before adding the pieces. The cornstarch coating helps seal in moisture. Also, cooking in batches prevents steaming, which can make chicken rubbery.
Why This Recipe Works
The combination of cornstarch-coated chicken and high heat creates a texture that rivals deep-fried versions without the extra oil. The homemade teriyaki sauce offers the perfect balance of sweet, salty, and tangy flavors while clinging perfectly to the chicken and vegetables thanks to the cornstarch thickener.
By cooking the chicken in batches and the vegetables separately, each component is cooked to perfection. This technique ensures the chicken stays crispy, the vegetables remain tender-crisp, and nothing gets overcooked or mushy.
Make It Your Own
Once you master this basic recipe, experiment with different vegetables based on what’s in season or what you have on hand. Try adding pineapple chunks for a Hawaiian twist, or cashews for extra crunch and protein.
The sauce is also incredibly versatile. Double the recipe and keep extra in the refrigerator for up to a week. Use it on grilled chicken, salmon, or even as a marinade for other proteins.
This Teriyaki Chicken Stir-Fry proves that simple chicken recipes can be both easy and impressive. With minimal prep time, basic ingredients, and straightforward techniques, you’ll have a delicious, nutritious dinner on the table in 30 minutes. It’s the perfect solution for busy weeknights when you want something better than takeout but don’t have hours to spend in the kitchen.
PrintEasy Teriyaki Chicken Stir-Fry Recipe (Ready in 30 Minutes!)
This Teriyaki Chicken Stir-Fry features tender chicken breast pieces coated in cornstarch for a crispy texture, tossed with colorful vegetables and a sweet-savory homemade teriyaki sauce. Ready in just 30 minutes, it’s the perfect quick dinner solution.
- Prep Time: 15
- Cook Time: 15
- Total Time: 30
- Yield: 4
- Category: Main Course
- Method: Stir-Fry
- Cuisine: Asian
Ingredients
2 boneless skinless chicken breasts, cut into 1-inch pieces
1/2 teaspoon garlic powder
Black pepper to taste
3 tablespoons cornstarch (for coating)
3 tablespoons olive oil, divided
1/2 medium onion, cut into bite-size pieces
2 cups broccoli florets, cut small
1/2 red bell pepper, cut into bite-size pieces
1/2 cup chicken broth
3 tablespoons mirin
2 tablespoons soy sauce
1 teaspoon rice vinegar (or apple cider vinegar)
1/4 cup packed brown sugar
1 tablespoon cornstarch (for sauce)
1 teaspoon grated fresh ginger
2 cloves garlic, minced
Instructions
1. Prep all ingredients before cooking. Cut vegetables into bite-size pieces, ensuring broccoli is cut quite small for even cooking.
2. Add sauce ingredients (chicken broth, mirin, soy sauce, rice vinegar, brown sugar, 1 tablespoon cornstarch, ginger, and minced garlic) to a medium bowl and whisk everything together. Set aside.
3. Cut chicken into 1-inch pieces and add to a bowl. Sprinkle with garlic powder and pepper, then stir to combine. Add 3 tablespoons cornstarch and stir until chicken is evenly coated.
4. Heat a deep skillet over medium-high heat and add 2 tablespoons olive oil. Let the pan heat for a few minutes.
5. Cook chicken in two batches for best browning. Shake off excess cornstarch and add half the chicken to the skillet. Cook for 4 minutes, flip using tongs, then cook another 3-4 minutes until browned and cooked through. Transfer to a plate. Repeat with remaining chicken, adding the third tablespoon of olive oil.
6. If pan is dry, add a small splash of olive oil, then add onions. Cook for 1 minute, stirring a few times.
7. Add broccoli and bell peppers. Cook for 3 minutes, stirring often, until vegetables are tender-crisp.
8. Add chicken back to the pan. Whisk the sauce again quickly, then pour into the pan. Stir constantly until sauce bubbles and thickens (less than a minute), coating everything evenly. Remove from heat and serve immediately.
Notes
Mirin is a sweet Japanese rice wine. If unavailable, substitute with 3 tablespoons white wine or apple juice plus 1/2 teaspoon sugar.
For gluten-free version, use tamari or gluten-free soy sauce.
Vegetables should be tender-crisp. Cook longer if you prefer softer vegetables.
Store leftovers in airtight containers in the refrigerator for up to 4 days.
Serve over white rice, brown rice, cauliflower rice, or noodles.
If you found this recipe helpful, feel free to check out the kitchen equipment below. Click on any image to view and purchase the product through our Amazon affiliate links at no extra cost to you. Your support helps us keep Deliciousavors.com running and bringing you great recipes!
Essential Kitchen Equipment
| Equipment | Link |
|---|---|
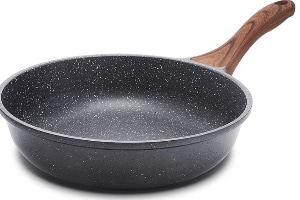
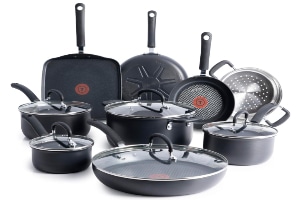
| Frying Pans | Shop Now |
| Cutting Board | Shop Now |
| Chef’s Knives | Shop Now |
| Measuring Cups and Spoons Set | Shop Now |
| Kitchen Utensils | Shop Now |
| Mixing Bowls | Shop Now |