This post may contain affiliate links. Please read our disclosure policy.
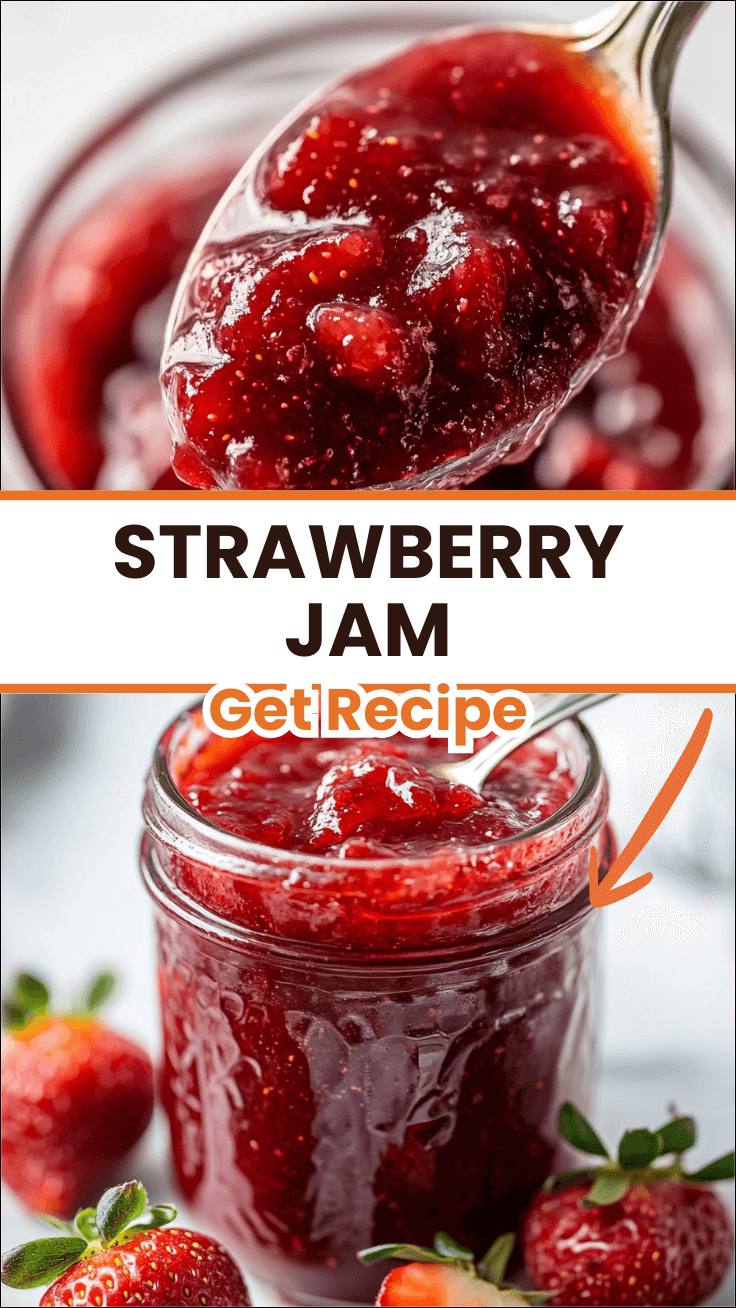
There is nothing quite like a jar of homemade strawberry jam made from scratch. Whether you are spreading it on toast for a lazy Sunday morning, gifting it for Mother’s Day brunch, or pairing it with your favorite pancakes recipe, this simple three-ingredient jam delivers big, bold strawberry flavor every single time. With just fresh strawberries, sugar, and lemon juice, you can make a batch of this gorgeous jam right in your own kitchen, no fancy equipment needed.
This recipe has been a staple in American home kitchens for generations. The process is straightforward, the results are stunning, and once you taste the difference between homemade and store-bought, you will never go back. Let’s walk through everything you need to know to make the best strawberry jam of your life.
Table of Contents
Why You Will Love This Strawberry Jam
- Only 3 simple ingredients
- No pectin required
- Perfect for Mother’s Day brunch, spring brunch spreads, and gifting
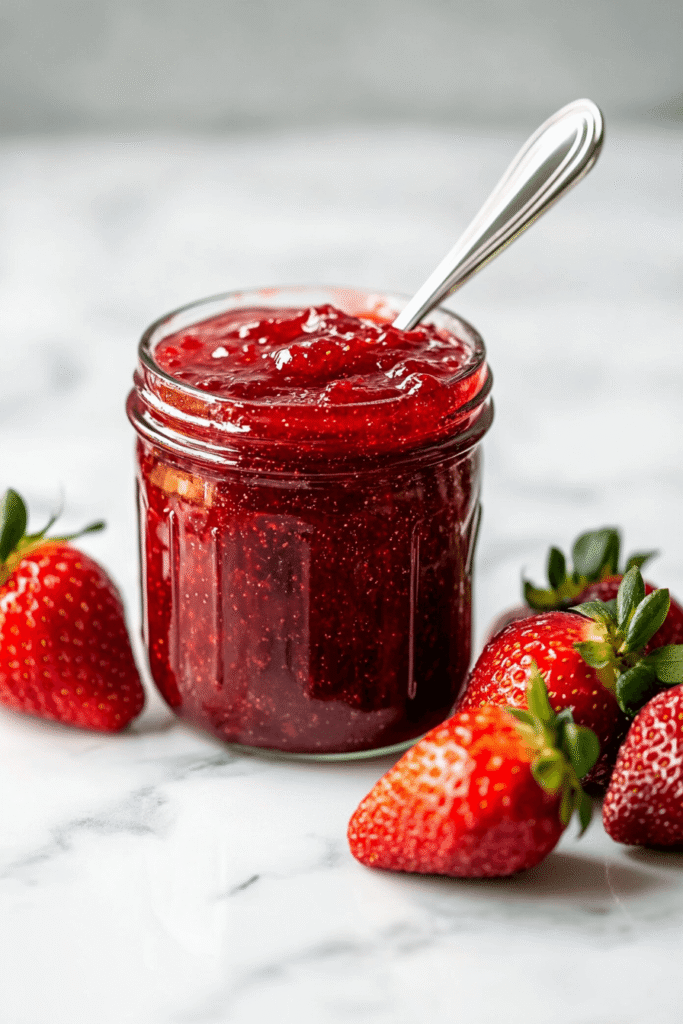
- Gorgeous deep-red color with natural strawberry chunks
- Shelf-stable for up to one year when properly canned
- Pairs beautifully with banana bread, French toast, floral desserts, and more
Ingredients You Will Need
This recipe uses just three pantry-friendly ingredients. Use the freshest, ripest strawberries you can find for the deepest flavor. A kitchen scale (weight kitchen) can help you measure accurately.
| Ingredient | Quantity | Notes |
|---|---|---|
| Fresh strawberries, hulled | 2 pounds | About 4 cups once mashed |
| White granulated sugar | 4 cups | Standard white sugar works best |
| Lemon juice | 1/4 cup | Fresh or bottled, acts as natural preservative |
Equipment List
Having the right tools makes this jam recipe much easier and safer. Here is everything you will need, with links to recommended products:
- Heavy-bottomed pot or saucepan – essential for even heat distribution and preventing scorching
- Kitchen utensils – wooden spoon or heat-safe spatula for stirring
- Mixing bowls – for crushing and mashing the strawberries
- Cutting board – for hulling and prepping strawberries
- Chef’s knives – for hulling strawberries cleanly
- Measuring cups and spoons set – for precise ingredient measurements
- Kitchen weight scale – to measure 2 pounds of strawberries accurately
- Colander strainer basket – for rinsing strawberries thoroughly
Step-by-Step Instructions
Follow these steps carefully for a perfectly set, glossy homemade strawberry jam. Use your measuring cups and spoons set throughout to keep measurements accurate.
- Gather all your ingredients and equipment before you start. Rinse your strawberries well using a colander strainer basket and hull them using a sharp chef’s knife on a clean cutting board.
- Crush the strawberries in batches in a large mixing bowl using a potato masher or fork until you have 4 cups of mashed strawberries. Leave some small chunks for texture.
- Combine the mashed strawberries, sugar, and lemon juice in a large heavy-bottomed pot. Stir over low heat using a kitchen utensil until the sugar is fully dissolved.
- Increase the heat to high and bring the mixture to a full rolling boil. Stir frequently to prevent sticking or burning.
- Continue boiling, stirring often, until the jam reaches 220 degrees F (105 degrees C). This typically takes 10 to 15 minutes. Use a candy thermometer to monitor the temperature.
- Check for doneness by placing a small spoonful of jam onto a frozen plate. Wait 1 to 2 minutes. If the jam gels and wrinkles when you push it with your finger, it is ready. If it appears thin and runny, continue cooking and test again in a few minutes.
- Transfer the jam carefully into hot sterile jars using a ladle and a wide-mouth funnel, filling to within 1/4 inch of the top. Wipe the rims clean and seal tightly with lids and screw bands.
- Process the jars using a water bath canner. Place a rack in the bottom of a large stockpot, fill halfway with water, and bring to a boil. Lower jars 2 inches apart into the boiling water. Add more boiling water to cover jars by at least 1 inch.
- Cover and process for 10 minutes at a rolling boil. Remove jars carefully and let them rest several inches apart on a towel for 12 to 24 hours.
- Store sealed jars in a cool, dark area. Serve and enjoy your homemade strawberry jam!
Pro Tips for Perfect Strawberry Jam
Choosing Your Strawberries
Always use fresh, ripe strawberries at peak season for the best flavor and natural pectin content. Overripe berries can result in a softer set, while underripe berries may lack sweetness. For this recipe, a kitchen weight scale helps you hit that exact 2-pound target without guesswork.
Getting the Right Set
The frozen plate test is your best friend. Keep two or three small plates in your freezer before you begin cooking. If the jam wrinkles and holds its shape after 2 minutes on the cold plate, it is perfectly set. If it slides freely, give it a few more minutes on the heat.
Sterilizing Your Jars
Always use properly sterilized jars to prevent spoilage. You can sterilize them by running them through a hot dishwasher cycle or by submerging them in boiling water for 10 minutes. Never pour hot jam into cold jars as the glass may crack.
Storage Tips
- Properly sealed jars can be stored in a cool, dark pantry for up to 12 months
- Once opened, refrigerate and use within 3 to 4 weeks
- If any jar fails to seal (lid does not pop down), refrigerate immediately and use within 2 weeks
Serving Suggestions
This homemade strawberry jam is incredibly versatile. Here are some of the best ways to enjoy it:
- Spread generously on toasted banana bread for a cozy Mother’s Day brunch treat
- Swirl into yogurt or oatmeal for a bright, fruity breakfast
- Use as a filling for floral desserts, thumbprint cookies, or crepes
- Pair with butter and fluffy biscuits at your next spring brunch spread
- Layer into a classic strawberry shortcake for a stunning dessert
- Gift in decorated mason jars for Mother’s Day, holidays, or housewarming presents
Frequently Asked Questions
Can I make strawberry jam without pectin?
Yes, and this recipe proves it. Strawberries naturally contain some pectin, and when combined with lemon juice and cooked to 220 degrees F, the jam sets beautifully without any added pectin. The lemon juice also boosts the pectin activation and adds a subtle brightness to the flavor.
How do I know if my strawberry jam is set properly?
The most reliable method is the frozen plate test described in the instructions above. Alternatively, use a candy thermometer and make sure your jam reaches 220 degrees F (105 degrees C), which is the gel point for jam at sea level. At higher altitudes, reduce the target temperature by 2 degrees F for every 1,000 feet above sea level.
Can I reduce the sugar in this strawberry jam recipe?
You can reduce the sugar slightly, but keep in mind that sugar plays a role in both the set and the preservation of the jam. Reducing it too much may result in a softer set or shorter shelf life. If you want a lower-sugar version, consider using a low-sugar pectin product and following its specific instructions.
Why did my jam not set?
The most common reason is undercooking. If the jam did not reach 220 degrees F or did not pass the frozen plate test, it will remain runny. You can re-cook runny jam by returning it to the pot, bringing it back to a boil, and cooking for a few more minutes before re-testing.
How long does homemade strawberry jam last?
When processed using a proper water bath canning method as described in this recipe, sealed jars of strawberry jam will last up to 12 months stored in a cool, dark location. Once opened, keep the jar refrigerated and consume within 3 to 4 weeks for best quality.
Can I use frozen strawberries for this jam?
Yes, frozen strawberries work well in this recipe. Thaw them completely first and drain any excess liquid before mashing. The flavor may be slightly less vibrant than fresh-picked berries, but the result is still a delicious, spreadable jam perfect for brunch recipes year-round.
Make It Your Own
Once you master this base recipe, the variations are endless. Try adding a split vanilla bean during cooking for a strawberry vanilla jam, or toss in a few fresh basil leaves for an unexpected herbal note. A pinch of black pepper or a splash of balsamic vinegar can also deepen the flavor in a sophisticated way, perfect for pairing with charcuterie boards at your next spring brunch.
You can also use this jam as the base for strawberry glaze, ice cream topping, or cocktail mixers for mimosa recipes at brunch. The versatility of a good homemade jam is truly limitless.
If you are planning a Mother’s Day brunch menu, this strawberry jam pairs perfectly alongside a quiche recipe, fluffy Eggs Benedict, or a tall stack of pancakes. Set out a few jars on the table with butter and fresh bread, and watch it disappear.
Now that you have everything you need, it is time to get into the kitchen and start jamming. Your pantry, your family, and your brunch guests will thank you. Explore the full recipe above and make a batch this weekend.
If you found this recipe helpful, feel free to check out the kitchen equipment. Click on any url to view and purchase the product through our Amazon affiliate links at no extra cost to you. Your support helps us keep Deliciousavors.com running and bringing you great recipes!
PrintHomemade Strawberry Jam Recipe : Easy 3-Ingredient Classic
A classic 3-ingredient homemade strawberry jam made with fresh strawberries, sugar, and lemon juice. No pectin needed. Perfect for spreading on toast, banana bread, or gifting for Mother’s Day brunch.
- Prep Time: 15 minutes
- Cook Time: 20 minutes
- Total Time: 35 minutes
- Yield: About 4 half-pint jars
- Category: Condiments
- Method: Stovetop / Canning
- Cuisine: American
Ingredients
2 pounds fresh strawberries, hulled
4 cups white granulated sugar
1/4 cup lemon juice
Instructions
1. Gather all ingredients and hull the strawberries.
2. Crush strawberries in a wide bowl in batches until you have 4 cups of mashed strawberries.
3. Combine mashed strawberries, sugar, and lemon juice in a heavy-bottomed saucepan. Stir over low heat until sugar is dissolved.
4. Increase heat to high and bring the mixture to a full rolling boil. Continue to boil, stirring often, until the mixture reaches 220 degrees F (105 degrees C).
5. Check doneness after 10 to 15 minutes by dropping a small spoonful of jam onto a frozen plate. If jam gels, it is ready. Continue cooking if thin or runny.
6. Transfer jam into hot sterile jars, filling to within 1/4 inch of the top. Seal tightly with lids and screw rings.
7. Place a rack in the bottom of a large stockpot and fill halfway with water. Bring to a boil and lower jars 2 inches apart into the boiling water.
8. Pour in more boiling water to cover jars by at least 1 inch. Bring to a rolling boil, cover, and process for 10 minutes.
9. Remove jars and let rest several inches apart for 12 to 24 hours. Store in a cool, dark area.
Notes
Use ripe, in-season strawberries for the best flavor.
Always sterilize jars before filling.
Use the frozen plate test to confirm the jam is properly set.
Sealed jars last up to 12 months in a cool, dark pantry.
Once opened, refrigerate and use within 3 to 4 weeks.