Table of Contents
Table of Contents
Perfect Ribeye Roast: 5 Foolproof Secrets for Holiday Success
Hi, I’m Alice Thompson, the heart behind Deliciousavors.com. Growing up in Madison, Georgia, my fondest memories are of family and friends gathered in our kitchen, sharing laughter and good food. I’ve always believed that every dish tells a story. After years of exploring Southern kitchens and picking up flavors from roadside diners, I love putting a creative twist on classic recipes. Here, you’ll find approachable, flavorful dishes and honest stories. No matter your skill level, I’m cheering you on. So pour some sweet tea, pull up a chair, and let’s make something wonderful together.
Standing in my kitchen last Christmas morning, I watched Mama Alice rub her special herb butter all over the biggest ribeye roast I’d ever seen. “Now sugar,” she said with that knowing smile, “this here’s what separates the good cooks from the great ones.” The aroma of fresh rosemary and garlic filled our Madison kitchen as she explained how a perfect ribeye roast starts with love and patience. Twenty years later, I still follow her exact technique, and folks always ask for my secret. Truth is, creating an unforgettable ribeye roast isn’t about fancy equipment or complicated steps. Instead, it’s about understanding the meat, respecting the process, and following a few tried-and-true principles that guarantee success every single time. Whether you’re hosting your first holiday dinner or trying to recreate those childhood memories, this guide will help you master the art of ribeye roast preparation. Moreover, we’ll explore everything from selecting the perfect cut to achieving that coveted medium-rare center with a beautiful caramelized crust.
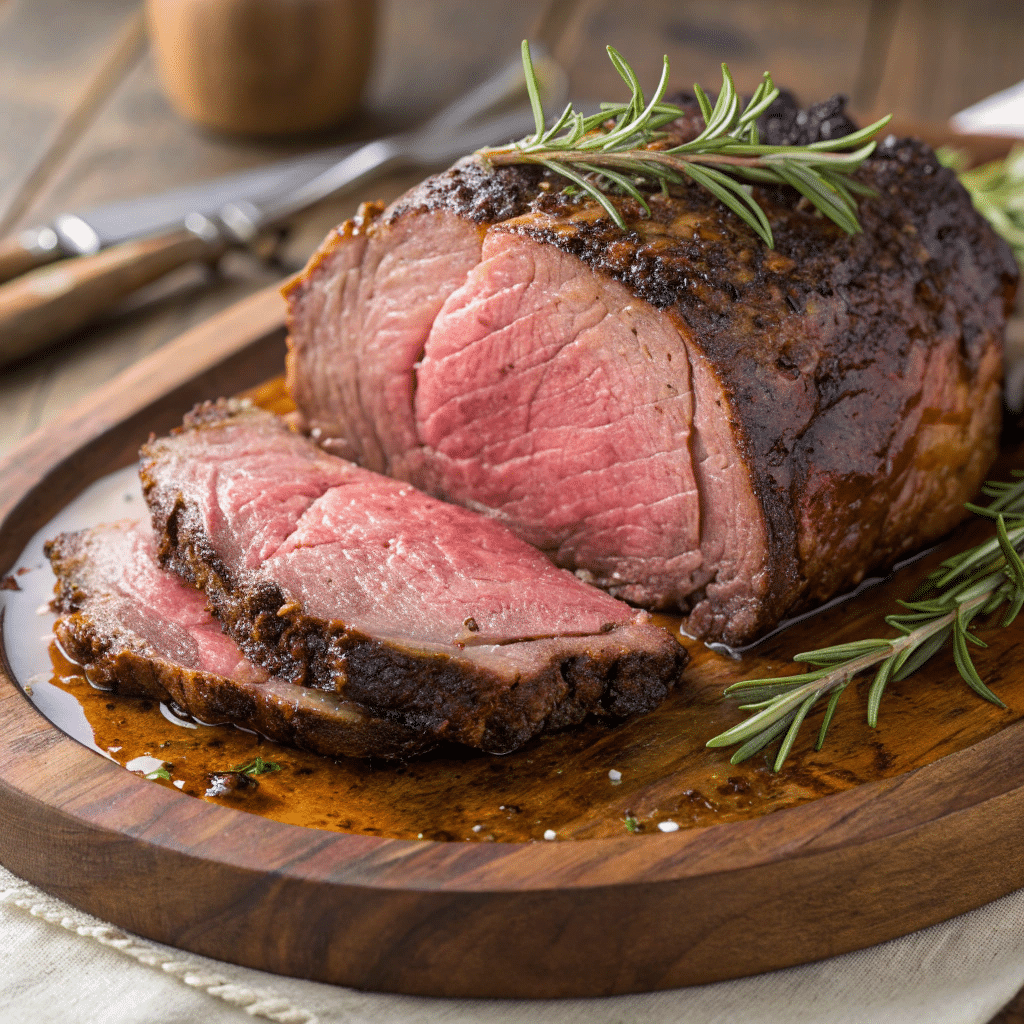
PrintPerfect Ribeye Roast: 5 Amazing Secrets for Success
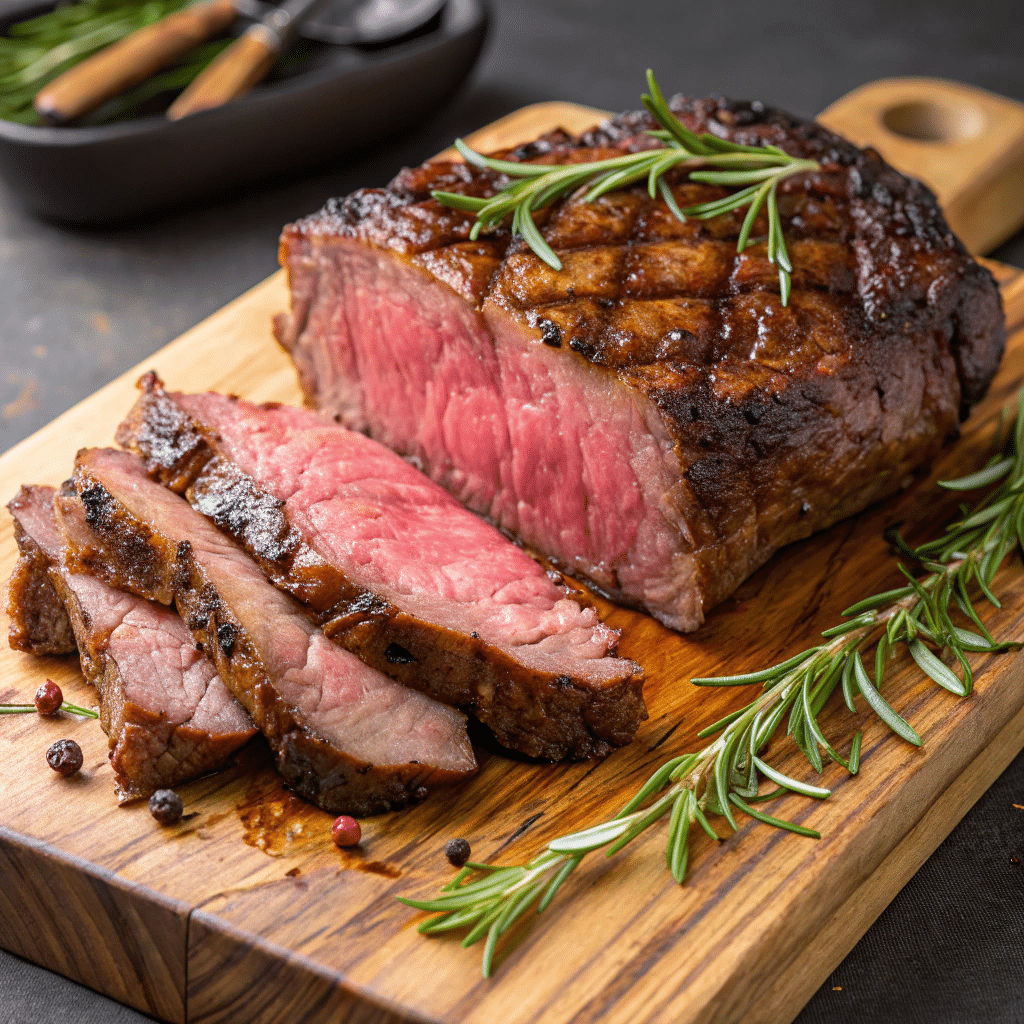
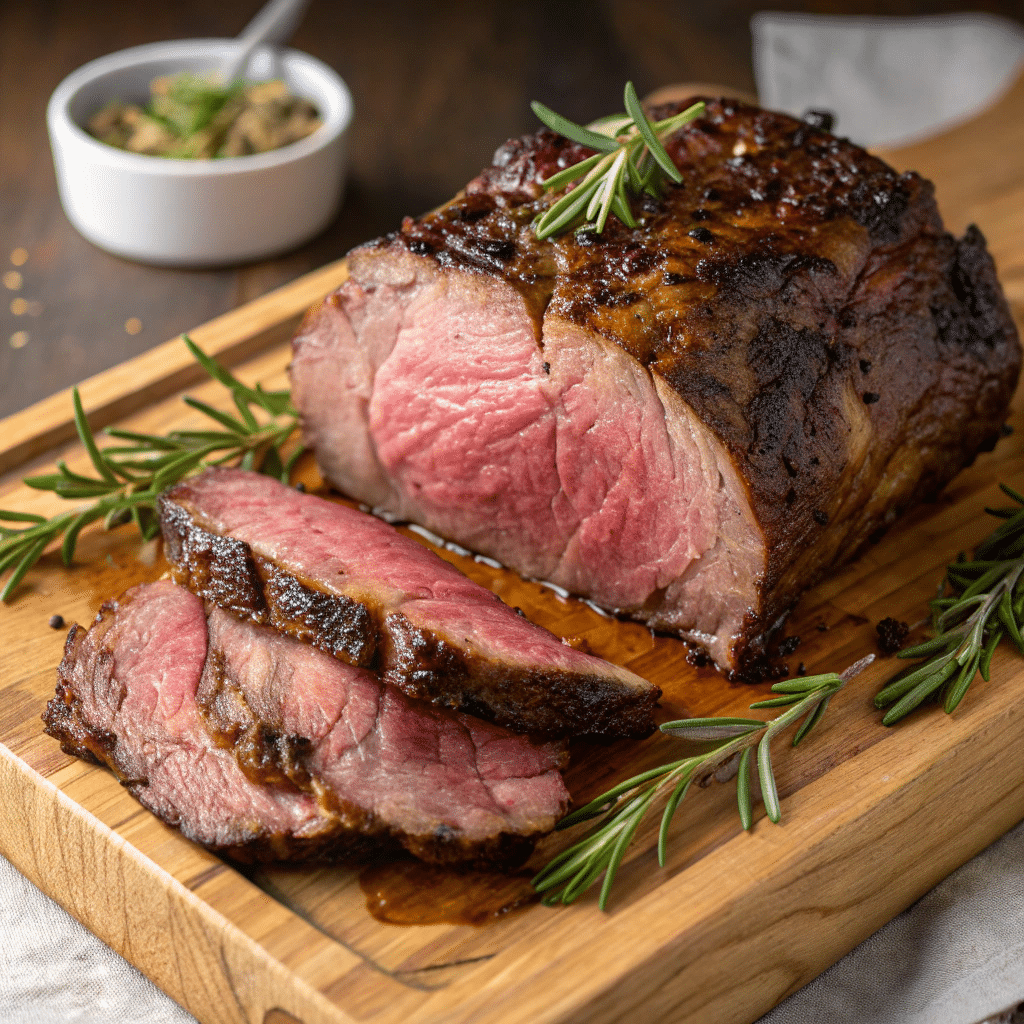
A perfectly seasoned and cooked ribeye roast with golden crust and juicy interior, ideal for special occasions and holiday celebrations.
- Prep Time: PT0H30M
- Cook Time: PT2H30M
- Total Time: PT3H0M
- Yield: 8 servings
- Category: Main Course
- Method: Roasting
- Cuisine: American
Ingredients
1 ribeye roast (4–6 pounds), bone-in or boneless
2 tablespoons kosher salt
1 tablespoon black pepper
2 tablespoons garlic powder
2 tablespoons fresh rosemary, chopped
4 tablespoons softened butter
2 tablespoons olive oil
Optional: sliced onions for roasting pan

Instructions
Step 1: Remove roast from refrigerator 1 hour before cooking and pat dry with paper towels
Step 2: Mix softened butter with garlic powder and chopped rosemary, then rub all over the roast
Step 3: Season generously with salt and pepper on all surfaces
Step 4: Preheat oven to 500°F and place roast fat-side up in roasting pan
Step 5: Roast at high heat for 15-20 minutes to develop crust
Step 6: Reduce temperature to 325°F and continue cooking until internal temperature reaches 135°F for medium-rare
Step 7: Remove from oven and tent with foil, rest for 15-30 minutes before carving
Step 8: Carve against the grain into 1/2-inch thick slices and serve immediately
Notes
Use a meat thermometer for accurate doneness
Let roast come to room temperature before cooking
Resting time is crucial for juicy results
Save pan drippings for gravy or sauce
Understanding Your Ribeye Roast Cut
What Makes Ribeye Roast Special
First and foremost, ribeye roast comes from the rib section of the cow, specifically ribs six through twelve. This particular area produces incredibly tender meat because these muscles don’t work as hard as other cuts. Additionally, the generous marbling throughout the meat creates that distinctive buttery texture and rich flavor that makes ribeye roast so coveted. Unlike leaner cuts, the fat content in ribeye roast acts as natural basting, keeping the meat moist throughout the cooking process. Furthermore, the high fat content means this cut is remarkably forgiving, making it perfect for both beginners and experienced cooks. If you enjoy preparing special occasion meals, you might also love our smoked meatloaf recipe for another impressive centerpiece. Similarly, our tomahawk steak guide offers excellent tips for handling premium beef cuts.
Bone-In versus Boneless Options
When choosing between bone-in and boneless ribeye roast, each option offers distinct advantages. Bone-in roasts, often called standing rib roasts, typically weigh between four to eight pounds and feed larger groups. The bone acts as insulation during cooking, resulting in more even heat distribution and juicier meat. However, boneless ribeye roasts cook faster and carve more easily, making them ideal for smaller gatherings. Additionally, boneless cuts give you more surface area for seasoning and developing that beautiful crust we all crave. Nevertheless, both options deliver exceptional flavor when prepared correctly, so your choice depends on serving size and personal preference. Most importantly, regardless of which style you choose, look for good marbling throughout the meat and avoid cuts with large pockets of fat that won’t render properly.
Essential Preparation Techniques
Proper Seasoning and Timing
The secret to exceptional ribeye roast starts with proper seasoning at least twenty-four hours before cooking. Create a simple but powerful dry rub using kosher salt, freshly ground black pepper, garlic powder, and dried herbs like rosemary or thyme. Generously coat the entire roast, pressing the seasonings into the meat to ensure adhesion. Then, place the seasoned roast on a rack set over a baking sheet and refrigerate uncovered overnight. This process, called dry-aging, allows the salt to penetrate the meat while drawing out excess moisture from the surface. Consequently, you’ll achieve better browning and more concentrated flavors during cooking. For an extra layer of flavor, consider making an herb butter mixture with softened butter, minced garlic, fresh herbs, and lemon zest. If you’re looking for more beef preparation inspiration, check out our collection of dinner recipes for additional ideas.
Temperature and Timing Guidelines
Bringing your ribeye roast to room temperature before cooking ensures even cooking throughout. Remove the roast from the refrigerator approximately one hour before cooking time. This step prevents the outside from overcooking while the center remains cold. Furthermore, use a reliable meat thermometer to monitor internal temperature accurately. For medium-rare, aim for an internal temperature of 135°F, keeping in mind that the temperature will continue rising during the resting period.
| Doneness Level | Internal Temperature | Cooking Time per Pound |
|---|---|---|
| Rare | 125°F | 15-18 minutes |
| Medium-Rare | 135°F | 18-20 minutes |
| Medium | 145°F | 20-25 minutes |
Most importantly, these times serve as guidelines, but always rely on your thermometer for accuracy rather than time alone.
Mastering the Cooking Process
High-Heat Searing Method
The high-heat searing method produces the most impressive results for ribeye roast. Start by preheating your oven to 500°F and positioning the rack in the center. Place the seasoned roast fat-side up in a roasting pan, preferably on a rack to promote air circulation. Roast at high heat for fifteen to twenty minutes to develop a beautiful caramelized crust. This initial searing locks in juices while creating those delicious browned flavors we associate with perfect roast beef. After the searing phase, reduce the oven temperature to 325°F and continue cooking until the internal temperature reaches your desired doneness. Moreover, this two-stage cooking method ensures the exterior develops proper browning while the interior cooks evenly. Additionally, place a few sliced onions in the bottom of the roasting pan to prevent drippings from burning and add extra flavor to your pan juices. For more comfort food inspiration, explore our pastina recipes for cozy meal ideas.
Low and Slow Technique
Alternatively, the low and slow method offers excellent control and virtually guarantees tender results. Preheat your oven to 250°F and cook the roast until it reaches an internal temperature about ten degrees below your target. This gentle cooking method takes longer but produces incredibly even doneness from edge to center. Once the roast reaches the desired temperature, remove it from the oven and tent loosely with foil. Then, increase the oven temperature to 500°F and return the roast for five to ten minutes to develop the exterior crust. This reverse-searing technique gives you maximum control over the final result while minimizing the risk of overcooking. Furthermore, this method works particularly well for larger roasts where even cooking becomes more challenging. Nevertheless, both techniques produce excellent results when executed properly, so choose based on your comfort level and time constraints.
Serving and Presentation Excellence
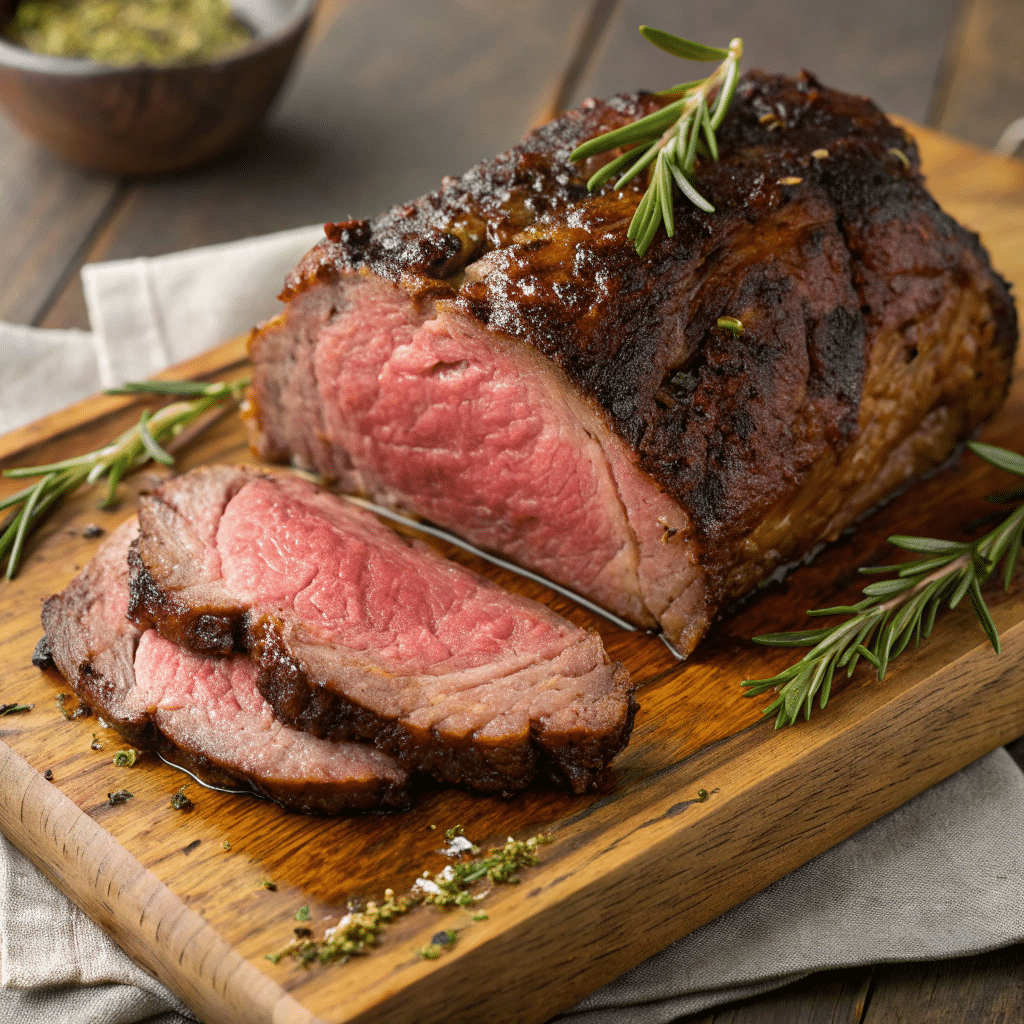
Proper Resting and Carving
Resting your ribeye roast after cooking ranks among the most critical steps for achieving juicy, tender slices. Remove the roast from the oven and tent it loosely with aluminum foil, then let it rest for fifteen to thirty minutes depending on size. During this time, the muscle fibers relax and reabsorb the juices that were driven toward the center during cooking. Consequently, carving too early results in precious juices running out onto the cutting board instead of staying in the meat. When ready to carve, use a sharp carving knife and cut against the grain into slices approximately half an inch thick. Start at one end and work your way across, making smooth, confident cuts. Additionally, save any accumulated juices from the resting period to drizzle over the sliced meat for extra flavor and moisture. If you’re planning a complete meal, consider pairing with our salmon cakes as an elegant appetizer course.
Perfect Side Dish Pairings
The rich, savory flavors of ribeye roast pair beautifully with both classic and contemporary side dishes. Traditional accompaniments include creamy mashed potatoes, roasted root vegetables, and Yorkshire pudding. However, lighter options like roasted asparagus, sautéed green beans, or a crisp Caesar salad provide excellent contrast to the richness of the beef. Furthermore, consider preparing a simple pan sauce using the drippings from your roasting pan. Deglaze with red wine or beef broth, add fresh herbs, and finish with butter for an elegant accompaniment. Similarly, horseradish cream sauce offers a classic pairing that cuts through the richness while complementing the beef’s flavor. Most importantly, choose sides that you can prepare largely in advance so you can focus on the roast during the final cooking stages. For dessert inspiration, our lemon cookies or frosted cookies provide a sweet ending to your special meal.
Frequently Asked Questions
Q: Is a ribeye roast the same as prime rib?
A: While the terms are often used interchangeably, they’re technically different. Prime rib specifically refers to USDA Prime grade beef from the rib section, while ribeye roast can be any grade of beef from the same area. However, both come from ribs six through twelve and offer similar marbling and tenderness.
Q: Is ribeye roast a good cut?
Q: How long does a ribeye roast take to cook?
Conclusion
Creating the perfect ribeye roast transforms any meal into a memorable celebration, just like those special dinners Mama Alice used to prepare in our Madison kitchen. With proper preparation, careful attention to temperature, and a little patience, you’ll consistently produce restaurant-quality results that’ll have your family asking for seconds. Remember, the key lies in selecting good quality meat, seasoning generously in advance, and respecting the resting period after cooking. Most importantly, don’t be intimidated by this magnificent cut of beef. Instead, trust the process, use your thermometer, and enjoy the satisfaction of serving something truly spectacular. Whether you’re celebrating a holiday, marking a special occasion, or simply treating your loved ones to something extraordinary, a perfectly cooked ribeye roast delivers every single time. So gather your family around the table, slice into that beautiful roast, and create new memories that’ll last for generations to come.
Article updated 27 June 2025.
For more recipes, visit my Facebook page.