Table of Contents
Table of Contents
Introduction
Ice cream cake is the show-stopping dessert that brings together the best of both worlds—creamy ice cream and soft cake—in every slice. Whether for birthdays, summer parties, or just because, this treat is loved by kids and adults alike. In this article, you’ll discover exactly what goes into an ice cream cake, why it’s such a big deal in America, where you can find versions from brands like Amul, and what the combination of cake and ice cream is really called. By the end, you’ll know how to make your own and why this dessert has become a favorite around the world.
The Story & Intro: Why Ice Cream Cake Is a Family Favorite
Hi, I’m Alice Thompson, the heart behind Deliciousavors.com. Growing up in Madison, Georgia, my fondest memories are of family and friends gathered in our kitchen, sharing laughter and good food. Ice cream cake was always the centerpiece of our summer birthdays. My mom would layer chocolate and vanilla ice cream with fudge and cookies, and we’d wait eagerly as it set in the freezer. Slicing into that cake was pure magic—cold, creamy, and full of surprises. Today, I love making ice cream cake for my own family, experimenting with new flavors and toppings. It’s a dessert that brings people together, sparks conversation, and turns any occasion into a celebration.
PrintIce Cream Cake: 7 Proven Tips for the Perfect Frozen Treat
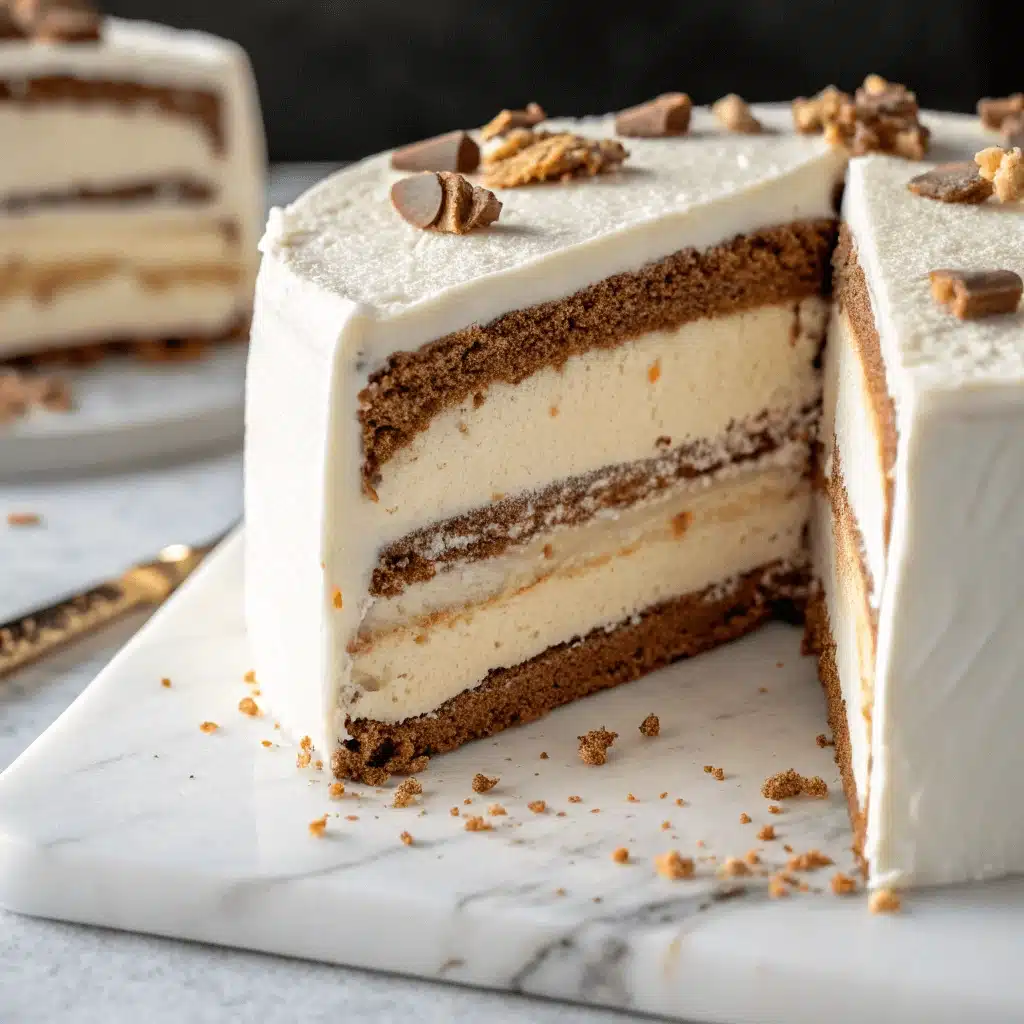
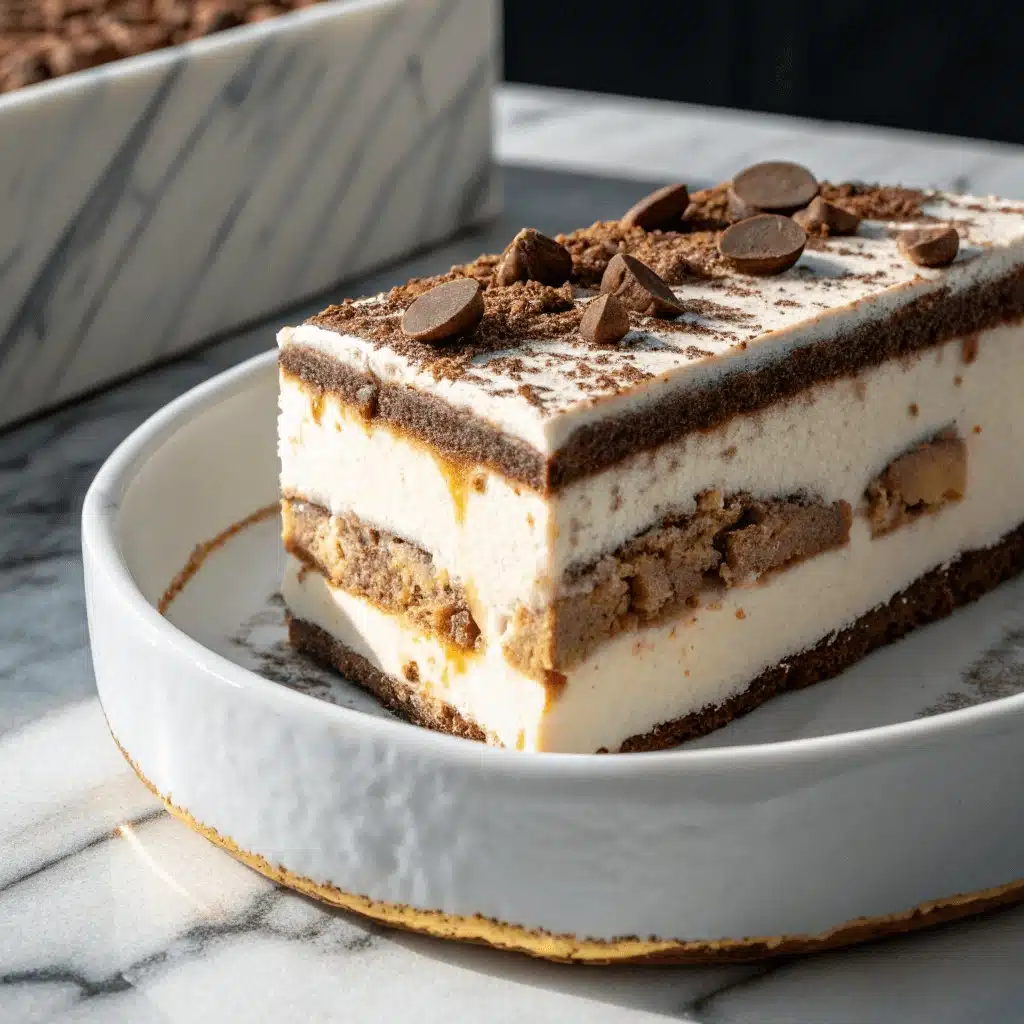
A festive ice cream cake with layers of cake and creamy ice cream, perfect for birthdays and celebrations. Easy to customize with your favorite flavors and toppings.
- Prep Time: PT20M
- Cook Time: PT30M
- Total Time: PT3H
- Yield: 12 servings
- Category: Dessert
- Method: Freezing
- Cuisine: American
- Diet: Vegetarian
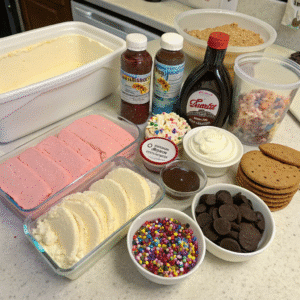
Ingredients
1 box chocolate or vanilla cake mix, prepared as directed
1.5 quarts (1.4L) ice cream, softened (any flavor)
1 cup whipped cream
1/2 cup chocolate sauce or fudge
1/2 cup crushed cookies or candy (optional)
Sprinkles or fruit for decoration (optional)
Instructions
Step 1: Bake the cake in a springform pan according to package directions. Let cool completely.
Step 2: Spread softened ice cream evenly over the cake layer. Freeze until firm, about 2 hours.
Step 3: If desired, add a second cake layer and more ice cream, then freeze again.
Step 4: Top with whipped cream, chocolate sauce, and your choice of crushed cookies, candy, or fruit.
Step 5: Return to freezer for at least 2 hours before serving.
Step 6: Remove from freezer 10 minutes before slicing. Use a warm knife for clean cuts.
Notes
Use any cake and ice cream flavors you like.
For a gluten-free version, use gluten-free cake mix.
Store leftovers in an airtight container in the freezer for up to one week.
What Is Ice Cream Cake Made Of? Ingredients and Popular Variations
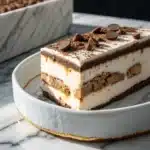
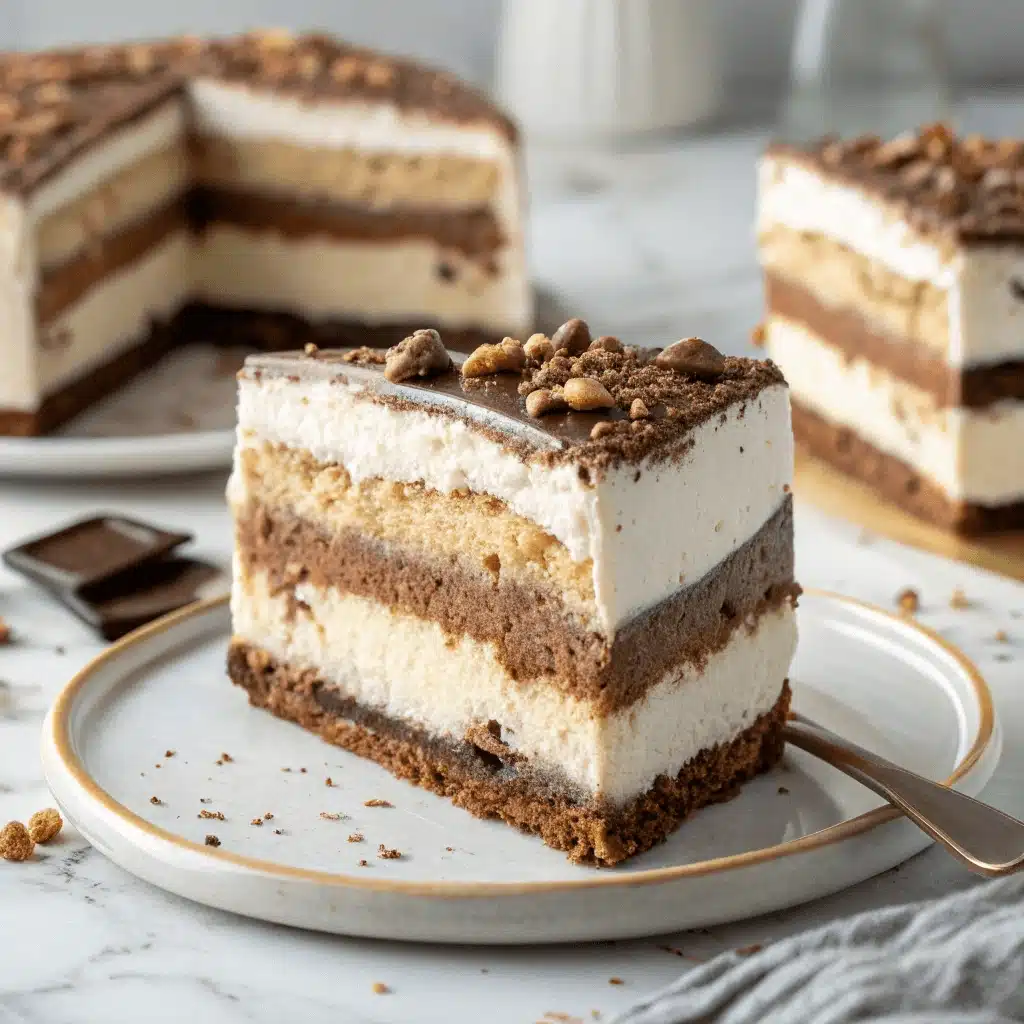
This layered dessert combines two classic treats: cake and ice cream. The basic version starts with a layer of cake, often chocolate or vanilla, topped with a thick layer of your favorite frozen flavor. Some recipes use two cake layers with ice cream sandwiched in between, while others skip the cake altogether and use crushed cookies or brownies as the base. The top is usually decorated with whipped cream, chocolate sauce, sprinkles, or even more frozen goodness.
Popular variations include adding fudge, caramel, or fruit between the layers. Cookies and cream, mint chocolate chip, and strawberry shortcake are just a few of the favorite flavor combinations. For birthdays and special occasions, many people personalize this dessert with colorful toppings, candy pieces, or a drizzle of syrup. The possibilities are endless, and you can easily adapt the recipe to suit any taste or dietary need.
How to Make Ice Cream Cake at Home
Making your own ice cream cake is easier than you might think. Start by choosing your favorite cake and ice cream flavors. Bake the cake layer in a springform pan and let it cool completely. Spread softened ice cream evenly over the cake, then freeze until firm. If you want multiple layers, repeat the process with another cake and more ice cream. Once assembled, decorate the top with whipped cream, chocolate shavings, or fruit. Return the cake to the freezer for at least two hours before serving. When ready to enjoy, let it sit at room temperature for a few minutes to make slicing easier.
Is Ice Cream Cake an American Thing? Global Popularity and Brands
Ice cream cake is often associated with American celebrations, but its appeal stretches far beyond the United States. In America, this dessert is a staple at birthday parties, graduations, and summer gatherings. The combination of cake and ice cream became especially popular in the mid-20th century, when ice cream parlors and bakeries began offering ready-made versions. Brands like Dairy Queen and Baskin-Robbins helped make ice cream cake a household name, offering a variety of flavors and custom designs for any occasion.
However, the concept is not limited to America. Many countries have their own versions of this frozen treat. In India, for example, Amul—one of the country’s largest dairy brands—offers ice cream cakes in several flavors. These cakes are popular for birthdays and festive events, just like in the US. Across Europe and Asia, bakeries and supermarkets also sell ice cream cakes, often featuring local flavors and ingredients. No matter where you are, the combination of cake and ice cream is a universal crowd-pleaser.
What Is Ice Cream on Cake Called?
The term “ice cream cake” usually refers to a dessert where ice cream is used as a filling or layer between or on top of cake. When ice cream is simply served on a slice of cake, it’s often called “cake à la mode.” This classic pairing is especially popular with warm desserts like brownies or fruit cobbler, where the cold ice cream melts slightly over the hot cake. Whether layered or served on the side, the combination of cake and ice cream is always a hit.
Serving, Storage Tips, FAQs, and Conclusion
How to Serve and Store Ice Cream Cake
To serve ice cream cake, remove it from the freezer about ten minutes before slicing. This allows the layers to soften slightly, making it easier to cut clean pieces. Use a sharp knife dipped in warm water for the best results. Serve each slice immediately, and return any leftovers to the freezer as soon as possible.
For storage, keep the cake tightly wrapped or in an airtight container to prevent freezer burn. Ice cream cake can be stored in the freezer for up to one week, though it is best enjoyed within a few days for the freshest taste and texture.
Frequently Asked Questions
Q: What is ice cream cake made of?
A: Ice cream cake is typically made with layers of cake and ice cream, sometimes with cookies, brownies, or whipped cream added for extra flavor and texture.
Q: Is ice cream cake an American thing?
A: While ice cream cake is very popular in the United States, it is enjoyed around the world. Many countries, including India and several in Europe, offer their own versions.
Q: Does Amul have ice cream cake?
A: Yes, Amul offers ice cream cakes in a variety of flavors in India. These cakes are popular for birthdays and special occasions.
Q: What is ice cream on cake called?
A: When ice cream is served on top of cake, it is often called “cake à la mode.” This classic dessert pairing is loved for its mix of warm and cold elements.
Conclusion
Ice cream cake is a dessert that brings joy to any celebration, blending the best of creamy ice cream and soft cake in every bite. Whether you make it at home or buy it from your favorite bakery, this treat is sure to impress guests of all ages. Experiment with flavors, toppings, and decorations to create a frozen masterpiece that fits any occasion. Once you try it, ice cream cake may just become your go-to dessert for every special moment.
Article updated 16 June 2025.
For more recipes, visit my Facebook page.