Table of Contents
Table of Contents
Eel Sauce: The Sweet, Savory Secret Behind Your Favorite Dishes
It’s funny how something so simple can leave such a bold impression. The first time I had eel sauce was on a California roll at a tiny sushi counter tucked behind a gas station in Savannah. I wasn’t expecting much. But then I dipped that bite into the dark, glossy drizzle and everything changed. It was sweet, salty, slightly smoky. I didn’t know what it was called back then, only that I wanted more.
Today, eel sauce is one of those ingredients that shows up on everything from sushi to grilled meats. But what is the sauce really made of? Is there eel in it? And why does it taste so addictive? In this article, we’ll break it all down. We’ll explore the origins of eel sauce, how to make it at home, how it compares to hoisin or teriyaki, and why it deserves a spot in your fridge no matter what cuisine you cook.
A Sweet and Savory Staple You Didn’t Know You Needed
Why Eel Sauce Became a Must-Have in My Kitchen
I used to think eel sauce was just for sushi. But after I started experimenting with homemade versions, I realized it was a total flavor bomb for everything. I’ve brushed it on salmon before broiling, swirled it into stir-fries, even drizzled it on grilled chicken tacos. It hits that perfect umami balance between sweet and salty with a hint of depth that makes you go back for one more bite.
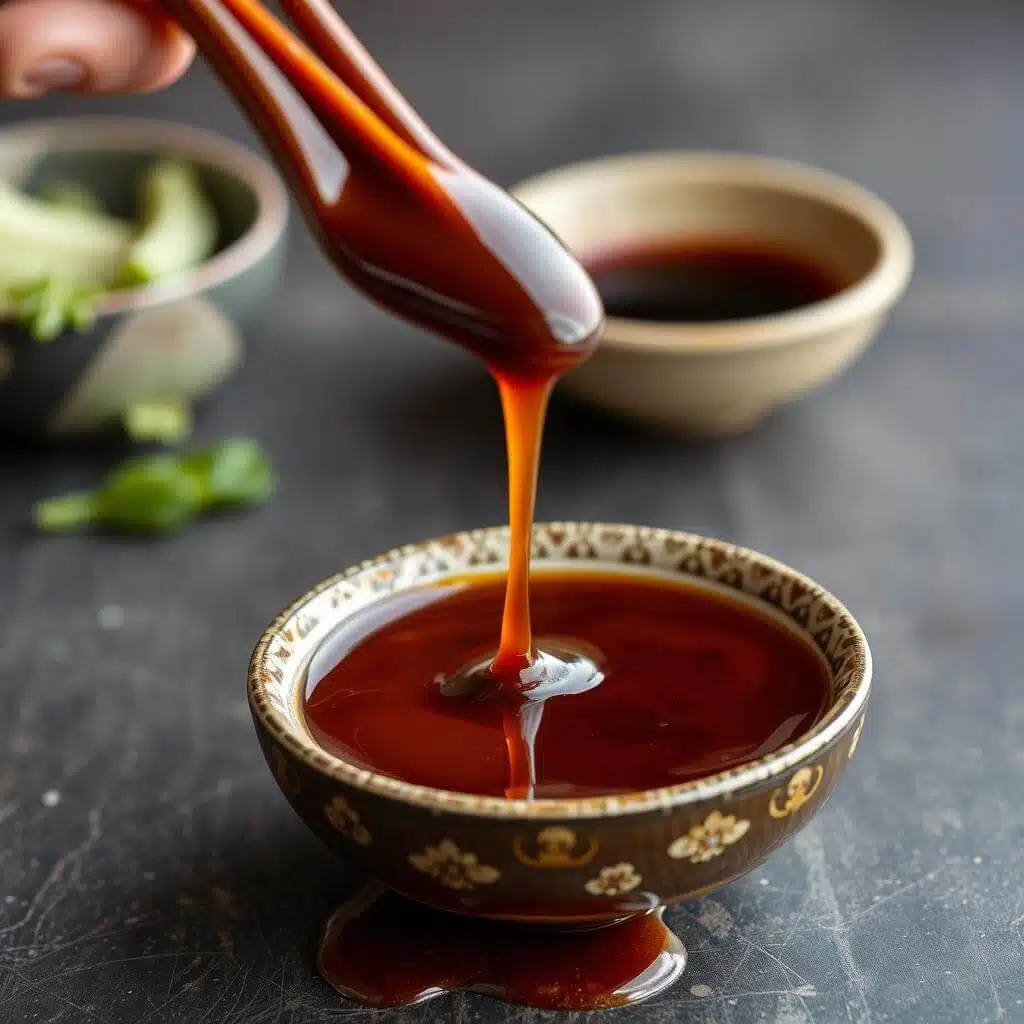
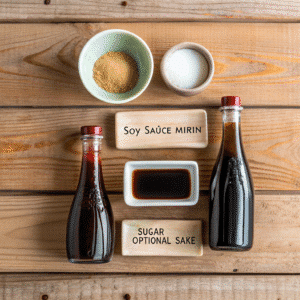
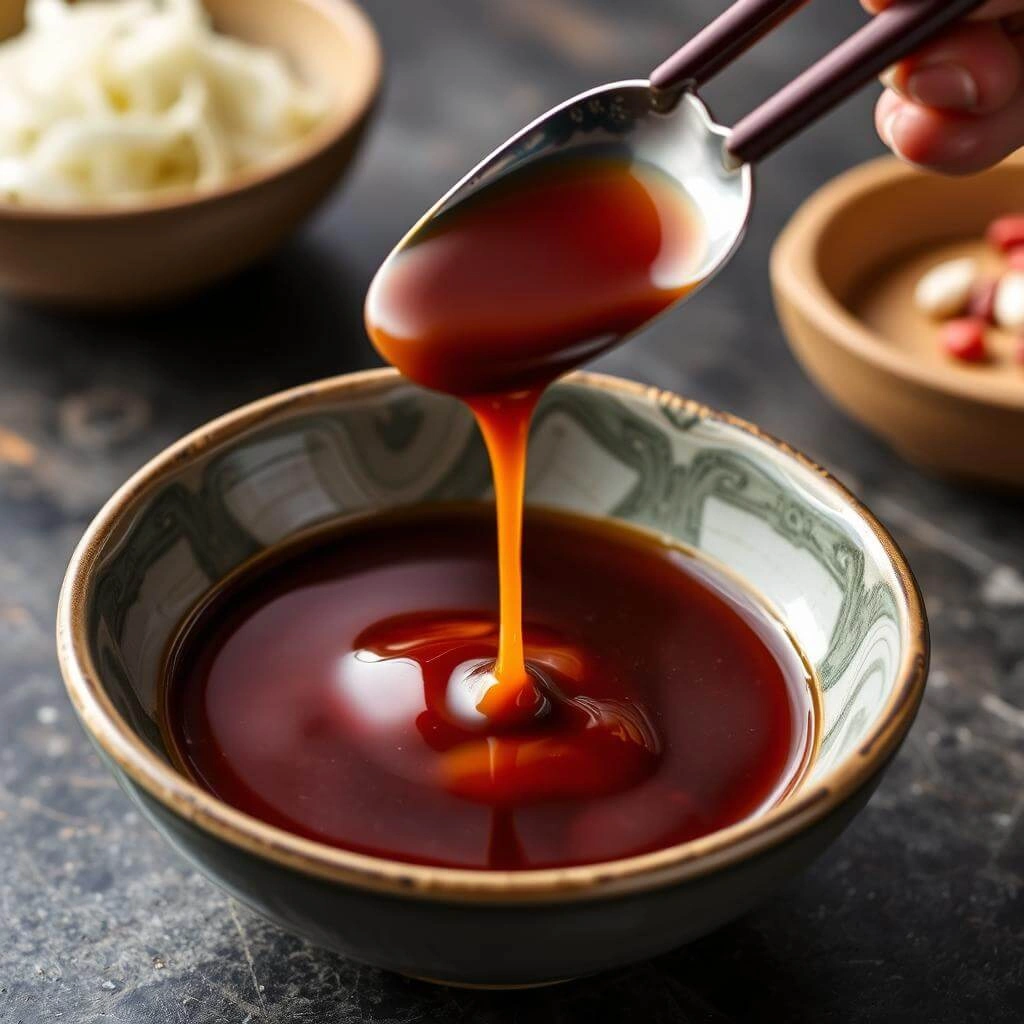
What surprised me most was that the sauce doesn’t contain eel at all. It’s traditionally a blend of soy sauce, mirin, and sugar, simmered down to a syrupy glaze. That’s it. No mystery. Just pantry staples cooked the right way. When I first learned how simple it was, I made it myself the same day. Let me tell you, it beat the bottled version by a mile.
Homemade eel sauce, like the one in this recipe, gave me full control over the flavor. Want it sweeter? Add a bit more sugar. Want it richer? Add a splash of sake or dashi. Just like I do with my favorite chipotle chicken, it’s about building layers that fit your taste.
The Power of Simple Ingredients
At its core, the sauce is a lesson in simplicity. Three ingredients. One pot. Fifteen minutes. That’s all it takes to make something that can transform a plain rice bowl or a grilled skewer into something memorable. While its name might scare some people off, there’s nothing fishy about it unless you’re pairing it with actual eel, which, by the way, is delicious.
PrintEel Sauce: 5 Powerful Reasons to Love This Savory Favorite
Eel sauce is a sweet and savory Japanese-style glaze made with soy sauce, mirin, and sugar. Perfect for sushi, grilled meats, and stir-fries.
- Prep Time: PT5M
- Cook Time: PT15M
- Total Time: PT20M
- Yield: 1 cup
- Category: Sauce
- Method: Simmering
- Cuisine: Japanese
- Diet: Vegan
Ingredients
½ cup soy sauce
½ cup mirin (sweet rice wine)
¼ cup sugar
Optional: 1 tablespoon sake or dashi for depth
Instructions
Step 1: In a small saucepan, combine soy sauce, mirin, and sugar over medium heat.
Step 2: Stir gently and bring the mixture to a low simmer.
Step 3: Reduce heat and let it simmer for 10 to 15 minutes, stirring occasionally, until slightly thickened.
Step 4: Optional: Add 1 tablespoon of sake or dashi for extra flavor and continue simmering 2 more minutes.
Step 5: Remove from heat. The sauce will thicken more as it cools.
Step 6: Let cool completely. Transfer to a glass jar and refrigerate for up to 2 weeks.
Notes
Use low-sodium soy sauce if preferred.
Adjust sweetness by adding or reducing sugar.
For a vegan version, ensure all ingredients are plant-based.
What Is Eel Sauce Made Of?
Despite the name, the sauce doesn’t actually include eel. It’s a rich, glossy glaze commonly used in Japanese cooking and especially in sushi restaurants. Made from a handful of pantry staples, eel sauce delivers big flavor with very little effort.
Core Ingredients in Eel Sauce
At its most basic, eel sauce is made from just three ingredients:
- Soy sauce
- Mirin (a sweet rice wine)
- Sugar
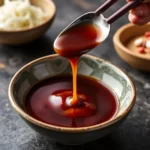
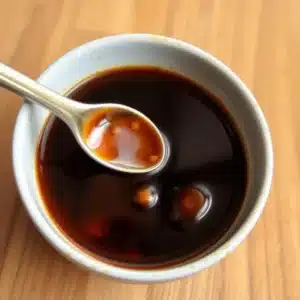
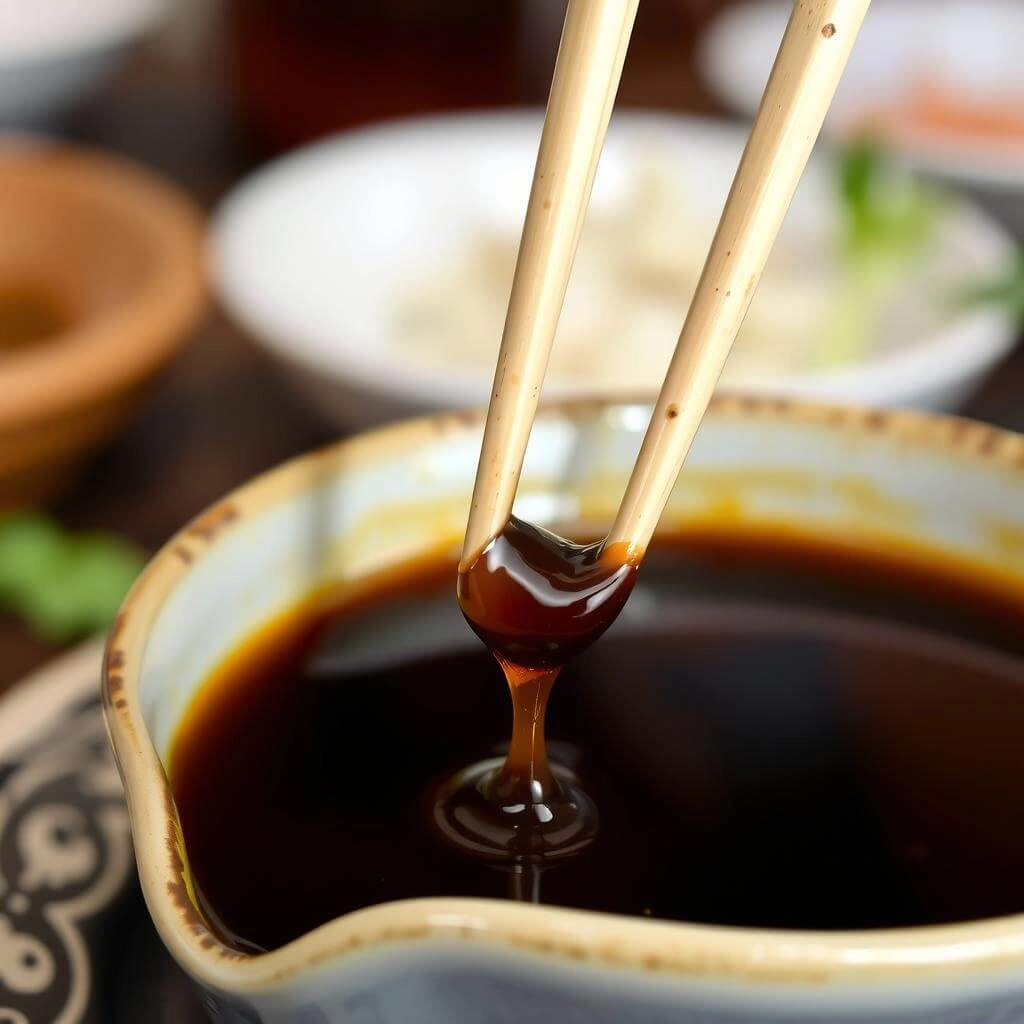
These are combined in a saucepan, brought to a low boil, then simmered until the mixture reduces and thickens slightly. The result is a sticky, savory-sweet sauce with a bold umami punch.
Some variations also include sake or a splash of dashi for extra depth, and a few recipes call for cornstarch to speed up the thickening. But traditional this sauce gets its body from slow simmering, not thickeners.
The beauty of the sauce lies in the balance. The saltiness of soy sauce is mellowed by the sweetness of mirin and sugar. That’s what gives it that addictive flavor that clings to grilled eel, fried rolls, and even rice.
If you’ve worked with glazes for recipes like funeral potatoes or flavorful marinades like chipotle chicken, you’ll love how eel sauce adds a punch without overwhelming the dish.
Why Is It Called Eel Sauce?
The name comes from its common use on unagi, or grilled freshwater eel, a classic dish in Japanese cuisine. The sauce was traditionally brushed onto the eel while grilling, giving it a shiny, flavorful coating. Over time, the name stuck, even though the sauce itself contains no fish.
In restaurants, the sauce is often drizzled on sushi rolls like dragon rolls or served with tempura. But its potential goes far beyond eel. You can use it as a dipping sauce, a marinade, or even a glaze for roasted vegetables. Once you make it at home, you’ll find new ways to use it every week.
Common Questions About Eel Sauce
Eel sauce has gained popularity beyond sushi bars, but it still sparks plenty of curiosity. From its ingredients to its comparison with other sauces, let’s clear up the most asked questions.
Is There Fish in Eel Sauce?
No, there is no fish or eel in the sauce. The confusion comes from its name, but it’s entirely plant-based. Traditional this sauce is made with soy sauce, mirin, and sugar. That means it’s vegetarian and often vegan, as long as you avoid versions containing dashi or fish stock.
If you’re following a plant-based diet or simply want a versatile sauce for stir-fry, this glaze delivers savory depth without any animal products. It’s especially handy for those who enjoy building bold flavors in everyday meals, much like the base layers in crab brûlée or in creative fusions like huevos rancheros.
Is Eel Sauce Just Hoisin Sauce?
It’s easy to confuse the two because both are sweet, thick, and dark in color. But they are quite different in taste and ingredients. Hoisin sauce is made with fermented soybeans, vinegar, garlic, and spices. It has a bolder, more complex flavor with hints of tanginess and a thicker texture.
Eel sauce, on the other hand, is smoother and simpler. It leans more toward a teriyaki-like profile with a cleaner sweetness and soy-driven depth. You can think of this glaze as subtle and elegant, while hoisin is bold and punchy.
While both can be used in similar ways dipping, glazing, or drizzling they’re not interchangeable in flavor. If you’re making sushi or grilled fish, eel sauce is the better match. For stronger-flavored dishes like stir-fried beef or tofu, hoisin may be the better choice.
How to Use Eel Sauce Beyond Sushi
Once you’ve tasted the sauce, it’s hard to go back. Its deep umami flavor and glossy texture make it a secret weapon in the kitchen. And the best part? It goes far beyond sushi.
Creative Ways to Use Eel Sauce
Start with the basics drizzle it over sushi rolls, of course. But then try brushing it on grilled salmon, shrimp, or tofu just before serving. The sugars in the sauce caramelize slightly when exposed to heat, creating a beautiful glaze.
You can also mix it into stir-fries or fried rice for an extra savory kick. Toss roasted vegetables in a bit of eel sauce right out of the oven to elevate their natural sweetness. Even burgers benefit from a quick swipe of the sauce on the bun instead of ketchup or barbecue.
It’s especially good as a finishing drizzle. Think of how you’d use balsamic reduction or teriyaki sauce. Try it over grilled chicken, baked sweet potatoes, or even as a dipping sauce for spring rolls.
One of my favorite uses is combining it with a bit of mayonnaise or Greek yogurt to make a quick sushi-style drizzle. It’s a fast way to turn plain rice bowls into something restaurant-worthy, just like you’d dress up ice cream cake with creative toppings or enhance churro cheesecake with a cinnamon sugar swirl.
How to Store and Use Homemade Eel Sauce
Store this sauce in a sealed glass jar in the refrigerator for up to two weeks. It thickens slightly as it cools, but a quick stir or a few seconds in the microwave brings it back to pouring consistency.
Because it’s made with just a few ingredients, it’s naturally stable and ready to go whenever you need it. Make a double batch so you always have some on hand.
Frequently Asked Questions About Eel Sauce
Q: What is eel sauce made of?
A: This sauce is made from soy sauce, mirin, and sugar. Some recipes add sake or dashi for extra flavor, but the base is always a balance of salty and sweet.
Q: Why is it called eel sauce?
A: It’s named for its traditional use on grilled eel, known as unagi in Japanese cuisine. The sauce was brushed on the eel while it cooked, giving it a shiny glaze and rich flavor.
Q: Is there fish in eel sauce?
A: No, there is no eel or fish in the sauce. Despite the name, it’s typically vegetarian and even vegan-friendly when made without fish-based stock.
Q: Is eel sauce just hoisin sauce?
A: No. While both are sweet and savory, hoisin sauce has a stronger flavor with garlic and fermented soybeans. The sauce is lighter, smoother, and has a more delicate taste.
Conclusion
Eel sauce may sound like a niche ingredient, but once you taste it, you realize it belongs in every kitchen. It is easy to make, versatile, and packed with flavor. Whether you’re brushing it on grilled meats, drizzling it over rice bowls, or stirring it into stir-fries, the sauce brings that restaurant-quality touch to homemade meals.
You do not need fancy ingredients or cooking techniques. Just soy sauce, mirin, and sugar. With a little simmering, you get a glossy glaze that transforms whatever it touches.
Like all good sauces, eel sauce invites creativity. Add a splash of sake, play with garlic, or blend it into mayo for a dipping sauce you will want to put on everything. It is a little bottle of magic that delivers bold taste with minimal effort.
From its humble use on grilled unagi to its growing role in modern home cooking, eel sauce is proof that the simplest recipes are often the most unforgettable. If you have not made it yet, now is the time to start.
Article updated 22 June 2025.
For more recipes, visit my Facebook page.