This post may contain affiliate links. Please read our disclosure policy.
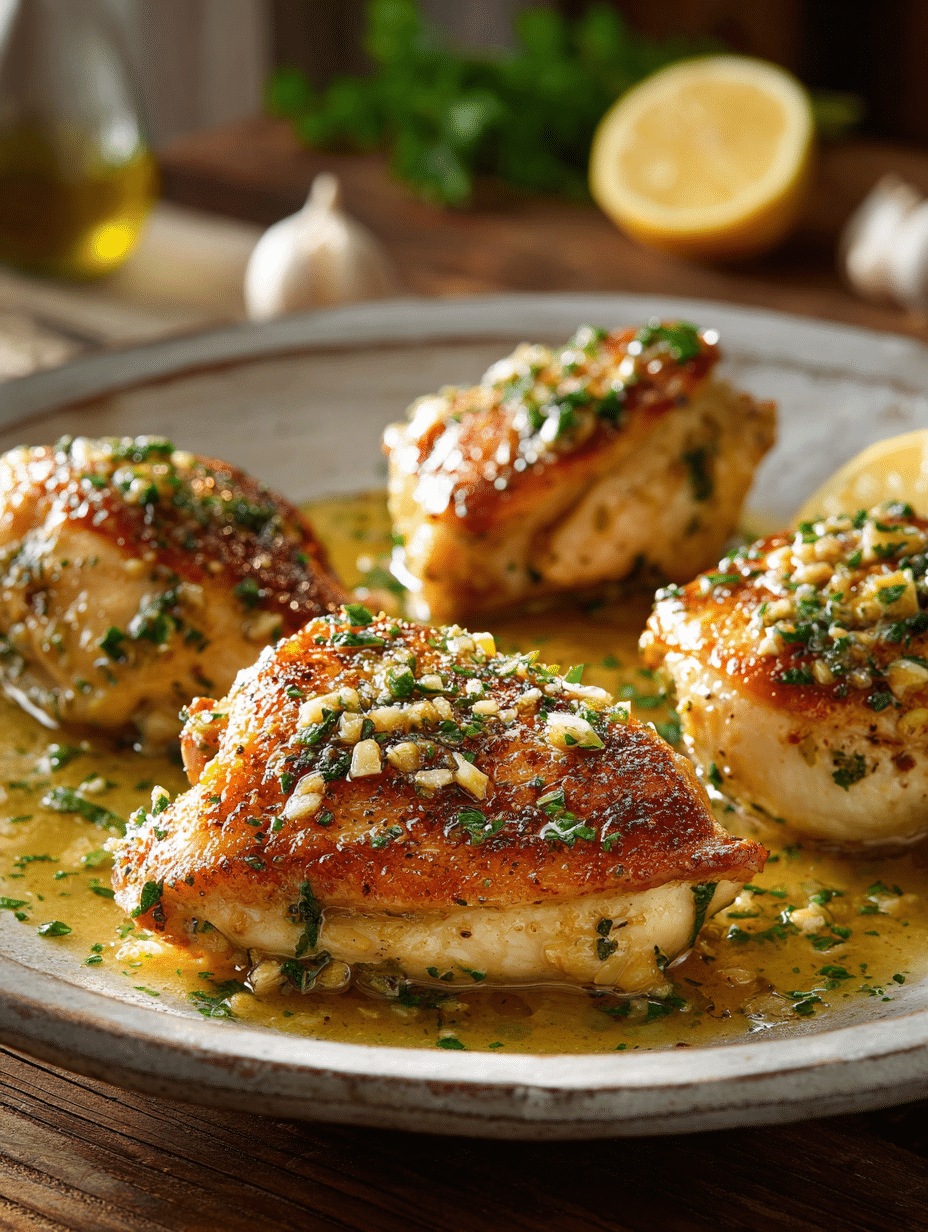
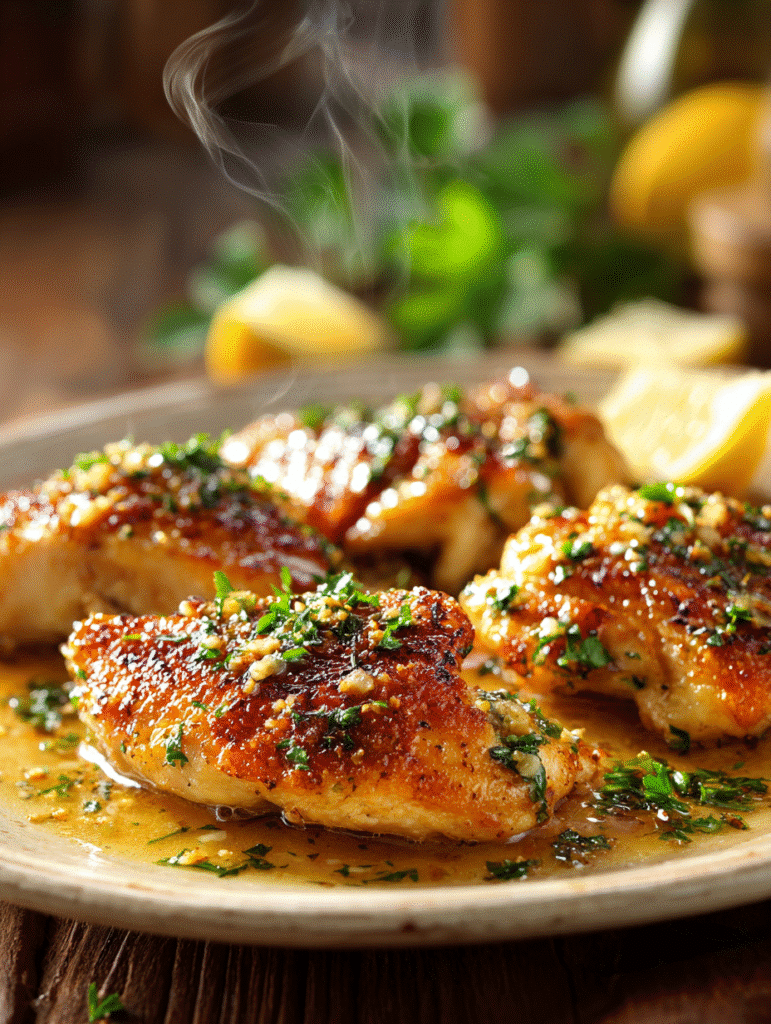
When you need simple chicken recipes that don’t sacrifice flavor for speed, this garlic butter chicken delivers every single time. With just 30 minutes from start to finish and a luxurious 4-ingredient sauce, this quick dinner idea proves that restaurant-quality meals can happen on busy weeknights. The golden, crispy exterior gives way to juicy, tender chicken bathed in a buttery, garlicky sauce that’ll have your family begging for the recipe.
Table of Contents
Why You’ll Love This Garlic Butter Chicken Recipe
This isn’t just another chicken breast recipe it’s a game-changer for home cooks who want maximum flavor with minimal fuss. The technique of butterflying the chicken ensures even cooking and creates more surface area for that gorgeous golden crust. The sauce comes together in minutes using just butter, garlic, chicken stock, and fresh parsley, yet it tastes like you’ve been simmering it for hours. It’s one of those baked chicken recipes (well, stovetop!) that works for everything from casual Tuesday dinners to impressing dinner guests.
Whether you’re new to cooking or a seasoned pro, you’ll appreciate how forgiving and flexible this recipe is. It requires basic kitchen equipment like a good frying pan and a sharp chef’s knife for butterflying the chicken, making it accessible for any home kitchen.
Ingredients You’ll Need
| Ingredient | Amount | Notes |
|---|---|---|
| Chicken breasts | 2 (9oz/250g each) | Bring to room temp for even cooking |
| All-purpose flour | 1/4 cup (40g) | For dredging |
| Chicken stock | 1/2 cup (120ml) | Low-sodium preferred |
| Unsalted butter | 6 tbsp (90g/3.2oz) | Divided into chunks |
| Garlic cloves | 2 | Minced or finely diced |
| Fresh parsley | 1 tbsp | Finely diced |
| Olive oil | 1 tbsp | For frying |
| Garlic powder | 1 tsp | Seasoning for flour |
| Salt | 1 tsp | Plus more to taste |
| Black pepper | 1/2 tsp | Plus more to taste |
| Lemon | 1 | Cut into 4 wedges for serving |
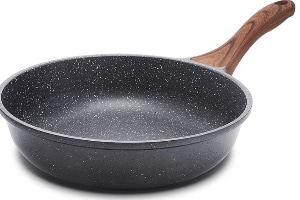
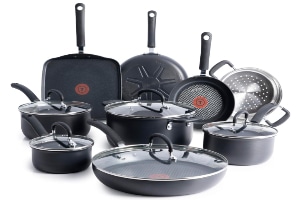
Essential Equipment for Perfect Results
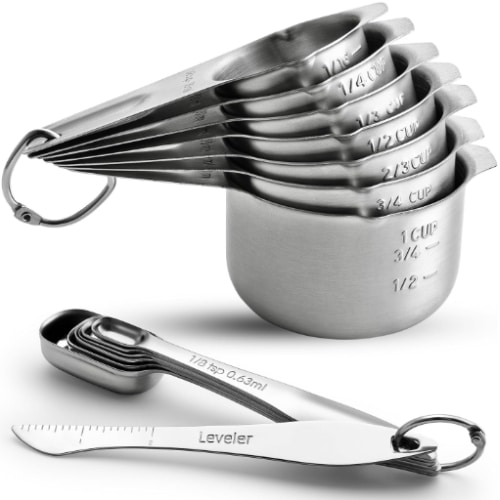
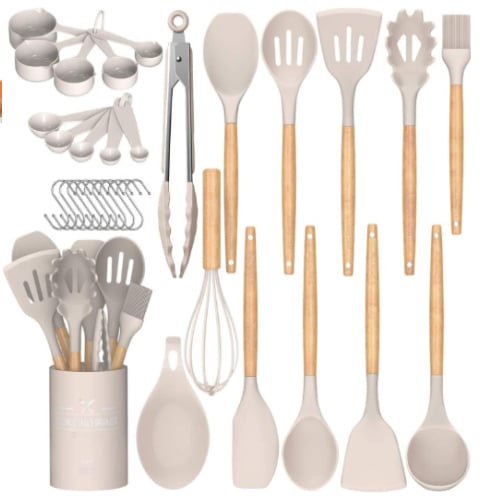
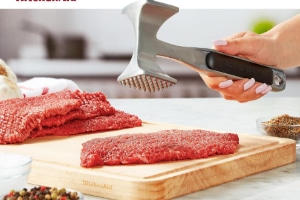
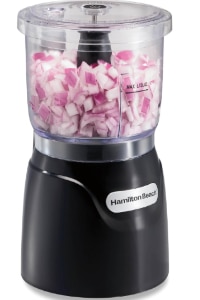
Having the right tools makes this quick dinner idea even easier to execute. You’ll need a reliable frying pan that can maintain consistent heat for that perfect golden sear. A quality chef’s knife is essential for safely butterflying your chicken breasts, and a sturdy cutting board provides a stable work surface. For measuring your ingredients accurately, keep measuring cups and spoons handy, and use mixing bowls for your flour dredging station.
Step-by-Step Instructions
Preparing the Flour Dredge
Start by setting up your dredging station in a shallow dish. Combine the 1/4 cup of all-purpose flour with 1 teaspoon each of garlic powder and salt, plus 1/2 teaspoon of black pepper. Mix these seasonings thoroughly into the flour so every piece of chicken gets evenly coated with flavor. This seasoned flour creates that gorgeous golden crust that makes this one of the best simple chicken recipes around.
Butterflying and Dredging the Chicken
Here’s where your sharp chef’s knife comes in handy. Place one chicken breast on your cutting board and, with your hand flat on top, carefully slice horizontally through the center to create two even pieces. Repeat with the second breast to create four equal portions. This technique ensures even cooking no more dry edges and raw centers! Take each butterflied piece and press it firmly into the seasoned flour, making sure to coat both sides completely. Give each piece a gentle shake to remove excess flour, then set aside while you heat your pan.
Cooking the Chicken to Golden Perfection
Add 1 tablespoon of butter and 1 tablespoon of olive oil to your large frying pan over medium-high heat. Wait until the butter is melted and the pan is hot you should see a shimmer on the surface. Carefully place your floured chicken breasts in the pan, making sure not to overcrowd them. Let them cook undisturbed for 3-5 minutes on the first side until you see a beautiful golden-brown color developing around the edges. Flip each piece using kitchen tongs and cook for another 3-5 minutes until the chicken is white and piping hot throughout. The internal temperature should reach 165°F if you’re using a kitchen thermometer. Remove the cooked chicken to a plate and set aside.
Creating the Garlic Butter Sauce
This is where the magic happens and what makes this one of the most beloved chicken breast recipes. Turn your heat down to medium and add the minced garlic directly to the same pan (don’t wipe it out all that browned flour adds incredible flavor!). Sauté the garlic for 1-2 minutes, stirring frequently, until it just begins to turn golden and fragrant. Be careful not to burn it, as burnt garlic tastes bitter. Pour in the 1/2 cup of chicken stock and use a wooden spoon or kitchen utensil to scrape up all those delicious browned bits stuck to the bottom of the pan this is called deglazing, and it’s flavor gold.
Now add your remaining 5 tablespoons of butter, divided into chunks. As the butter melts into the hot stock, whisk it swiftly and continuously. You’ll see the sauce transform from clear to slightly cloudy as the butter emulsifies with the stock, creating a silky, restaurant-quality sauce. Sprinkle in the finely diced fresh parsley and season to taste with additional salt and black pepper. If you have a whisk or wooden spoon handy, keep stirring to maintain that smooth consistency.
Finishing and Serving
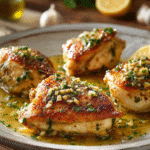
Let the sauce simmer for a few minutes until it begins to thicken slightly, then reduce the heat to low. Add your cooked chicken back into the pan, spooning the luscious garlic butter sauce over each piece. Let the chicken warm through for a minute or two, then serve immediately. Plate each portion with extra sauce drizzled generously on top, and finish with a squeeze of fresh lemon juice for brightness. The acidity of the lemon cuts through the richness of the butter and makes every bite perfectly balanced.
Pro Tips for the Best Results
Room Temperature Matters: Taking your chicken breasts out of the refrigerator 20-30 minutes before cooking ensures more even cooking and better texture. Cold chicken hitting a hot pan can seize up and cook unevenly.
Don’t Skip the Butterflying: This technique is what makes this such a reliable quick dinner idea. Thinner pieces cook faster and more evenly than thick, whole breasts.
Control Your Heat: If your pan is too hot, the flour coating will burn before the chicken cooks through. Medium-high heat is perfect for achieving that golden crust without burning.
Emulsify the Sauce: The whisking step when adding butter to the stock isn’t just for show it creates a cohesive, creamy sauce rather than separated butter floating on top of stock.
Fresh Garlic is Key: Pre-minced garlic from a jar won’t deliver the same punch of flavor. Use a garlic press if mincing isn’t your thing, but definitely use fresh cloves.
Serving Suggestions
This garlic butter chicken is incredibly versatile. Serve it over creamy mashed potatoes to soak up that incredible sauce, or pair it with pasta for a complete meal. Roasted vegetables like asparagus, green beans, or Brussels sprouts make excellent sides. For a low-carb option, serve alongside cauliflower rice or zucchini noodles. Don’t forget crusty bread for mopping up every last drop of that buttery, garlicky goodness!
Storage and Meal Prep
Store leftover garlic butter chicken in an airtight container in the refrigerator for up to 3 days. Reheat gently in a frying pan over low heat with a splash of chicken stock to refresh the sauce. You can also meal prep this recipe by cooking the chicken ahead and storing it separately from the sauce. When ready to serve, make the fresh sauce and reheat the chicken in it for the best texture and flavor.
This recipe also works beautifully for meal planning double the batch and you’ll have simple chicken recipes ready for busy weeknights all week long. The cooked chicken can be sliced and used in salads, wraps, or grain bowls too.
Frequently Asked Questions
Can I use chicken thighs instead of breasts?
Absolutely! Boneless, skinless chicken thighs work wonderfully in this recipe. They’re more forgiving and stay juicy even if slightly overcooked. Adjust cooking time as needed since thighs may take a minute or two longer.
What if I don’t have chicken stock?
You can substitute with vegetable stock, white wine, or even water in a pinch. Stock adds more depth of flavor, but the garlic and butter will still create a delicious sauce with any liquid.
Can I make this dairy-free?
While butter is a key component, you can use dairy-free butter alternatives. The sauce won’t be quite as rich, but it’ll still be tasty.
How do I know when the chicken is fully cooked?
The safest way is to use a meat thermometer chicken should reach an internal temperature of 165°F. Visually, the chicken should be white throughout with no pink, and the juices should run clear.
Can I double this recipe?
Yes! Just make sure to work in batches so you don’t overcrowd your pan. Overcrowding causes steaming instead of searing, and you’ll miss out on that golden crust.
What’s the best way to butterfly chicken safely?
Always use a sharp chef’s knife a dull knife is more dangerous. Keep your non-cutting hand flat on top of the chicken and slice horizontally with slow, controlled movements on a stable cutting board.
Why This Recipe Works
The combination of a seasoned flour coating and high-heat searing creates a flavorful crust that locks in moisture. Butterflying the chicken ensures even cooking throughout no more overcooked edges or undercooked centers. The sauce technique of emulsifying butter into stock creates a restaurant-quality result that tastes complex but uses just four simple ingredients. This is why it’s become one of the most popular chicken breast recipes for busy families.
Make It Your Own
Once you master this basic technique, feel free to experiment! Add red pepper flakes for heat, swap parsley for fresh thyme or rosemary, or stir in a splash of white wine for extra depth. Some cooks like to add a tablespoon of cream at the end for an even richer sauce. The foundation of this quick dinner idea is flexible enough to accommodate your personal taste preferences.
PrintGolden Garlic Butter Chicken in 30 Minutes (4-Ingredient Sauce!)
This golden garlic butter chicken is ready in just 30 minutes and features perfectly pan-seared chicken breasts smothered in a luscious 4-ingredient garlic butter sauce. The secret? Butterflying your chicken for even cooking and a silky emulsified sauce that delivers restaurant-quality flavor on busy weeknights.
- Prep Time: 10
- Cook Time: 20
- Total Time: 30
- Yield: 4
- Category: Main Course
- Method: Pan-Frying
- Cuisine: American
Ingredients
2 chicken breasts (9oz/250g each), brought close to room temperature
1/4 cup (40g) plain/all-purpose flour
1/2 cup (120ml) chicken stock
6 tablespoons (90g/3.2oz) unsalted butter, divided into tablespoon chunks
2 cloves garlic, minced or finely diced
1 tablespoon finely diced fresh parsley
1 tablespoon olive oil
1 teaspoon garlic powder
1 teaspoon salt, plus more to taste
1/2 teaspoon black pepper, plus more to taste
1 lemon, divided into 4 wedges for serving
Instructions
1. In a shallow dish, combine 1/4 cup flour with 1 tsp garlic powder, 1 tsp salt, and 1/2 tsp black pepper.
2. Butterfly your chicken breasts right through the center to make 4 even-sized breasts. One by one, dredge in the flour (press in the flour to get even coverage), give them a shake, then place to one side.
3. Add 1 tbsp butter and 1 tbsp olive oil to a large pan over medium-high heat. When hot, add the chicken breasts and fry until golden on each side and white/piping hot through the center, approximately 3-5 minutes each side depending on thickness. Place to one side.
4. Turn heat down to medium and add garlic. Fry for 1-2 minutes until it just begins to brown, then pour in stock. Use your wooden spoon to scrape off any flavor stuck to the pan, then add in your remaining 5 tbsp butter. Swiftly whisk as it melts to bind with the stock—it should turn slightly cloudy. Sprinkle in parsley and season to taste with salt and black pepper.
5. Allow to simmer for a few minutes until it starts to thicken, then turn down the heat to low and add the chicken back in. Spoon over the sauce, then serve up with extra sauce drizzled over and a squeeze of lemon juice to taste.
Notes
Bring chicken to room temperature 20-30 minutes before cooking for even results.
Use unsalted butter so you can control the salt level in your sauce.
Don’t skip the deglazing step—those browned bits add incredible flavor.
Fresh garlic is essential for the best flavor.
Internal temperature should reach 165°F for food safety.
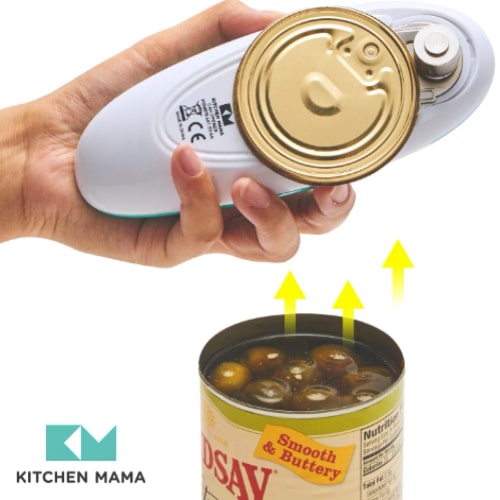
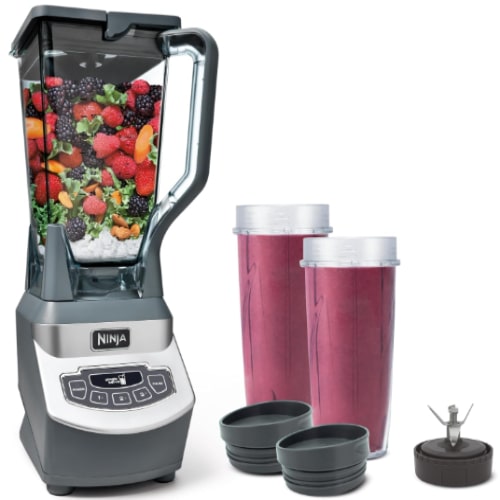
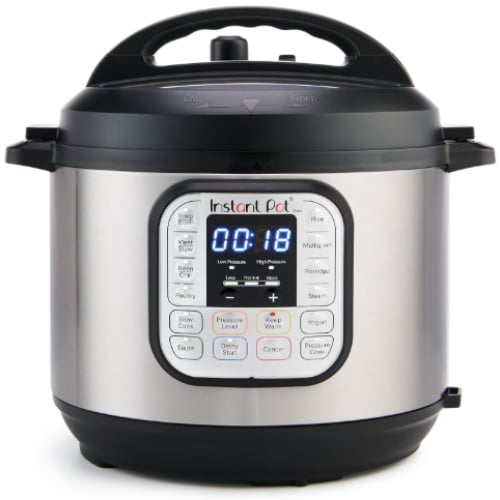
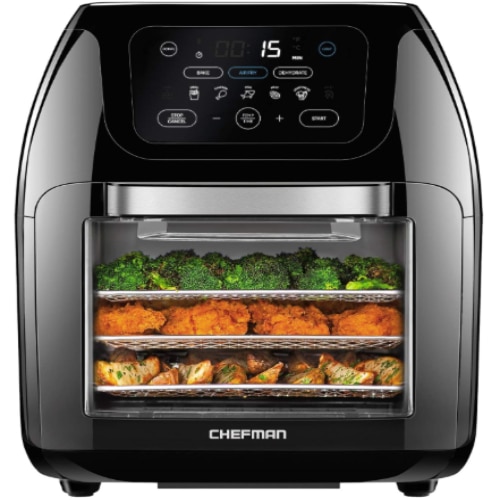
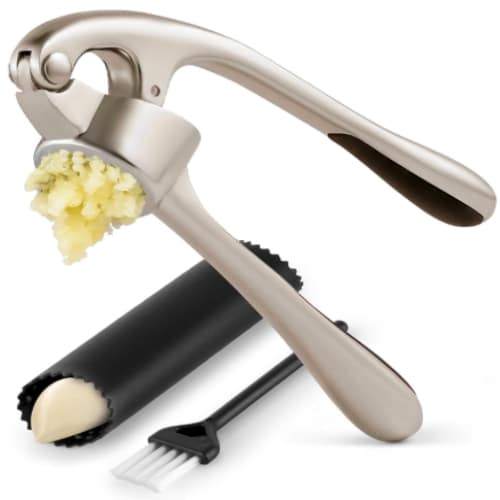
If you found this recipe helpful, feel free to check out the kitchen equipment below. Click on any image to view and purchase the product through our Amazon affiliate links at no extra cost to you. Your support helps us keep Deliciousavors.com running and bringing you great recipes!
Essential Kitchen Equipment