I may earn a small commission if you make a purchase through links in this post, at no extra cost to you.
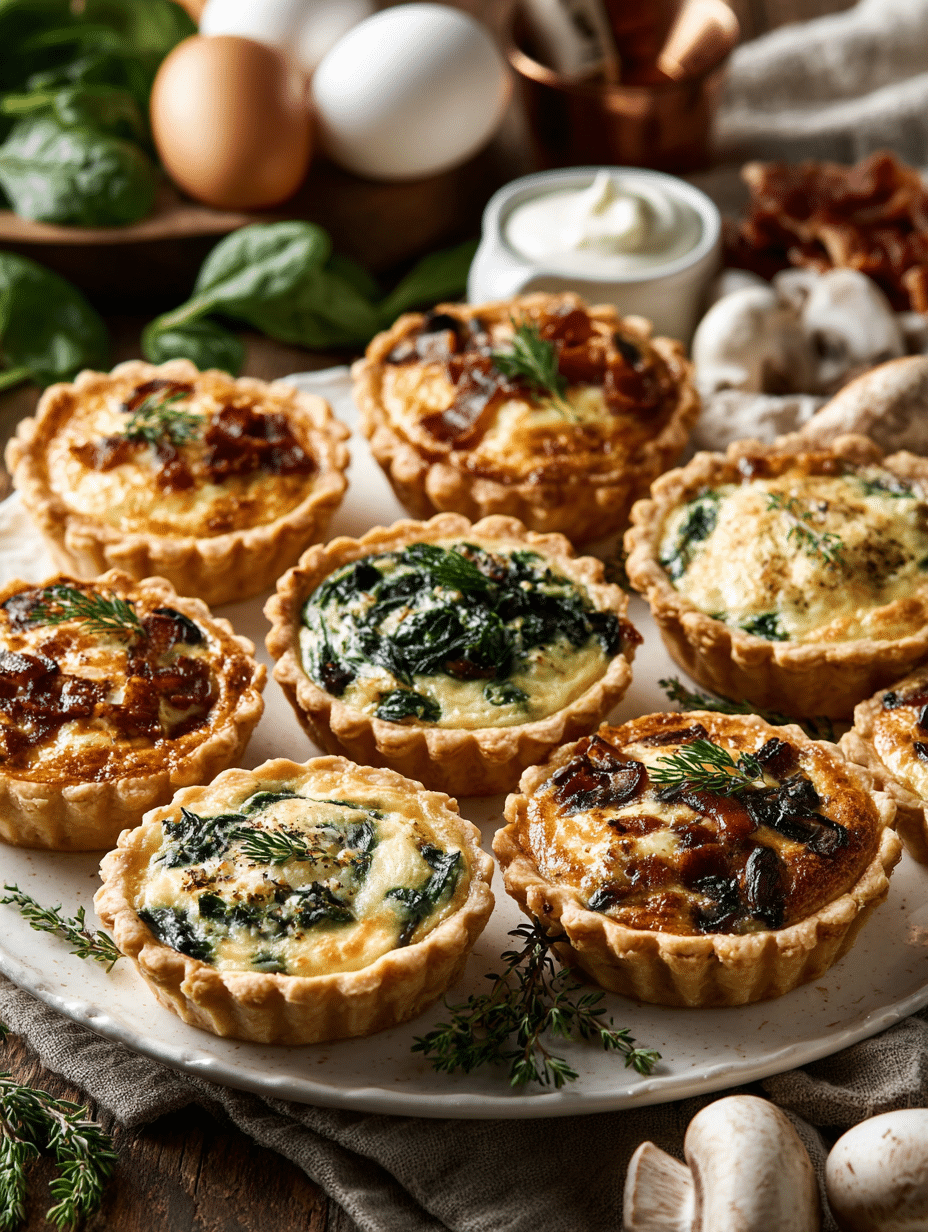
Looking for impressive Christmas dinner ideas that don’t require hours in the kitchen? These Easy Mini Quiches are the answer to your holiday cooking prayers. With just two unbaked pie crusts, a silky egg custard, and your favorite mix-ins, you’ll create 48 elegant, bite-sized quiches that feel gourmet but come together surprisingly fast. Whether you’re preparing Christmas meals for a crowd or looking for sophisticated holiday treats, these mini quiches deliver restaurant-quality results with minimal fuss.
Table of Contents
Why Mini Quiches Are the Ultimate Holiday Food
Mini quiches have become a staple for Christmas dinner recipes because they offer the perfect balance of elegance and ease. Unlike traditional large quiches that require careful slicing and serving, these individual bites are grab-and-go friendly, making them ideal for buffet-style entertaining or plated courses. They’re customizable to your guests’ preferences, freezer-friendly, and taste just as delicious served warm or at room temperature. For anyone seeking holiday food ideas that feel special without added stress, mini quiches are genuinely game-changing.
Essential Equipment for Success
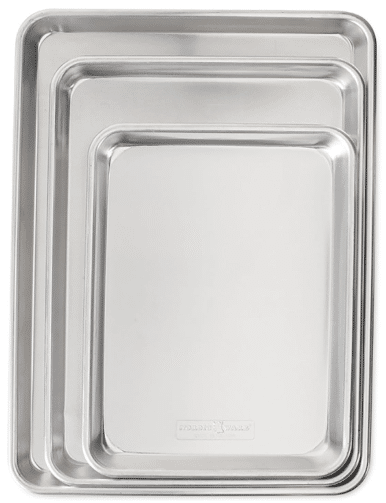
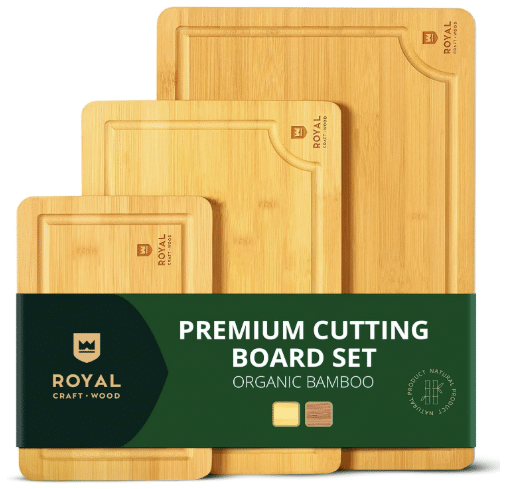
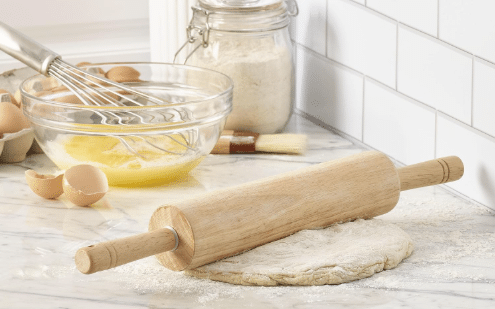
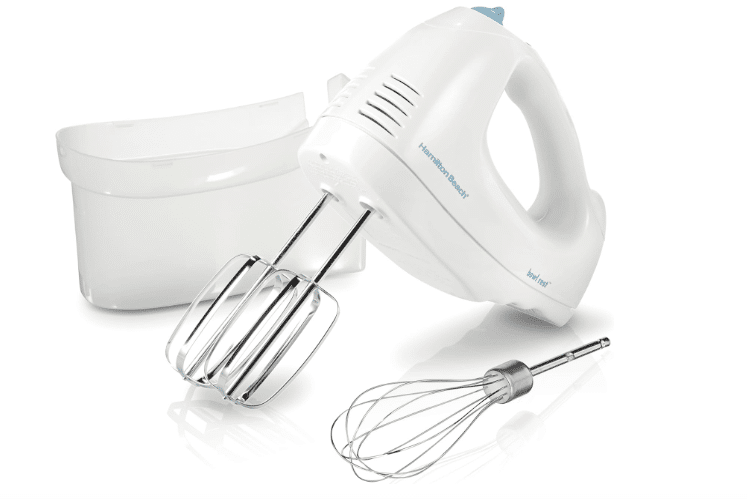
To create these beautiful Christmas sweets, you’ll need a few key tools. Start with quality baking sheets to prepare your dough. A sturdy rolling pin makes shaping pie dough effortless, while a cutting board provides the perfect work surface. You’ll want a 2.5 inch cookie cutter (or measuring cup) to cut uniform roundsconsistency matters for even baking. When it comes to mixing your egg custard, a handheld or stand electric mixer with a whisk attachment ensures perfectly combined filling. A 24-count mini muffin pan is essential in fact, you’ll need two. Quality kitchen utensils like spatulas and spoons help with the assembly process. Finally, invest in an excellent oven that maintains consistent temperature for perfect baking results.
Ingredients You’ll Need
Creating these Christmas dinner ideas requires simple, quality ingredients:
| Ingredient | Amount |
|---|---|
| Unbaked Flaky Pie Crust | 2 crusts |
| Large Eggs | 4 |
| Whole Milk | 1/2 cup |
| Heavy Cream or Heavy Whipping Cream | 1/2 cup |
| Salt | 1/4 teaspoon |
| Pepper | 1/4 teaspoon |
| Add-ins (See Recipe Note) | 3/4 cup |
| Shredded or Crumbled Cheese | 1/2 cup |
Recipe Note on Add-ins: Choose from cooked bacon bits, diced ham, sautéed mushrooms, caramelized onions, fresh herbs, diced bell peppers, spinach, sun-dried tomatoes, or any combination totaling 3/4 cup. Mix and match to create multiple flavor variations!
Step-by-Step Instructions for Perfect Mini Quiches
Preparation Phase
1. Prepare Pie Dough in Advance
The secret to flawless mini quiches starts with proper planning. Make your pie dough the night before because it needs at least 2 hours of refrigeration before using. This chilling time is non-negotiable it prevents shrinkage during baking and ensures tender, flaky crusts. Use either a Flaky Pie Crust or All Butter Pie Crust depending on your preference. Both deliver outstanding results for these holiday treats.
2. Mix Your Egg Custard
In a large bowl, combine 4 large eggs, 1/2 cup whole milk, 1/2 cup heavy cream, 1/4 teaspoon salt, and 1/4 teaspoon pepper. If using an electric mixer with a whisk attachment, beat on high speed for about 1 minute until completely combined and slightly frothy. This ensures even texture throughout. Without a mixer, simply whisk vigorously by hand for 2-3 minutes until well blended. Cover the bowl and refrigerate until step 6 this helps the custard set more evenly during baking.
Shaping Phase
3. Preheat and Prepare Pans
Preheat your oven to 375°F (191°C). Using nonstick spray, generously grease two 24-count mini muffin pans. This step is crucial for easy removal. If you only have one pan, you’ll bake in batches roll, fill, and bake the first batch, then repeat with the second pie dough.
4. Roll and Cut Pie Dough
Working with one chilled pie dough at a time, place it on a floured cutting board or work surface. Using a rolling pin, gently roll into a 12-inch circle, about 1/8-inch thick. Use your warm hands to mold any cracking edges back together this is normal and easily fixed.
Using a 2.5-inch cookie cutter (or a 1/3 cup measuring cup if you don’t have a cutter), cut rounds from the dough. You’ll need to re-roll dough scraps several times to maximize your yield. Work quickly because the dough becomes more delicate as it warms to room temperature. Each pie crust yields approximately 24 rounds. Repeat with the second pie dough for a total of about 48 rounds.
5. Line the Muffin Pans
Carefully place each dough round into the greased 24-count mini muffin pan. Press the dough gently but firmly into the bottom of each crevice and up the sides, creating a shallow cup. Don’t worry about perfect uniformity rustic edges add charm and character to these Christmas food ideas.
Filling and Baking Phase
6. Fill with Custard and Toppings
Pour the chilled egg filling evenly into each unbaked crust, filling about three-quarters full. Top each quiche evenly with your chosen add-ins, then sprinkle 1/2 teaspoon of shredded or crumbled cheese over each one. The cheese creates a beautiful golden top and adds savory depth.
7. Bake Until Golden
Bake your mini quiches in the preheated oven for 25-28 minutes, or until the center is just about set and the edges are lightly browned. The centers should have a slight jiggle when you gently shake the pan this residual heat will continue cooking them to perfection. Don’t overbake, as this can cause the custard to become rubbery.
8. Cool and Remove
Allow the mini quiches to cool in the pans for 5 minutes. If you’ve greased the pans well, they’ll pop right out with gentle encouragement from a small spoon. Serve warm or at room temperature both are equally delicious for Christmas dinner.
Helpful Tips for Success
Make-Ahead Magic: These mini quiches are perfect for advance preparation. Assemble them the morning of your event, cover with plastic wrap, and refrigerate until baking. This makes them ideal for busy holiday cooking schedules.
Flavor Combinations: Think beyond the basic; create variety by making multiple batches with different add-ins. Classic combinations include bacon and cheddar, spinach and feta, or mushroom and gruyere. Label each batch so guests know what they’re enjoying.
Freezer-Friendly: Cool completely, then freeze in a single layer on a baking sheet before transferring to freezer bags. Reheat in a 300°F oven for 10-15 minutes until warmed through. This makes them perfect for Christmas sweets that you can prepare weeks in advance.
Scaling Up: Need more than 48? Simply double the recipe and prepare four pie crusts. The instructions remain the same just bake in batches if your oven space is limited.
Add-In Prep: Pre-cook raw vegetables and meats before adding to the custard. This ensures everything is fully cooked and safe to eat, especially important for holiday food served to diverse guests.
Storage and Leftovers
These mini quiches make excellent leftovers for your Christmas meals planning. Store cooled quiches in an airtight container in the refrigerator for up to 4 days. Reheat gently in a 300°F oven for about 10 minutes. For longer storage, freeze cooled quiches for up to 3 months.
FAQ About Mini Quiches
Q: Can I make mini quiches without a electric mixer?
A: Absolutely! Simply whisk the egg mixture vigorously by hand for 2-3 minutes until well combined. A handheld mixer isn’t necessary, though it does streamline the process.
Q: What’s the best way to prevent soggy crusts?
A: Ensure your pie dough is properly chilled before using. Also, don’t overfill with custard fill about three-quarters full. The brief cooling period after baking helps set the custard.
Q: Can I use store-bought pie crusts?
A: Yes, store-bought unbaked pie crusts work wonderfully and save time. Thaw according to package directions before rolling and cutting.
Q: How do I know when mini quiches are done baking?
A: The edges should be lightly golden brown, and the centers should have a slight jiggle when gently shaken. They’ll continue cooking slightly as they cool.
Q: Are mini quiches suitable for vegetarian guests?
A: Yes! Simply skip the meat add-ins and focus on vegetables, herbs, and cheese. They’re naturally adaptable to dietary preferences for holiday treats everyone enjoys.
Q: Can I prepare the filling the day before?
A: Yes, the egg custard can be made and refrigerated up to 24 hours ahead. Just give it a quick whisk before using to recombine any settled ingredients.
Easy Mini Quiches: 48 Holiday Bites Perfect for Christmas Dinner

Create 48 elegant, bite-sized mini quiches perfect for Christmas dinner. These impressive holiday treats combine flaky pie crust with a silky custard filling, customizable with your favorite add-ins and cheese. Make them ahead, serve warm or room temperature ideal for holiday entertaining.
- Prep Time: 20
- Cook Time: 28
- Total Time: 48
- Yield: 48
- Category: Appetizer, Breakfast, Brunch
- Method: Baking
- Cuisine: American, French
- Diet: Vegetarian
Ingredients
2 unbaked Flaky Pie Crusts (or All Butter Pie Crust)
4 large eggs
1/2 cup whole milk
1/2 cup heavy cream or heavy whipping cream
1/4 teaspoon salt
1/4 teaspoon pepper
3/4 cup add-ins (cooked bacon bits, diced ham, sautéed mushrooms, caramelized onions, fresh herbs, diced bell peppers, spinach, or sun-dried tomatoes)
1/2 cup shredded or crumbled cheese
Instructions
1. Prepare pie dough the night before and chill in refrigerator for at least 2 hours
2. In a large bowl with a handheld or stand mixer fitted with whisk attachment, beat eggs, whole milk, heavy cream, salt, and pepper together on high speed for about 1 minute until completely combined
3. Cover egg filling and refrigerate until step 6
4. Preheat oven to 375°F (191°C) and grease two 24-count mini muffin pans with nonstick spray
5. Roll out first chilled pie dough onto a floured work surface into a 12-inch circle
6. Use a 2.5-inch cookie cutter or measuring cup to cut rounds from the dough, re-rolling scraps as needed to get about 24 rounds per crust
7. Place dough rounds into greased muffin pans and press flat into the bottom and up the sides of each crevice
8. Repeat rolling, cutting, and panning process with second pie dough for a total of about 48 rounds
9. Evenly pour cold egg filling into each unbaked crust, filling about three-quarters full
10. Top each quiche evenly with your chosen add-ins, then sprinkle each with cheese
11. Bake until the center is just about set and edges are lightly browned, about 25-28 minutes
12. Allow to cool for 5 minutes before removing from the pan using a spoon to scoop them up
13. Serve warm or at room temperature
Notes
Make-Ahead Tip: Assemble quiches the morning of your event, cover with plastic wrap, and refrigerate until baking time.
Freezer-Friendly: Cool completely, freeze in single layer on a baking sheet, then transfer to freezer bags for up to 3 months. Reheat at 300°F for 10-15 minutes.
Storage: Cover tightly and store in the refrigerator for up to 4 days.
Flavor Variations: Try bacon and cheddar, spinach and feta, mushroom and gruyere, or ham and swiss.
Pre-cook all raw vegetables and meats before adding to ensure food safety.
If you found this recipe helpful, feel free to check out the kitchen equipment below. Click on any image to view and purchase the product through our Amazon affiliate links at no extra cost to you. Your support helps us keep Deliciousavors.com running and bringing you great recipes!