This post may contain affiliate links. Please read our disclosure policy.
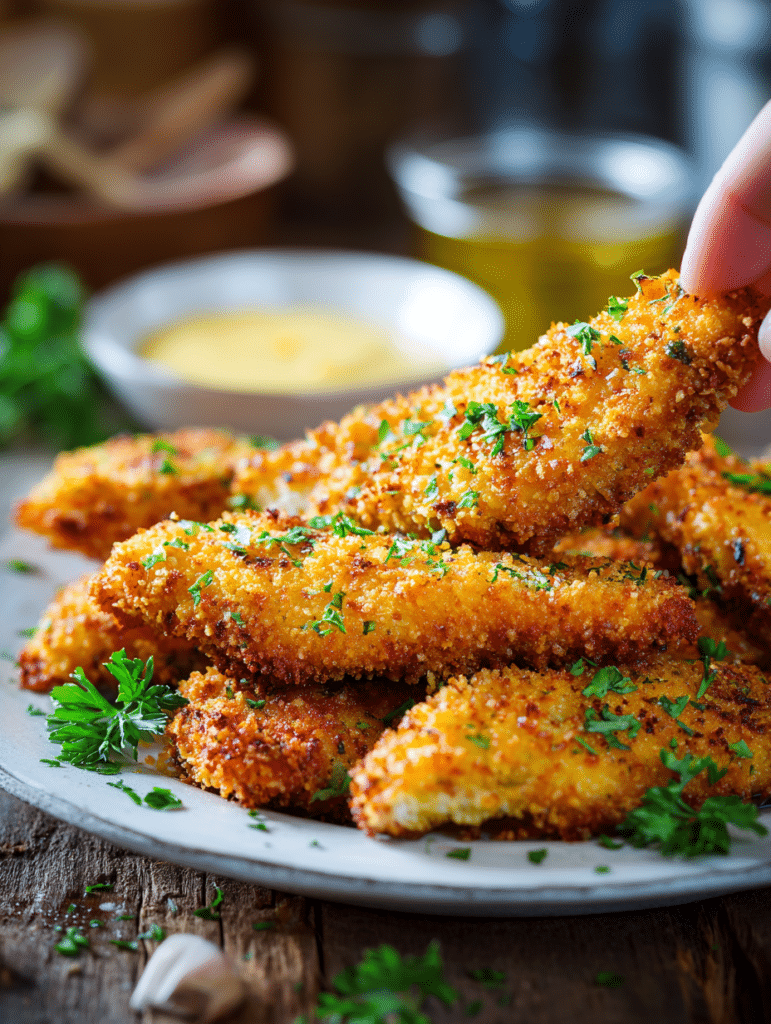
Looking for a healthy dinner idea that’s always a hit with kids and adults? These homemade Crispy Baked Chicken Tenders deliver all the crunch and juiciness you crave in just 30 minutes, without deep frying. Whether it’s supper for the family, an easy weeknight meal, or a kid-friendly dinner you can whip up any night, this recipe combines convenience, taste, and nutrition making it a staple for busy households everywhere.
Table of Contents
Why You’ll Love These Chicken Tenders
- Quick and easy for weeknights
- Baked, not fried cutting down on calories and mess
- Perfect for cheap dinners for a family or meal prepping
- Ideal for kid-friendly dinners and picky eaters
- Uses common pantry ingredients
Ingredient List
Make sure you have these essentials and check the suggested kitchen equipment for the best results.
| Ingredient | Quantity |
|---|---|
| Panko breadcrumbs | 1 1/2 cups |
| Oil spray | As needed |
| Egg | 1 |
| Mayonnaise | 1 tbsp |
| Dijon mustard | 1 1/2 tbsp |
| All-purpose flour | 2 tbsp |
| Salt | 1/2 tsp |
| Black pepper | To taste |
| Chicken tenderloins | 500g / 1 lb |
| Oil spray (for baking) | As needed |
Recommended Kitchen Equipment
- Baking sheets (shop here)
- Mixing bowls (shop here)
- Measuring cups and spoons set (shop here)
- Chef’s knives (shop here)
- Cutting board (shop here)
- Oven (shop here)
- Kitchen utensils (shop here)
Step-by-Step Instructions
Follow these easy steps to make your tenders crispy and delicious every time.
- Preheat oven to 200°C/390°F (180° fan-forced).
- Toast panko breadcrumbs:
Spread panko on baking sheet, spray lightly with oil, and bake for 3-5 minutes until golden. - Place a rack on a baking tray (for even baking).
- Make the batter:
Whisk together egg, mayonnaise, mustard, flour, salt, and pepper. Toss chicken pieces in the batter. - Crumb the chicken:
Using tongs, coat each piece in toasted panko, pressing to adhere. - Place chicken on rack; spray lightly with oil and sprinkle with salt if desired.
- Bake for 15 minutes for medium tenders or 20 minutes for larger pieces. Avoid overbaking.
- Serve immediately with your favorite sauce and garnish with fresh parsley.
Tips for Perfect Chicken Tenders
- Use panko breadcrumbs for the crispiest coating.
- Mayo in the batter boosts juiciness.
- Bake on a rack to avoid sogginess.
- Spray with oil for golden color, not excess fat.
- Pair with homemade honey mustard or ranch.
FAQ: Crispy Baked Chicken Tenders
Can I use chicken breast instead of tenderloins?
Yes! Cut chicken breasts into 2/3″ thick slices lengthwise for the same results.
How do I keep them crispy?
Always bake on a rack and toast panko breadcrumbs before coating for maximum crunch.
Can these be made gluten-free?
Simply swap the flour and breadcrumbs for your favorite gluten-free alternatives.
What dipping sauces pair best?
Honey mustard, BBQ, ranch, and sriracha mayo are family favorites.
Can I make these ahead?
Prepare and coat in advance, then bake fresh for ultimate texture.
Equipment for Success
Professional kitchen tools are the secret to consistent results. Upgrade your kitchen for stress-free meal prep:
- Baking sheets: amazon link
- Mixing bowls: amazon link
- Measuring cups and spoons: amazon link
- Chef’s knife: amazon link
- Cutting board: amazon link
- Oven: amazon link
- Kitchen utensils: amazon link
Crispy Baked Chicken Tenders : Easy, Family-Friendly Dinner Under 30 Minutes
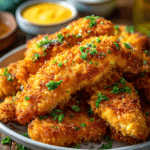
Crunchy oven-baked chicken tenders made with golden panko breadcrumbs. Perfect for family dinners and kid-friendly meals.
- Prep Time: 10 mins
- Cook Time: 20 mins
- Total Time: 30 mins
- Yield: 4 servings
- Category: Dinner
- Method: Baked
- Cuisine: American
Ingredients
1 1/2 cups panko breadcrumbs
Oil spray
1 egg
1 tbsp mayonnaise
1 1/2 tbsp dijon mustard
2 tbsp flour
1/2 tsp salt
Black pepper
500 g/1 lb chicken tenderloins
Oil spray
Instructions
1. Preheat oven to 200°C/390°F (180° fan-forced).
2. Toast panko: Spread panko on a baking tray, spray with oil, bake 3-5 mins until golden. Transfer to bowl.
3. Place rack on baking tray.
4. Whisk batter ingredients in bowl. Toss chicken in batter.
5. Coat chicken in panko, press to adhere. Transfer to tray.
6. Spray chicken, sprinkle salt. Bake 15-20 mins.
7. Serve immediately with sauce.
Notes
Bake on rack for best crispiness.
Toast panko first for extra crunch.
If you found this recipe helpful, feel free to check out the kitchen equipment below. Click on any image to view and purchase the product through our Amazon affiliate links at no extra cost to you. Your support helps us keep Deliciousavors.com running and bringing you great recipes!