Table of Contents
Table of Contents
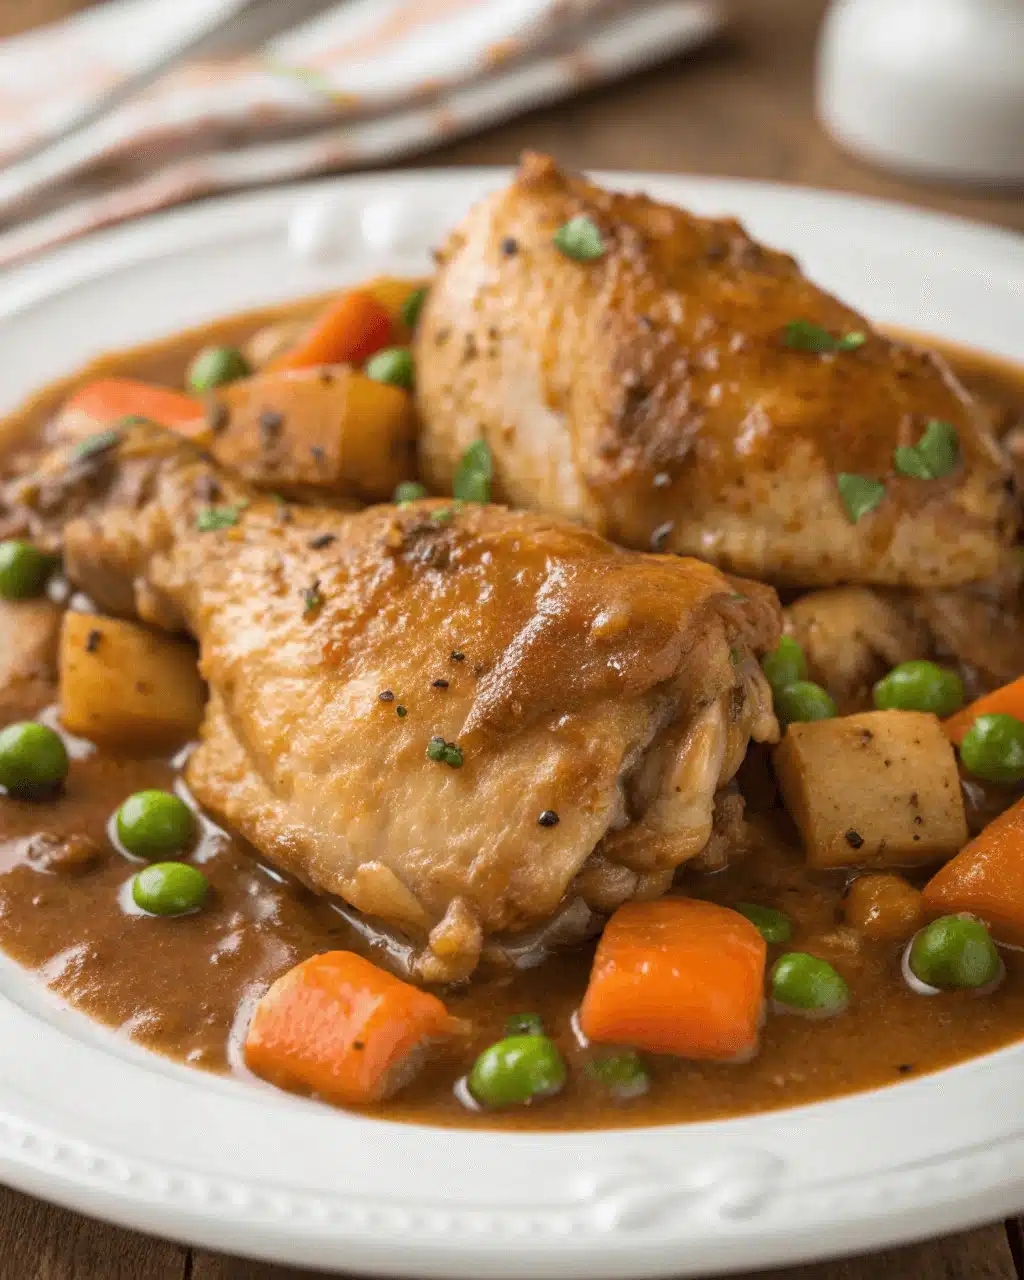
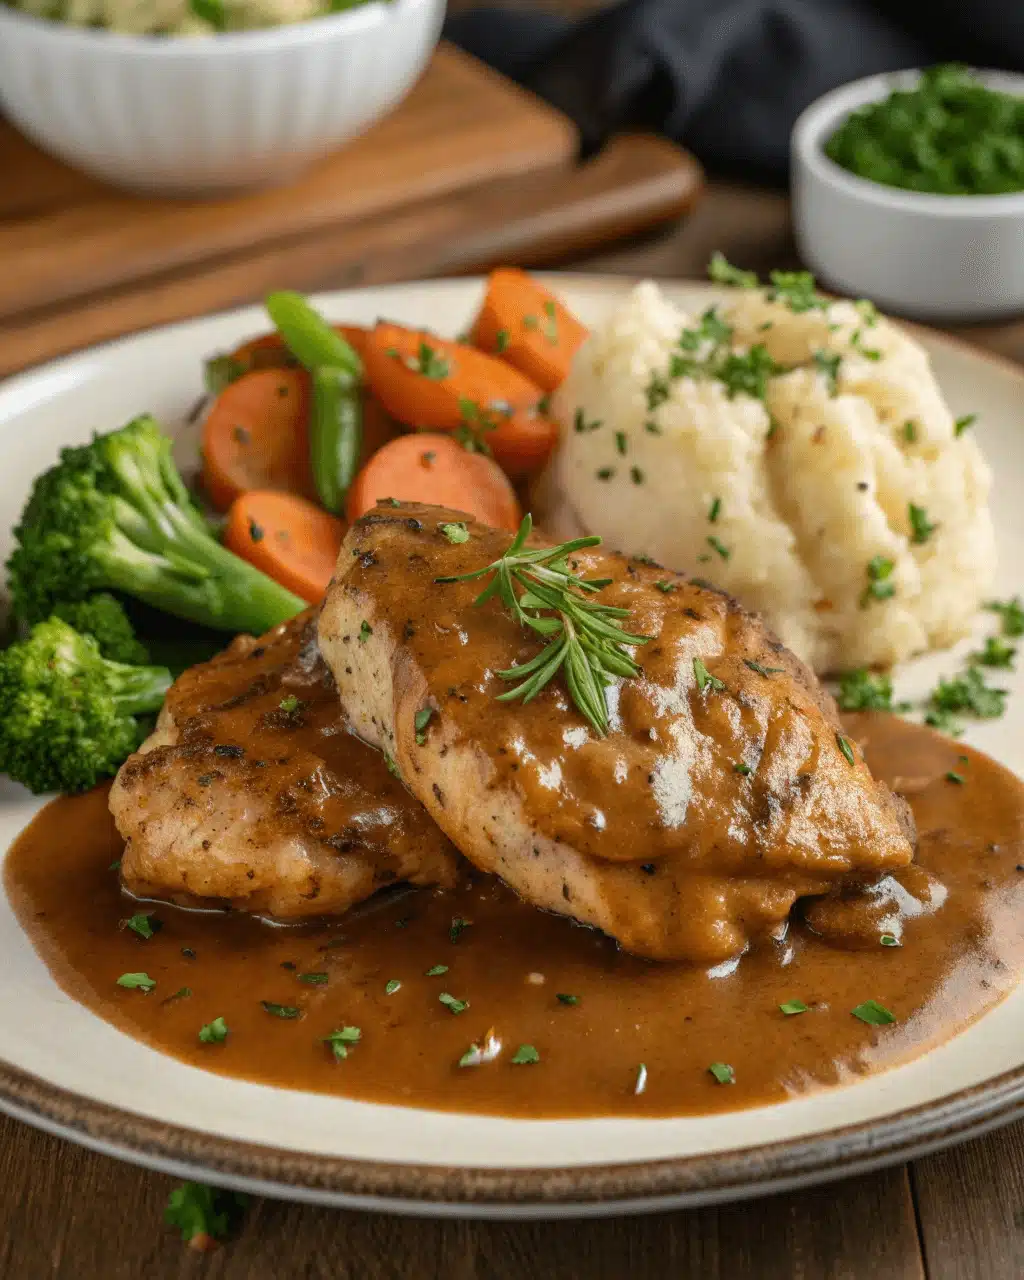
Chicken and Gravy: Classic Comfort with Southern Heart
There’s something deeply comforting about chicken and gravy. Just the words bring back memories of my childhood kitchen in Madison, Georgia. The smell of roasted chicken filled the air, and the gravy bubbled softly on the stove while my mom whisked with one hand and tested seasoning with the other. She always said the secret to good gravy was love and patience, and I believe it to this day.
Whether it was a casual Sunday supper or a holiday meal, this dish never failed to bring people together. Now, I’ve added a little twist of my own, learned through trial, error, and a lot of happy taste testers. Today, I’m sharing my go-to method for making chicken and gravy that’s rich, flavorful, and entirely doable in your own kitchen. This is comfort food at its most honest and delicious. So grab your skillet, and let’s get started with this chicken and gravy recipe that’s sure to become a favorite.
You’ll also find answers to questions like what makes a gravy a gravy and how this dish compares to favorites like KFC chicken gravy in the FAQ section later in the article.
The Story & Intro: Why We Love Chicken and Gravy
A Southern Tradition With a Personal Twist
Chicken and gravy is more than just a meal. It’s part of our Southern DNA. Every kitchen has its own method, and every family has its stories. I still remember when I learned how to make it from scratch without reaching for a packet. That felt like a rite of passage. My method uses juicy, bone-in chicken thighs, a good cast iron pan, and flour browned just right for that perfect roux. It’s hearty, unpretentious, and every bite reminds you why home cooking will always matter.
This dish is right at home next to comforting casseroles like chicken pot pie or a rustic funeral potato bake. It’s versatile enough to sit on a dinner plate during the week or star at a Sunday table surrounded by loved ones.
Making It Approachable for Every Cook
What makes this chicken and gravy recipe different is its ease. You don’t need fancy ingredients. You just need solid steps and a little care. Instead of thickening with cornstarch or relying on broth cubes, this version builds flavor right from the pan. Sear the chicken first, scrape the brown bits, add a little garlic and onion, then simmer everything in homemade gravy until it’s fork-tender.
This is the kind of recipe that rewards patience and makes the whole kitchen smell like comfort. Once you taste how the gravy coats each bite of juicy chicken, you’ll understand why this dish is a staple across so many Southern homes.
PrintChicken and Gravy: 5 Irresistible Ways to Enjoy It Today
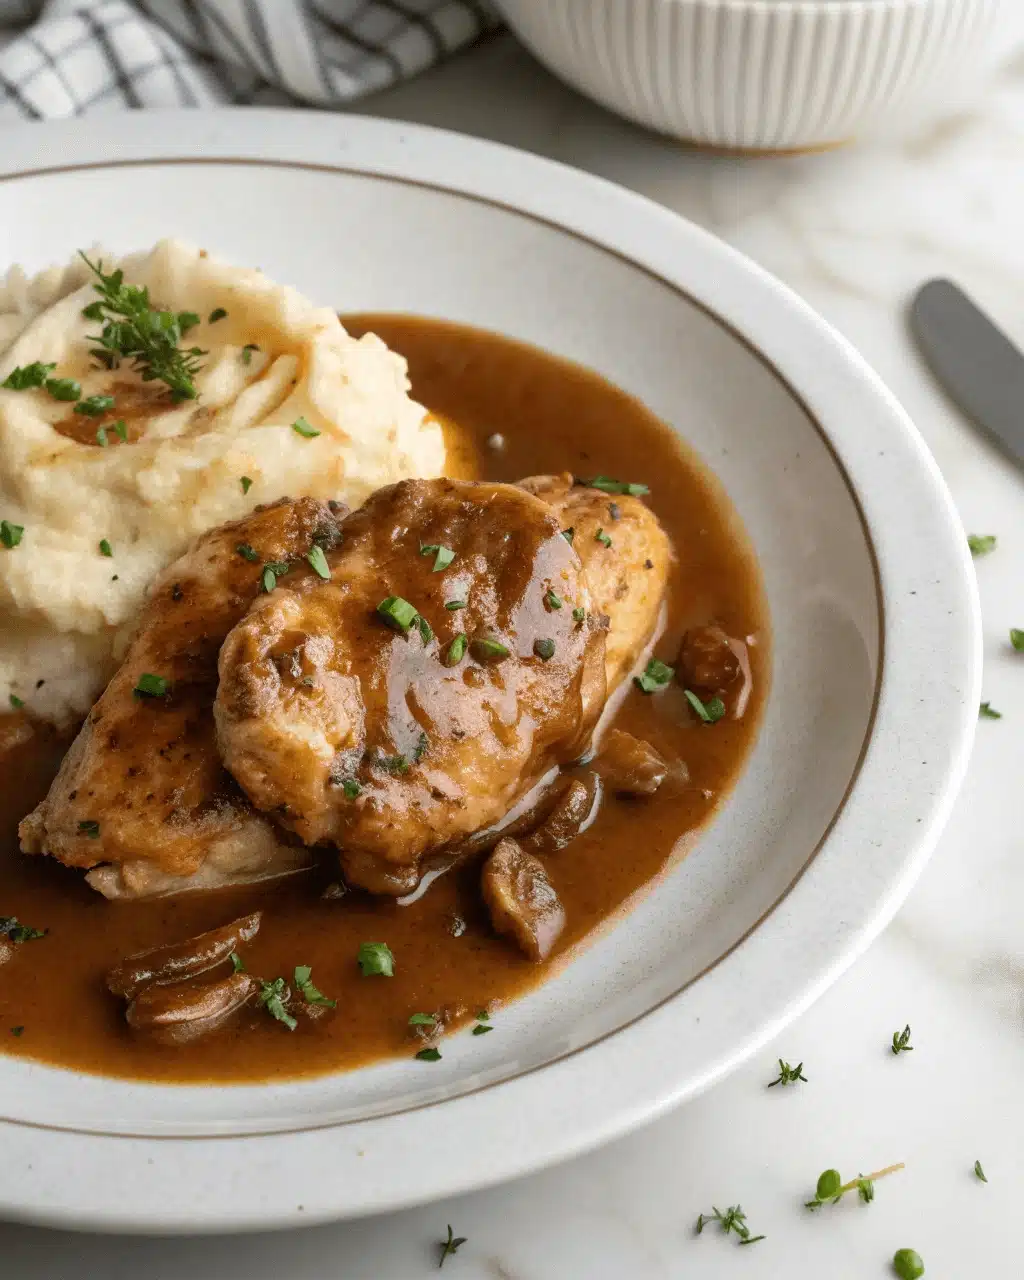
This Southern-style chicken and gravy recipe features bone-in chicken simmered in a homemade pan gravy. It’s rich, savory, and perfect over mashed potatoes or rice.
- Prep Time: PT10M
- Cook Time: PT30M
- Total Time: PT40M
- Yield: 4 servings
- Category: Main Dish
- Method: Stovetop
- Cuisine: Southern American
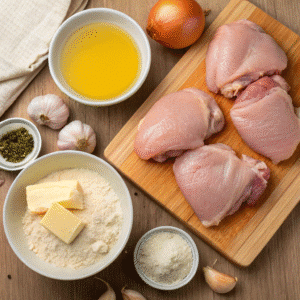
Ingredients
4 bone-in, skin-on chicken thighs
2 tablespoons all-purpose flour
2 tablespoons butter or pan drippings
1 ½ cups chicken broth
1 small onion, diced
1 clove garlic, minced
½ teaspoon salt
¼ teaspoon black pepper
Instructions
Step 1: Season and sear chicken thighs in a large skillet until golden, then set aside.
Step 2: Add butter to the pan and sauté onion and garlic until soft.
Step 3: Stir in flour to make a roux and cook for 1 minute, stirring constantly.
Step 4: Gradually add chicken broth while whisking to create a smooth gravy.
Step 5: Return chicken to the pan and simmer in the gravy for 25 to 30 minutes, until cooked through.
Notes
Use bone-in chicken for the richest flavor.
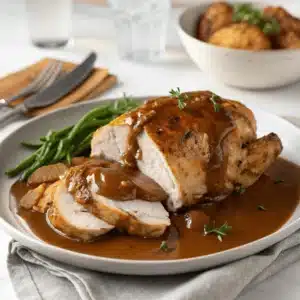
Serve over mashed potatoes, rice, or biscuits.
Add herbs like thyme or rosemary if desired.
Cooking the Perfect Chicken and Gravy at Home
Chicken and gravy might be a humble dish, but getting it just right takes a few simple tricks. When done well, it delivers incredible depth of flavor with just a handful of ingredients. Here’s how to make it foolproof, flavorful, and satisfying every time.
Building Flavor From the Pan Up
The heart of this dish is the gravy. And the best gravy doesn’t come from a jar. It starts in the same pan where the chicken was seared. Those browned bits left behind, called fond, are gold. They create the base of a gravy that’s rich, savory, and full of character.
Start by browning bone-in, skin-on chicken thighs or legs in a cast iron skillet. Once the skin is crisp and golden, set the chicken aside and reduce the heat. Add butter or the drippings left in the pan, then stir in flour to form a roux. Slowly whisk in chicken broth or stock and bring it to a gentle simmer. Scrape up all that flavor from the bottom of the pan as the gravy thickens.
Return the chicken to the pan, nestling it into the gravy, and let it simmer until tender. The meat becomes juicy, and the gravy infuses with flavor. It’s the kind of dish that makes the house smell incredible before the first bite is ever taken.
If you’ve ever made dishes like marry me chicken pasta or garlic parmesan chicken pasta, then you already know how powerful a good pan sauce can be. This gravy takes that same idea and simplifies it into pure Southern comfort.
What to Eat With Chicken and Gravy
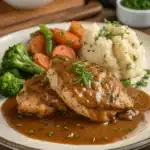
Pairing sides with chicken and gravy is where the real fun begins. Mashed potatoes are the classic choice. Their soft, buttery texture is perfect for catching every bit of gravy. But don’t stop there.
You can also serve it over fluffy white rice, warm buttermilk biscuits, or thick slices of toasted bread. I’ve even ladled the gravy over pillsbury pot pie crust for a shortcut chicken pie that tastes like you spent hours on it.
For veggies, roasted carrots, steamed green beans, or sautéed greens make ideal partners. Keep it simple. The gravy does the heavy lifting.
Whether you’re cooking on a budget or just want something soulful and filling, this is a meal that delivers on all fronts. The next time you need something grounding and real, chicken and gravy will be waiting.
What Makes Chicken and Gravy So Meaningful
This isn’t just about ingredients or cooking time. Chicken and gravy represents comfort, tradition, and togetherness. It’s the kind of dish that carries a story with every bite. Whether it shows up at weeknight dinners, holiday tables, or after-church lunches, it always feels like home.
What Is the Meaning of Chicken Gravy?
Chicken gravy, in its simplest form, is a sauce made from chicken drippings, flour, and broth. But beyond that, it’s a symbol of Southern resourcefulness and warmth. In kitchens where nothing went to waste, cooks would use every drop of flavor left behind in the skillet. The gravy wasn’t just a sauce. It was a way to stretch a meal and make it even more nourishing.
There’s a deep satisfaction in pouring homemade gravy over tender chicken, knowing it was made from scratch. It’s about honoring simple, honest cooking. Gravy connects the richness of the chicken to everything else on the plate. It’s not just an afterthought. It’s the centerpiece.
Much like how long to boil chicken breast becomes a matter of care and texture, making gravy is about paying attention to what the food is telling you. When it thickens just right and smells like something familiar, you know it’s ready.
What Makes a Gravy a Gravy?
Gravy is not just a thick sauce. It’s defined by how it’s made. A real gravy starts with a fat, usually from meat drippings or butter, blended with flour to form a roux. Then liquid is added, like broth or milk, and it’s simmered until thick and smooth.
What makes it different from sauces is that it’s tied to the main protein. Chicken gravy tastes like the chicken it came from. It’s deeply tied to its base. And that’s why a good gravy changes the whole meal.
In some homes, it’s served with frosted cookies or banana pudding to round out a meal full of comfort. These aren’t random sides. They’re part of a story that connects taste with memory.
Chicken and Gravy FAQs: Everything You Wanted to Know
If you’re curious about the details that make this dish special or how it compares to fast-food versions, you’re not alone. These are the most common questions readers ask about chicken and gravy, answered clearly and simply.
Q: What Is the Meaning of Chicken Gravy?
A: Chicken gravy is more than a sauce. It’s a reflection of traditional home cooking. It takes the flavorful drippings left behind after searing or roasting chicken and transforms them into a rich, pourable gravy that brings everything on the plate together.
The meaning goes beyond the ingredients. It’s about thrift, comfort, and that feeling of being cared for at the dinner table. In Southern kitchens, chicken gravy is a symbol of using what you have to create something deeply satisfying.
Q: What to Eat With Chicken and Gravy?
A: Mashed potatoes and rice are the most popular choices. Their soft texture holds the gravy perfectly. But you can also try buttermilk biscuits, cornbread, or even pasta as a base. A piece of crusty bread is always welcome too.
For a full meal, add classic sides like sautéed greens, roasted carrots, or corn. You can even follow it with a cozy dessert like creamy banana pudding or frosted cookies. These pairings help turn a simple meal into something special.
Q: What Makes a Gravy a Gravy?
A: Gravy begins with fat and flour, blended into a roux. Liquid like broth or milk is added, then the mixture is whisked and simmered until thick. What makes it a gravy is its connection to meat. It carries the essence of the dish it came from. Chicken gravy tastes like chicken because it’s made with the drippings, and that connection defines its flavor.
Gravy is not just thickened liquid. It’s a bridge between ingredients, blending textures and flavors into a unified dish.
Q: Is KFC Chicken Gravy the Same?
A: Not quite. While KFC’s gravy may be flavorful and comforting in its own way, it’s mass-produced and often made from a mix rather than pan drippings. It lacks the homemade depth that real chicken gravy offers. When you make it at home, you control the fat, seasoning, and texture. It’s warmer, richer, and more personal.
Homemade chicken and gravy will always feel more genuine. It’s not just food. It’s part of the story you serve at your table.
Conclusion
Chicken and gravy is more than a meal. It’s a memory. It’s a skillet full of comfort, passed from stovetop to table with a whole lot of heart. Whether you grew up with it or are just learning to make it now, this dish connects generations through rich flavor and humble ingredients.
It doesn’t take much to make something wonderful. A few pieces of well-seasoned chicken. A simple roux. A little time. The result is a dish that warms the belly and feeds the soul.
Pair it with buttery mashed potatoes, fluffy rice, or hot biscuits, and you’ve got a dinner that invites everyone to sit a little longer. That’s the kind of cooking we believe in here at Deliciousavors. From my Georgia kitchen to yours, this chicken and gravy will always have a place at the table.
Article updated 22 June 2025.
For more recipes, visit my Facebook page.