Table of Contents
Table of Contents
Halloween is the season when even the simplest meal can turn into something magical. You probably remember opening your lunchbox as a kid, hoping to find something fun hidden inside a cookie, a note, or a lunch with a spooky twist. Now that you’re the one packing lunches, you get to create that same joy for your kids. One of the easiest and most exciting ways is with Halloween cheese sandwiches for kids cute, creative, and endlessly customizable. They’re budget-friendly, kid-approved, and a fantastic way to bring the Halloween spirit right into your child’s school day.
In this article, you’ll discover not only why cheese sandwiches are the perfect Halloween lunch but also creative recipes, spooky presentation tips, and clever ways to sneak in nutrition without losing the fun. By the end, you’ll have a complete guide to making Halloween cheese sandwiches that your kids will remember and love.
Why Cheese Sandwiches Make the Perfect Halloween Lunch
Cheese sandwiches have always been a reliable lunchbox staple, but when Halloween rolls around, they transform into something completely different. Here’s why they work so well:
- Versatility: You can make them cold, grilled, or toasted.
- Nutrition: Cheese is a good source of protein and calcium, helping kids stay energized through their busy school days.
- Affordability: All you need are bread, cheese, and a dash of creativity.
- Customizable for Halloween: With cookie cutters, toppings, and playful add-ons, you can turn an everyday sandwich into a bat, a mummy, or even a jack-o’-lantern.
Unlike candies and sugary snacks that dominate Halloween, cheese sandwiches strike the perfect balance between fun and wholesome.
Creative Halloween Cheese Sandwich Ideas
Transforming ordinary sandwiches into spooky snacks doesn’t have to be complicated. Here are some creative approaches:
Spooky Shapes with Cookie Cutters
Shape is everything when it comes to turning a regular meal into a Halloween highlight. Use Halloween-themed cookie cutters to cut bread and cheese into:
- Pumpkins
- Ghosts
- Bats
- Cats
- Witch hats
Stack the shaped bread and cheese together, and you instantly have a festive Halloween cheese sandwich that looks straight out of a party spread.
Fun Fillings and Flavors
While cheese is the star, spicing up the fillings adds variety. Depending on your child’s taste, try:
- Classic cheddar cheese with buttered bread
- Mozzarella with tomato slices for a pizza-flavored twist
- Cream cheese and cucumber rounds for freshness
- Grilled cheese with ham or turkey for extra protein
- Dairy-free cheese for kids with allergies
These variations make Halloween lunches tasty without taking a lot of prep time in the morning.
Decorating Tips for Spookier Sandwiches
With just a few extra touches, cheese sandwiches can look hauntingly good:
- Slice black olives into rings to create monster eyes.
- Use pretzel sticks as “bones” sticking out of the bread.
- Drizzle ketchup or mustard in a spiderweb pattern.
- Carrots cut into claws or “witch fingers” as a side dish.
These little details make the sandwich stand out and encourage kids to eat everything in their lunchbox.
Step-by-Step Halloween Cheese Sandwich Recipe
To make things easier, here’s a step-by-step approach to creating your very own spooky sandwich.
Ingredients Table
| Ingredient | Quantity | Notes |
|---|---|---|
| Bread slices | 2 per sandwich | Whole wheat or white |
| Cheese slices/shredded | 2–3 slices | Cheddar, mozzarella, or mix |
| Butter (optional) | 1 tbsp | For grilling or toasting |
| Extra toppings | As desired | Olives, cucumbers, ketchup, etc. |
Directions
- Start with two slices of bread and your chosen cheese.
- Use Halloween cookie cutters to cut both bread slices into spooky shapes.
- Place the cheese between the bread slices.
- Grill lightly with butter for a gooey filling, or leave cold for quick prep.
- Decorate using toppings: olives for eyes, cucumber slices for monster teeth, or ketchup for creepy designs.
- Pack snugly to keep the shape intact until lunchtime.
Tip: If you’re making multiple sandwiches, prep and decorate in bulk to save time.
Packing Tips for Halloween Lunchboxes
Cheese sandwiches are durable, but they can lose their freshness if not packed properly. You’ll want to:
- Wrap them in wax paper or use a reusable sandwich container.
- Add an ice pack to the lunchbox if including perishables like cream cheese.
- Pair with healthy Halloween sides such as apple slices, carrot sticks, trail mix, or mandarin oranges decorated as “mini pumpkins” with a drawn-on grin.
- Slip in a Halloween sticker or a short, silly note to brighten their day.
Benefits of Halloween-Themed Meals for Kids
Kids thrive on small traditions that make them feel special. Adding Halloween cheese sandwiches to their lunchbox benefits them in more ways than one:
- Builds excitement: Every day leading up to Halloween feels special.
- Encourages picky eaters: Creative shapes and colors can make even reluctant eaters more excited to finish their lunch.
- Strengthens connection: Packing a fun, thoughtful lunch shows your kids you care about making their holiday extra memorable.
Plus, parents often find themselves having fun creating these spooky masterpieces too.
Fun Variations: Beyond the Classic Sandwich
If you want to take your Halloween cheese sandwiches to the next level, try these ideas:
- Mummy Sandwiches: Use bread strips to layer and create a “bandaged” look over melted cheese, adding olive slices for eyes.
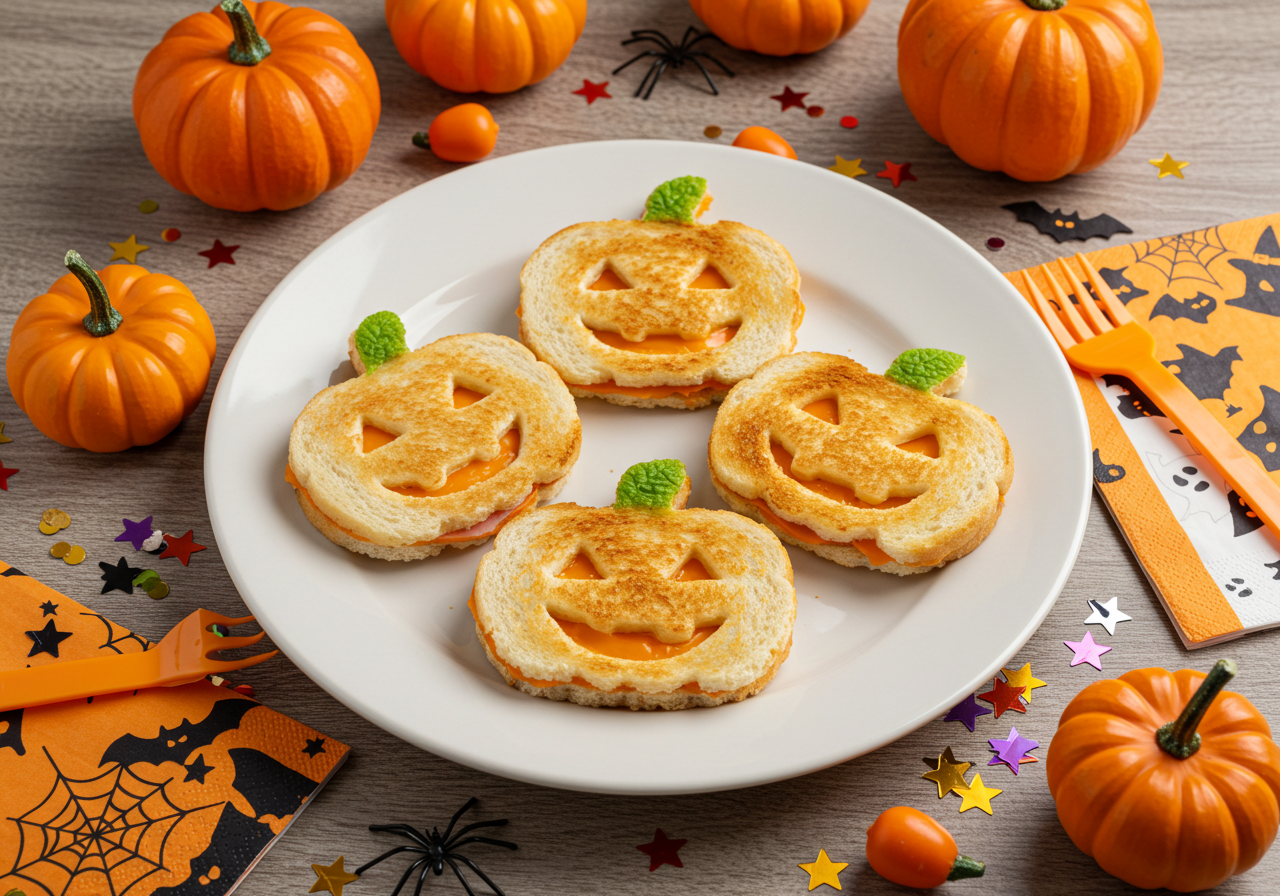
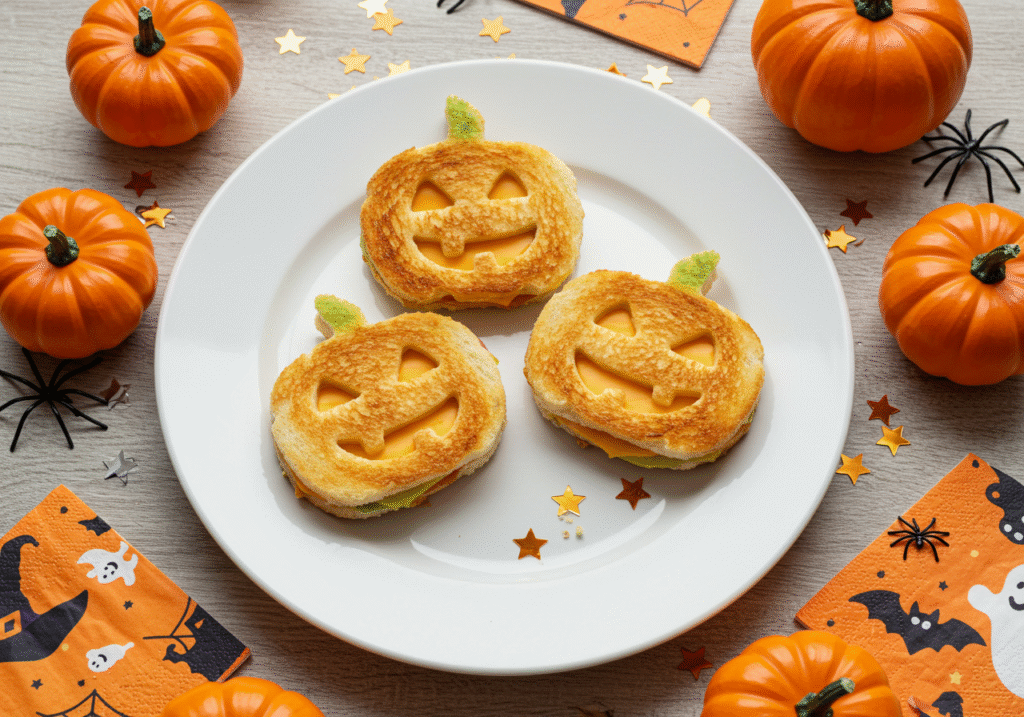
- Jack-o’-lantern Grilled Cheese: Use a knife to cut a pumpkin face on the top bread slice before grilling.
- Monster Wraps: Swap bread for tortillas, fill with cheese and veggies, and use veggie cutouts for eyes and teeth.
- Witch Hat Sandwiches: Cut sandwiches into triangles and add a strip of cucumber or olive for the “band.”
These variations are Instagram-worthy and add to the overall Halloween fun.
FAQ: Halloween Cheese Sandwiches for Kids
How can you keep Halloween cheese sandwiches fresh until lunchtime?
Wrap sandwiches tightly in wax paper or place them in airtight containers. Add an ice pack if your sandwich includes cream cheese or other perishable fillings.
What type of cheese works best for Halloween sandwiches?
Cheddar cheese is popular for its bright color and flavor, while mozzarella works best if you want a gooey, stretchy effect. Swiss can be fun if you want a naturally “holey” ghost look.
Can you make Halloween cheese sandwiches ahead of time?
Yes. Prepare the sandwiches the night before, store them in airtight containers in the fridge, and decorate them in the morning to keep them looking fresh.
Are grilled Halloween cheese sandwiches lunchbox-friendly?
They can be, but they may not stay warm for long. If your kids prefer warm sandwiches, send them in a thermos-style lunchbox. Otherwise, serve them cold or lightly toasted.
Can you make Halloween cheese sandwiches allergy-friendly?
Absolutely. Choose gluten-free bread, dairy-free cheese alternatives, or nut-free spreads as needed.
Conclusion
Cheese sandwiches are more than just a quick meal option they’re a canvas for creativity. By transforming them into Halloween-themed designs, you not only give your kids a tasty lunch, but you also give them a reason to smile and share their fun meal with friends. Halloween cheese sandwiches for kids are simple, budget-friendly, and packed with both nutrition and imagination.
This Halloween, give your lunchbox a spooky upgrade. Try out these easy ideas, experiment with your own decorations, and make mealtime something your kids will remember long after the trick-or-treating is done.
Start your Halloween lunchbox tradition today by making your very first spooky cheese sandwich. Share your fun creations with family and friends and bring the Halloween spirit to every bite.