This post may contain affiliate links. Please read our disclosure policy.
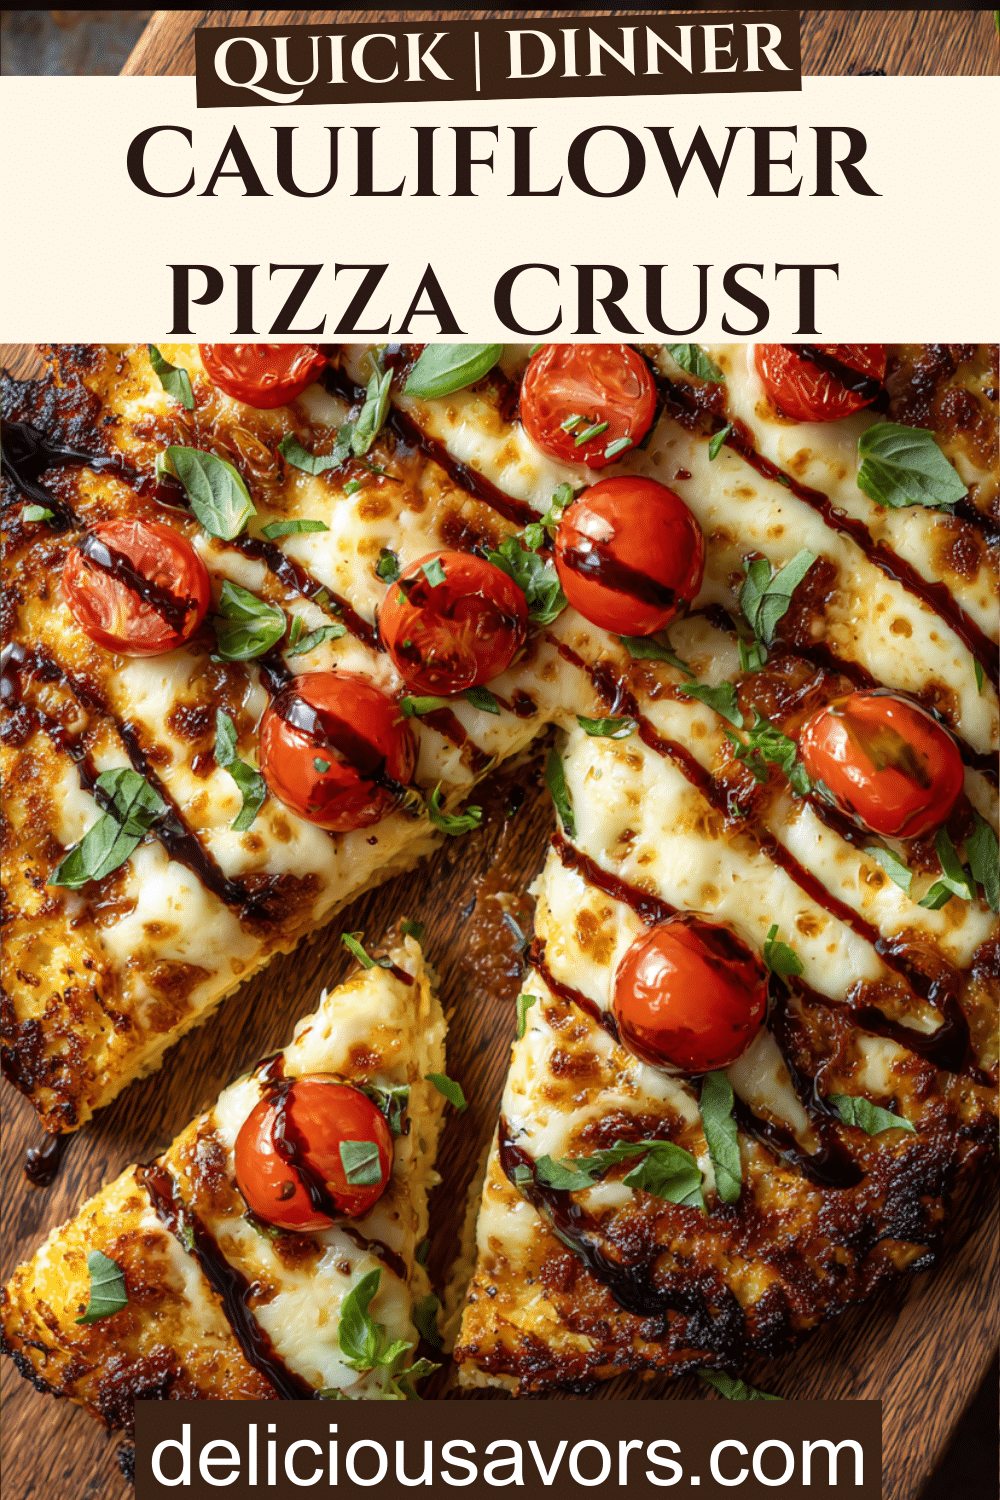
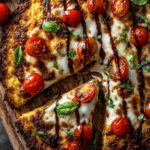
Transform your weeknight meals with this incredible cauliflower pizza crust that delivers all the satisfaction of traditional pizza with a healthy twist. This easy recipe has become one of my go-to dinner ideas for family nights when everyone craves pizza but I want to sneak in extra vegetables.
Table of Contents
Why You’ll Love This Cauliflower Crust
This isn’t just another trendy low-carb recipe. This cauliflower pizza crust actually works. The secret lies in properly draining the cauliflower to achieve that coveted crispy texture. Perfect for healthy dinner ideas, this crust holds toppings beautifully and cuts cleanly without falling apart. Whether you’re looking for quick dinner ideas or planning cheap dinners for a family, this recipe delivers restaurant-quality results at home.
What Makes This Recipe Special
Unlike complicated recipes requiring specialty ingredients, this version uses simple pantry staples you likely already have. The combination of cauliflower, eggs, and cheese creates a surprisingly sturdy base. This has become one of my most-requested kid friendly dinners because children love helping shape the crust and choosing their toppings.
Ingredients You’ll Need
| Ingredient | Amount | Notes |
|---|---|---|
| Cauliflower (head) | 1 large | Roughly chopped |
| Egg | 1 large | Room temperature works best |
| Shredded Mozzarella | 2 cups | Divided (1 cup for crust, 1 for topping) |
| Parmesan Cheese | 1/2 cup | Freshly grated, divided |
| Kosher Salt | To taste | For seasoning |
| Marinara/Pizza Sauce | 1/4 cup | Your favorite brand |
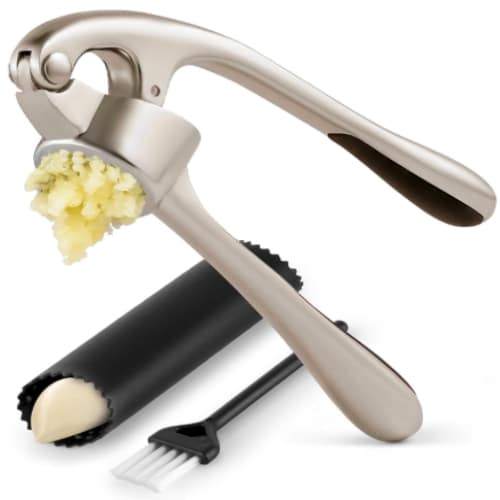
| Garlic | 2 cloves | Minced fresh |
| Cherry Tomatoes | 1 cup | Halved |
| Fresh Basil | For garnish | Torn leaves |
| Balsamic Glaze | For drizzling | Adds sweet tanginess |
Essential Kitchen Equipment
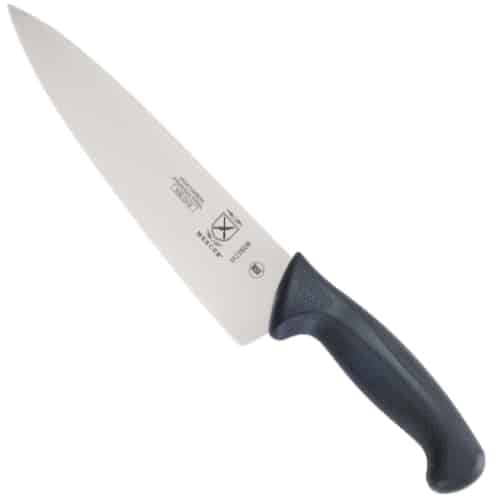
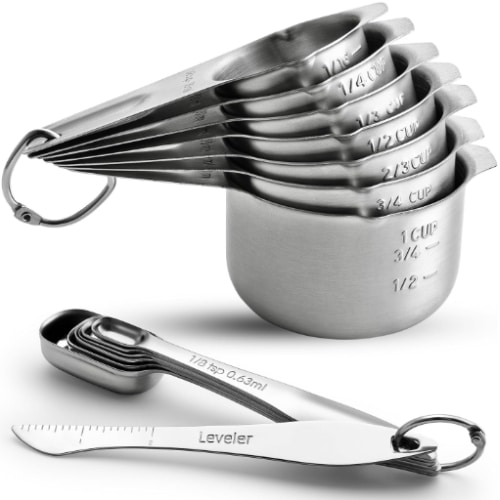
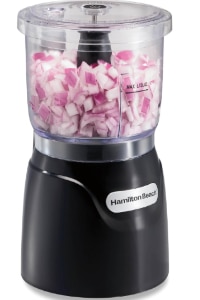
To make this recipe successfully, you’ll need a few key tools. A quality food processor makes quick work of processing the cauliflower into rice-like pieces. You’ll also need baking sheets for the crust, a cutting board, sharp chef’s knives for chopping, and mixing bowls for combining ingredients.
Step-by-Step Instructions
Step 1: Prepare the Cauliflower
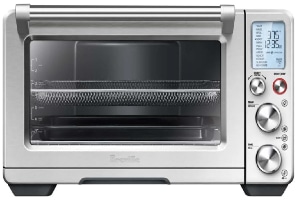
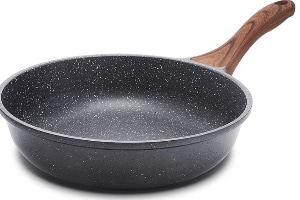
Preheat your oven to 425°F. In a large skillet from your frying pans collection, bring about 1/4 inch of water to a boil and season generously with salt. Add the roughly chopped cauliflower in an even layer and cook until crisp-tender, about 3 to 4 minutes. The cauliflower should still have some bite but not be raw.
Step 2: Drain Thoroughly
This is the most critical step for achieving a crispy crust. Transfer the cooked cauliflower to a clean dish towel or several layers of paper towels. Squeeze firmly to remove as much water as possible. You’d be surprised how much liquid comes out – this is essential for a non-soggy crust.
Step 3: Process the Cauliflower
Add your drained cauliflower to a food processor and pulse until it resembles rice or fine breadcrumbs. Don’t over-process into mush. Transfer to paper towels again and press to remove any additional moisture that releases during processing.
Step 4: Mix the Dough
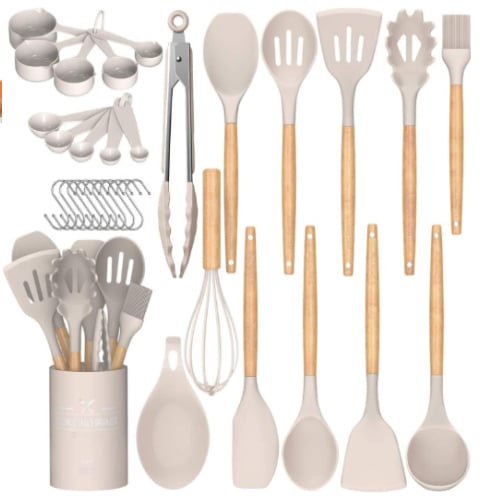
Transfer your thoroughly drained cauliflower to a large mixing bowl. Add the egg, 1 cup of shredded mozzarella, and 1/4 cup of Parmesan cheese. Season with salt to taste. Mix everything together using your hands or kitchen utensils until well combined.
Step 5: Shape and Bake the Crust
Line a baking sheet with parchment paper and spray with cooking spray. Transfer your cauliflower dough to the prepared sheet. Using your hands or a spatula, pat the mixture into a round or rectangular crust shape, keeping it about 1/4 inch thick throughout for even cooking. Bake for 20 minutes until the crust turns golden and feels dry to the touch.
Step 6: Add Toppings and Finish
Remove the crust from your oven and spread the marinara sauce evenly across the surface. Sprinkle the remaining mozzarella and Parmesan cheese on top. Scatter the minced garlic and halved cherry tomatoes across the pizza. Return to the oven for another 10 minutes until the cheese melts beautifully and bubbles, and the crust edges crisp up perfectly.
Step 7: Garnish and Serve
Remove from the oven and immediately garnish with torn fresh basil leaves. Drizzle with balsamic glaze for a sophisticated flavor boost. Cut into slices using a sharp knife from your chef’s knives set and serve hot.
Pro Tips for Perfect Results
Drainage is Everything: The number one reason cauliflower crusts fail is excess moisture. Take your time squeezing out every drop of water you can. Your arm muscles might get tired, but the crispy results are worth it.
Don’t Skip the Pre-Bake: Baking the crust before adding toppings ensures it sets properly and won’t become soggy under the sauce and toppings.
Thickness Matters: Keep your crust an even 1/4 inch thick. Too thin and it’ll burn before crisping; too thick and it won’t cook through properly.
Cheese Quality: Use freshly shredded cheese rather than pre-shredded varieties. Pre-shredded cheese contains anti-caking agents that prevent proper binding.
Customization Ideas
This versatile base works with countless topping combinations. Try buffalo chicken with ranch drizzle for spicy supper ideas, or keep it simple with just cheese for the pickiest kid friendly dinners. For lazy dinners, use whatever vegetables you have in your fridge. This flexibility makes it perfect for easy weeknight dinners when you need to use up ingredients.
Storage and Reheating
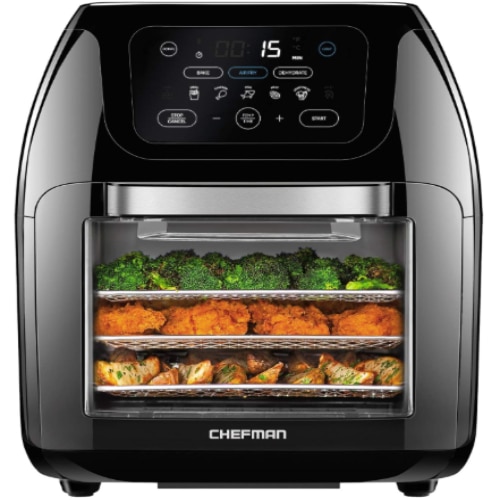
Store leftover cauliflower pizza in an airtight container in the refrigerator for up to 3 days. Reheat slices in a preheated oven at 375°F for 8-10 minutes to restore crispiness, or use an air fryer at 350°F for 5 minutes for the crispiest results.
Nutritional Benefits
This cauliflower crust delivers significantly fewer carbohydrates than traditional pizza dough while providing fiber, vitamins C and K, and a good dose of protein from the cheese and egg. It’s an excellent way to incorporate more vegetables into dinner dishes without sacrificing flavor or satisfaction.
Frequently Asked Questions
Can I make the crust ahead of time?
Yes! Prepare and bake the plain crust, let it cool completely, then wrap tightly and refrigerate for up to 2 days or freeze for up to 1 month. When ready to use, add toppings and bake as directed.
Why is my crust soggy?
Insufficient draining is the most common culprit. Make sure you squeeze out as much water as possible from the cauliflower after both cooking and processing. Also ensure you bake the crust long enough for it to dry out and turn golden.
Can I use frozen cauliflower?
Yes, but you’ll need to thaw it completely first and be extra diligent about squeezing out moisture, as frozen cauliflower retains even more water than fresh.
Is this crust gluten-free?
Yes! This recipe is naturally gluten-free, making it perfect for those with celiac disease or gluten sensitivities.
Can I make this without a food processor?
Absolutely. You can use a box grater to rice the cauliflower or even a blender in small batches. Just be careful not to over-process.
How do I prevent the crust from sticking?
Always use parchment paper or a generous coating of cooking spray on your baking sheet. This ensures easy removal and cleanup.
Can I double the recipe?
Yes! This recipe doubles easily for multiple pizzas or for meal prep. Just process the cauliflower in batches if your food processor isn’t large enough.
Low-Carb Cauliflower Pizza Crust Recipe (3 Ingredients + Ready in 30 Minutes!)
A crispy, low-carb cauliflower pizza crust made with just 3 main ingredients. This healthy alternative to traditional pizza dough is perfect for weeknight dinners and customizable with your favorite toppings.
- Prep Time: 15
- Cook Time: 30
- Total Time: 45
- Yield: 4
- Category: Main Course
- Method: Baking
- Cuisine: Italian-American
Ingredients
1 large head cauliflower, roughly chopped
1 large egg
2 cups shredded mozzarella, divided
1/2 cup freshly grated Parmesan, divided
Kosher salt to taste
1/4 cup marinara or pizza sauce
2 cloves garlic, minced
1 cup grape or cherry tomatoes, halved
Torn fresh basil, for serving
Balsamic glaze, for drizzling
Instructions
1. Preheat oven to 425°F. In a large skillet, bring about 1/4″ water to a boil. Season with salt. Add cauliflower in one even layer and cook until crisp-tender, 3 to 4 minutes. Transfer to a clean dish towel and squeeze to drain water.
2. Add drained cauliflower to food processor and pulse until grated. Drain excess water in paper towels again.
3. Transfer drained cauliflower to a large bowl and add egg, 1 cup mozzarella and 1/4 cup Parmesan, then season with salt. Mix until well combined.
4. Transfer dough to a baking sheet lined with parchment paper and cooking spray. Pat into an even crust about 1/4 inch thick. Bake until golden and dried out, 20 minutes.
5. Top crust with marinara, remaining mozzarella and Parmesan, garlic and tomatoes. Bake until cheese is melted and crust is crisp, 10 minutes more.
6. Garnish with fresh basil and drizzle with balsamic glaze. Let rest 2-3 minutes before slicing.
Notes
The key to success is thoroughly draining the cauliflower. Squeeze out as much moisture as possible.
Don’t skip the pre-baking step – this ensures a crispy crust.
Keep the crust an even 1/4 inch thickness for best results.
Use freshly shredded cheese rather than pre-shredded for better binding.
Leftover pizza can be stored in the refrigerator for up to 3 days.
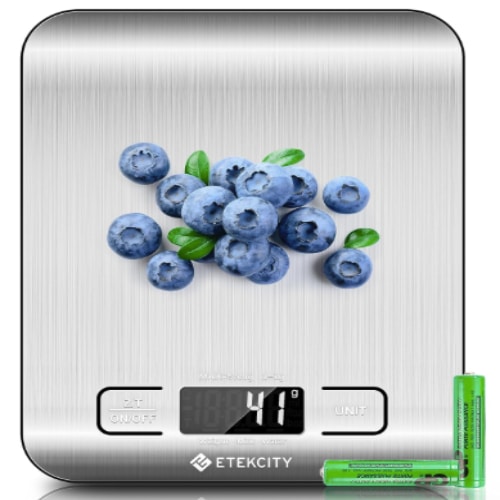
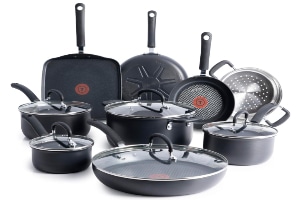
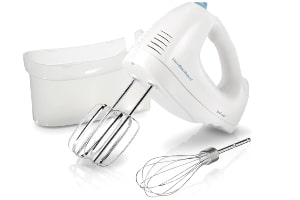
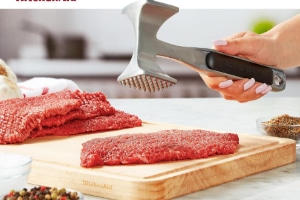
If you found this recipe helpful, feel free to check out the kitchen equipment below. Click on any image to view and purchase the product through our Amazon affiliate links at no extra cost to you. Your support helps us keep Deliciousavors.com running and bringing you great recipes!