This post may contain affiliate links. Please read our disclosure policy.
Are you searching for quick dinner ideas that satisfy the whole family without spending hours in the kitchen? These Bean & Cheese Burritos are your answer! Ready in just 20 minutes, this recipe combines creamy refried beans, melted cheese, and perfectly seasoned spices wrapped in warm flour tortillas. Whether you’re planning easy weeknight dinners or need lazy dinners for those busy evenings, this budget-friendly recipe delivers comfort food at its finest.
Table of Contents
Why You’ll Love This Bean & Cheese Burrito Recipe
These burritos check all the boxes for busy households looking for dinner ideas for family gatherings or simple supper ideas. Here’s what makes them special:
- Quick & Easy: Ready in 20 minutes from start to finish
- Budget-Friendly: One of the best cheap dinners for a family using pantry staples
- Kid-Friendly: Perfect for picky eaters who love cheese and mild flavors
- Customizable: Add your favorite toppings and make them your own
- Meal Prep Friendly: Make ahead and reheat throughout the week
This recipe is ideal for those nights when you need kid-friendly dinners that don’t require complicated techniques or expensive ingredients.
Essential Ingredients
| Ingredient | Quantity | Notes |
|---|---|---|
| BUSH’S® Traditional Refried Beans | 1 (16-oz) can | Foundation of the filling |
| Chunky Salsa | 1/2 cup | Adds moisture and flavor |
| Onion | 1/4 medium, diced | Fresh aromatic element |
| Smoked Paprika | 1/2 teaspoon | Adds depth and smokiness |
| Garlic Powder | 1/2 teaspoon | Essential savory flavor |
| Kosher Salt | 1/4 teaspoon | Enhances overall taste |
| Black Pepper | 1/4 teaspoon | Freshly ground preferred |
| Cheddar Cheese | 1/2 cup, shredded | Sharp or mild works |
| Monterey Jack Cheese | 1/2 cup, shredded | Adds creaminess |
| Flour Tortillas | 4 (10-inch) | Burrito-sized |
Ingredient Tips
Choose quality refried beans as they form the base of your filling. The combination of cheddar and Monterey Jack provides the perfect balance of sharpness and creaminess. For the best results, use freshly shredded cheese rather than pre-shredded, as it melts more smoothly.
Kitchen Equipment You’ll Need
Having the right tools makes preparation effortless. Here’s what you’ll need:
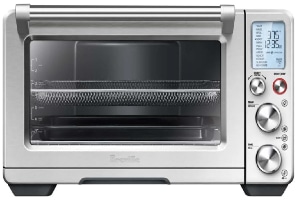
- Oven – For baking the burritos to perfection
- Baking Sheets – To hold burritos while baking
- Mixing Bowls – For combining ingredients
- Measuring Cups and Spoons Set – For accurate measurements
- Kitchen Utensils – For stirring and serving
- Cutting Board – For dicing onions
- Chef’s Knives – For precise chopping
Step-by-Step Instructions
Step 1: Prepare Your Workspace
Preheat your oven to 375°F. Line a small baking sheet with parchment paper and set it aside. This prevents the burritos from sticking and makes cleanup a breeze.
Step 2: Create the Bean Mixture
In a medium mixing bowl, combine the refried beans, chunky salsa, diced onions, smoked paprika, garlic powder, kosher salt, and freshly ground black pepper. Use your kitchen utensils to stir until everything is well combined. Taste the mixture and add more salt if needed.
Step 3: Mix the Cheeses
In another medium bowl, toss together the shredded cheddar cheese and Monterey Jack cheese until evenly distributed. This ensures each burrito gets a perfect cheese blend.
Step 4: Assemble the Burritos
Place one flour tortilla on your clean cutting board. Spread 1/4 cup of the cheese mixture onto the center of the tortilla. Top the cheese with 1/2 cup of the bean mixture, spreading it evenly over the cheese layer.
Step 5: Roll the Burritos
Fold the bottom edge of the tortilla up and over the filling. Next, fold in both sides, then finish by rolling the tortilla up from the bottom to create a tight burrito. Repeat with the remaining tortillas and filling.
Step 6: Bake to Perfection
Transfer all the assembled burritos to your prepared baking sheet. Place them seam-side down to prevent unrolling. Bake in your preheated oven for 12 minutes until the tortillas are lightly golden and the cheese inside is melted.
Step 7: Serve and Enjoy
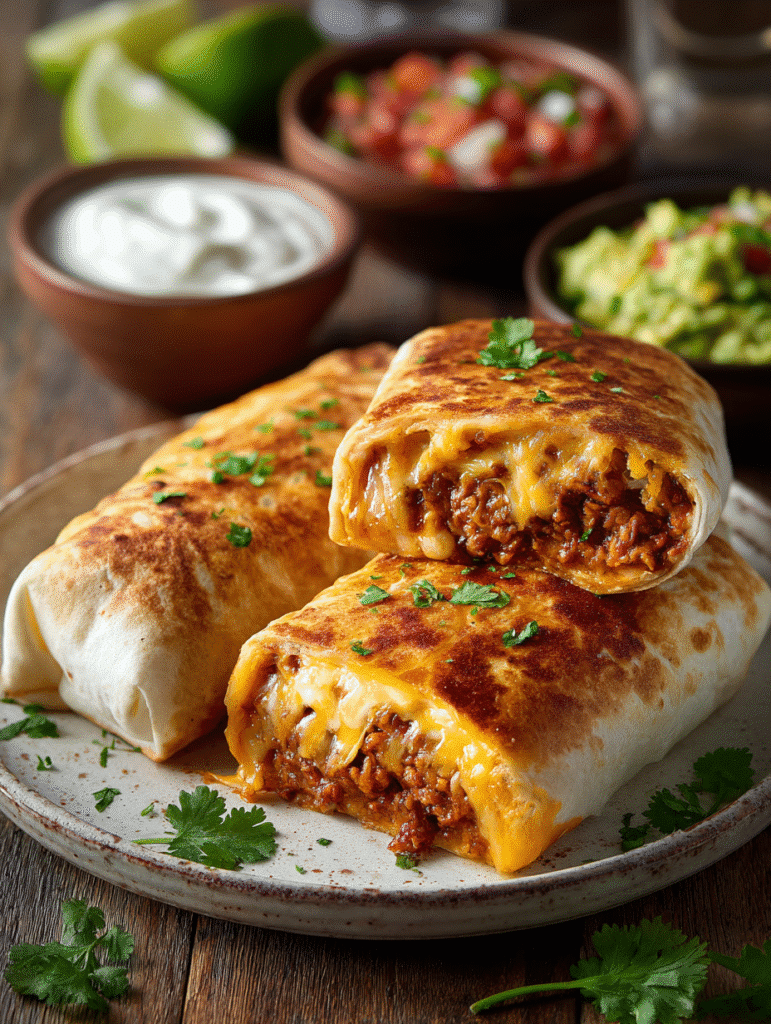
Remove from the oven and serve immediately with your favorite toppings such as guacamole, sour cream, and hot sauce.
Pro Tips for Perfect Burritos
- Don’t Overfill: Use the recommended amounts to prevent bursting during rolling
- Warm Tortillas: If tortillas are cold, warm them slightly for easier rolling
- Seam Side Down: Always place burritos seam-side down when baking
- Even Distribution: Spread fillings evenly for balanced flavor in every bite
- Customize Spice Level: Add jalapeños or hot sauce to the bean mixture for extra heat
Serving Suggestions
These burritos are incredibly versatile when it comes to serving options:
- Classic Style: Top with sour cream, guacamole, and fresh salsa
- Loaded Version: Add shredded lettuce, diced tomatoes, and sliced jalapeños
- Breakfast Twist: Add scrambled eggs for a breakfast burrito variation
- Protein Boost: Include seasoned ground beef or shredded chicken
- Vegan Option: Use dairy-free cheese alternatives
Storage and Meal Prep
These burritos are perfect for meal prep and make excellent leftovers:
Refrigerator: Store cooled burritos in an airtight container for up to 3 days. Reheat in the oven at 350°F for 10 minutes or microwave for 1-2 minutes.
Freezer: Wrap each burrito individually in aluminum foil, then place in a freezer bag. Freeze for up to 3 months. Reheat from frozen in the oven at 375°F for 25-30 minutes.
Nutritional Benefits
While these burritos are comfort food, they also offer nutritional value. Beans provide plant-based protein and fiber, supporting digestive health and keeping you satisfied longer. The cheese adds calcium and protein, making this one of the more balanced dinner dishes for families.
FAQ Section
Q: Can I use different types of beans?
A: Absolutely! Black beans, pinto beans, or a bean blend work wonderfully. Just ensure they’re seasoned well.
Q: How do I prevent soggy burritos?
A: Don’t use too much salsa in the bean mixture, and bake them immediately after assembling.
Q: Can I make these ahead of time?
A: Yes! Assemble the burritos, wrap them tightly, and refrigerate for up to 24 hours before baking. Add 2-3 minutes to the baking time if cooking from cold.
Q: What size tortillas should I use?
A: 10-inch flour tortillas (burrito-sized) work best. Smaller tortillas won’t hold enough filling.
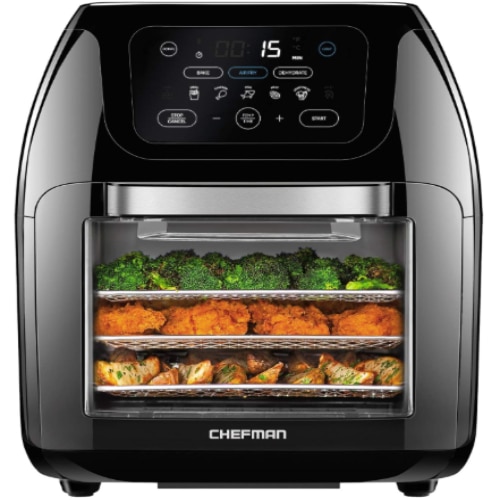
Q: Can I cook these in an air fryer?
A: Yes! Cook at 375°F in your air fryer for 8-10 minutes, flipping halfway through.
Q: Are these suitable for kids?
A: Definitely! These are perfect kid-friendly dinners with mild flavors that children love.
Why This Recipe Works for Busy Families
When you’re juggling work, school activities, and daily responsibilities, finding dinner ideas for family meals that everyone enjoys can be challenging. This recipe solves that problem by delivering restaurant-quality flavor with minimal effort. The ingredients are affordable and likely already in your pantry, making it one of the best cheap dinners for a family.
The beauty of this recipe lies in its simplicity. You don’t need advanced cooking skills or expensive equipment just basic kitchen utensils, measuring cups, and your trusty oven. This makes it perfect for those lazy dinners when you want something homemade without the fuss.
Final Thoughts
These Bean & Cheese Burritos prove that healthy dinner ideas don’t have to be complicated or time-consuming. They’re the ultimate solution for quick dinner ideas that satisfy everyone at the table. Whether you’re feeding picky eaters, looking for easy weeknight dinners, or simply want comforting supper ideas, this recipe delivers every time.
The combination of creamy beans, melted cheese, and perfectly seasoned spices wrapped in a warm tortilla creates a meal that’s both nostalgic and nourishing. Make this recipe your go-to for busy weeknights, and watch it become a family favorite!
Ready to make these delicious burritos? Gather your ingredients, preheat your oven, and get cooking! Don’t forget to share your creations with us in the comments below.
PrintEasy Bean and Cheese Burritos Recipe (20 Minutes, Budget-Friendly!)

These easy Bean & Cheese Burritos are ready in just 20 minutes! Packed with creamy refried beans, melted cheddar and Monterey Jack cheese, and seasoned with smoked paprika and garlic powder. Perfect for quick weeknight dinners, budget-friendly family meals, or meal prep. Serve with guacamole, sour cream, and your favorite toppings for a delicious and satisfying meal everyone will love.
- Prep Time: 8
- Cook Time: 12
- Total Time: 20
- Yield: 4 servings
- Category: Main Course
- Method: Baking
- Cuisine: Mexican
- Diet: Vegetarian
Ingredients
1 (16-oz) can BUSH’S® Traditional Refried Beans
1/2 cup chunky salsa
1/4 medium onion, diced
1/2 teaspoon smoked paprika
1/2 teaspoon garlic powder
1/4 teaspoon kosher salt, plus more to taste
1/4 teaspoon freshly ground black pepper
1/2 cup shredded cheddar cheese
1/2 cup shredded monterey jack cheese
4 (10-inch) flour tortillas (burrito-sized)
Instructions
1. Heat oven to 375°F. Line a small baking sheet with parchment paper and set aside.
2. In a medium bowl, add refried beans, salsa, onions, smoked paprika, garlic powder, salt and black pepper. Stir until well combined. Taste and season with more salt if desired.
3. In another medium bowl, add shredded cheddar cheese and monterey jack cheese. Toss together to combine.
4. Spread 1/4 cup of the shredded cheese mixture onto the center of the tortilla. Then spread 1/2 cup of the bean mixture on top of the shredded cheese.
5. Fold the bottom edge of each tortilla up and over the filling. Then fold in the sides and finish by rolling the tortilla up from the bottom.
6. Transfer the burritos to the prepared baking sheet and bake for 12 minutes.
7. Serve with guacamole, sour cream, and your favorite hot sauce.
Notes
Store leftover burritos in an airtight container in the refrigerator for up to 3 days.
For freezing, wrap each burrito individually in aluminum foil and freeze for up to 3 months.
Customize with additional toppings like shredded lettuce, diced tomatoes, jalapeños, or avocado.
For a spicier version, add diced jalapeños to the bean mixture or use pepper jack cheese.
These burritos can be made ahead and refrigerated before baking. Add 2-3 minutes to baking time if cooking from cold.
If you found this recipe helpful, feel free to check out the kitchen equipment below. Click on any image to view and purchase the product through our Amazon affiliate links at no extra cost to you. Your support helps us keep Deliciousavors.com running and bringing you great recipes!