Table of Contents
Table of Contents
Introduction
Hi, I’m Alice Thompson, the heart behind Deliciousavors.com.
As a little girl in Madison, Georgia, nothing felt more magical than Barbie’s world her pink convertible, sparkling dresses, and, most of all, the birthday cakes that made every celebration unforgettable. I’ll never forget my eighth birthday: my mom surprised me with a homemade Barbie cake, complete with a swirling pink buttercream dress. The cake wasn’t perfect the skirt had a slight lean and a rogue sprinkle landed on Barbie’s nose but it was the highlight of my childhood. Years later, I set out to master the Barbie cake, determined to create showstoppers for my own daughter and for readers like you. Today, I’m sharing my favorite Barbie cake recipe, packed with tips, lessons, and a few fun mishaps that have made this cake a Deliciousavors classic.
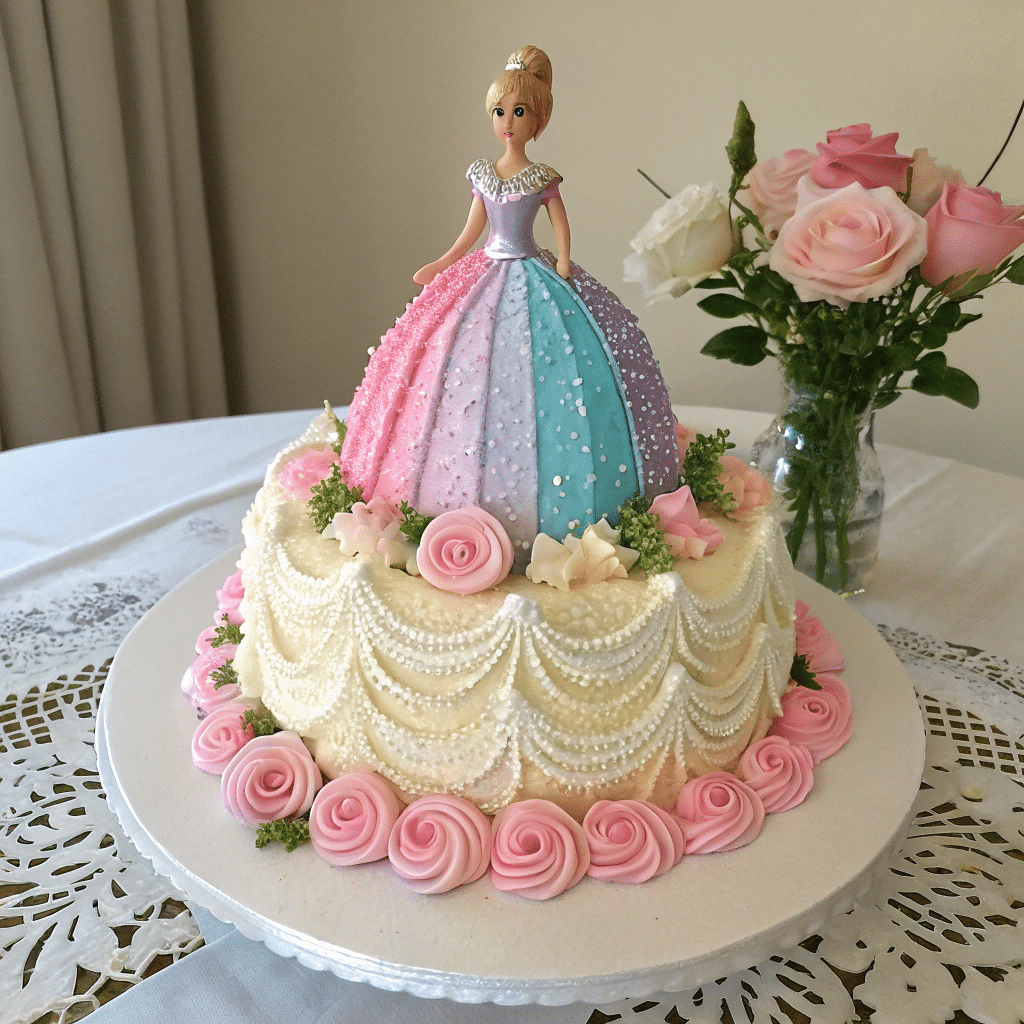
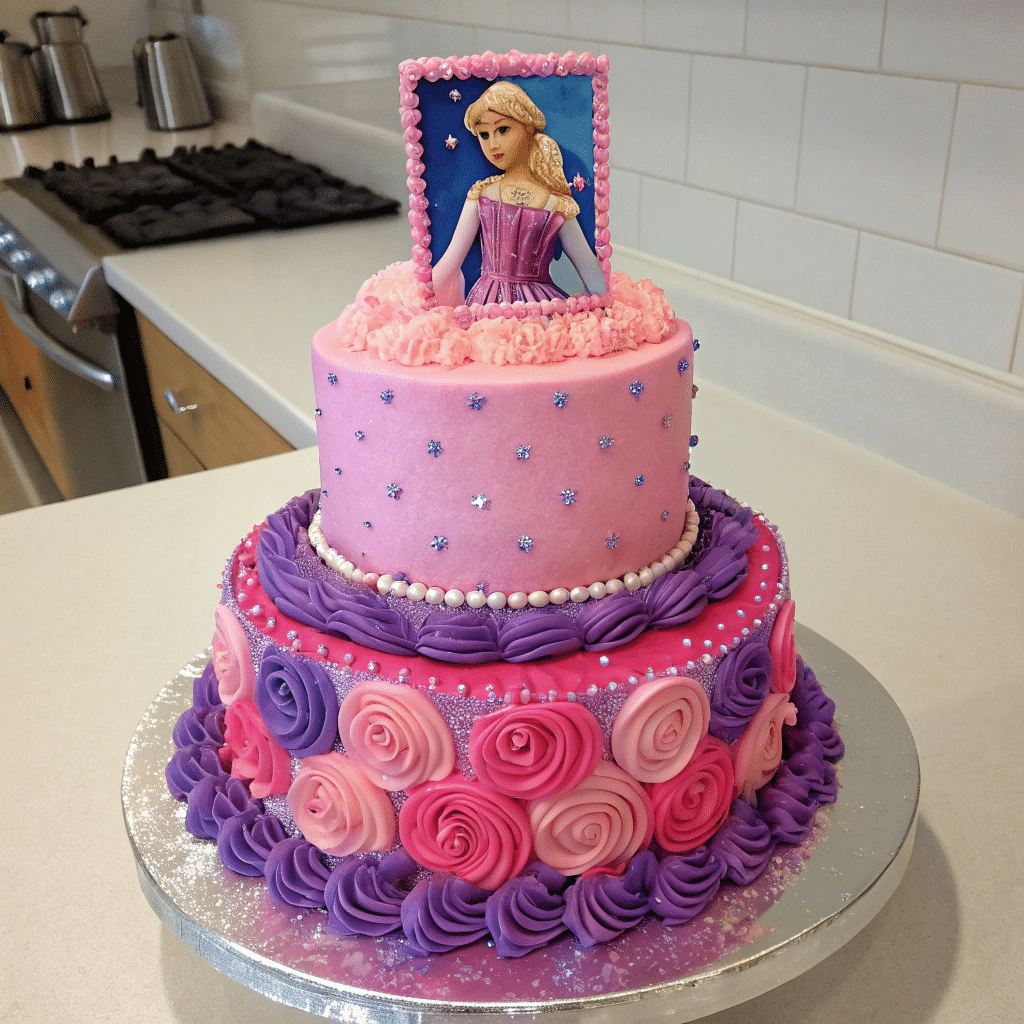
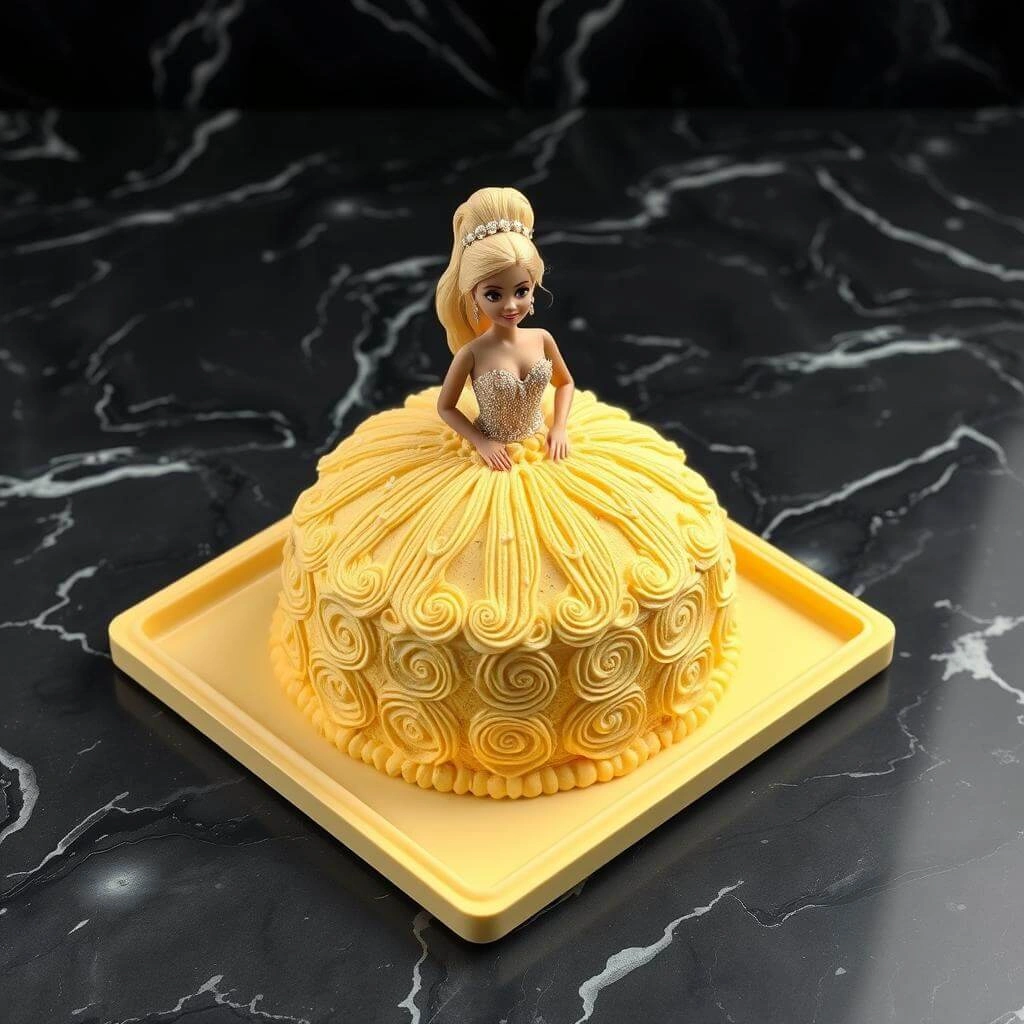
10 Stunning Barbie Cake Designs That Will Delight Your Child
Create a stunning barbie cake perfect for princess celebrations with step-by-step instructions for baking, assembly, and decoration.
- Prep Time: PT3H0M
- Cook Time: PT1H0M
- Total Time: PT4H0M
- Yield: 12 servings
- Category: Dessert
- Method: Baking
- Cuisine: American
- Diet: Vegetarian
Ingredients
3 boxes vanilla cake mix
6 eggs
1 cup vegetable oil
3 cups water
96 oz buttercream frosting
Pink food coloring
1 Barbie doll
Sugar pearl decorations
Plastic wrap
Instructions
Step 1: Prepare cake batter according to box instructions and bake in graduated round pans plus one oven-safe bowl
Step 2: Cool completely and cut center holes in each layer using round cookie cutter
Step 3: Stack layers with buttercream between each, creating graduated tower
Step 4: Carve cake into bell shape using serrated knife at 45-degree angle
Step 5: Wrap Barbie legs in plastic and insert into center hole
Step 6: Cover entire cake with crumb coat of buttercream
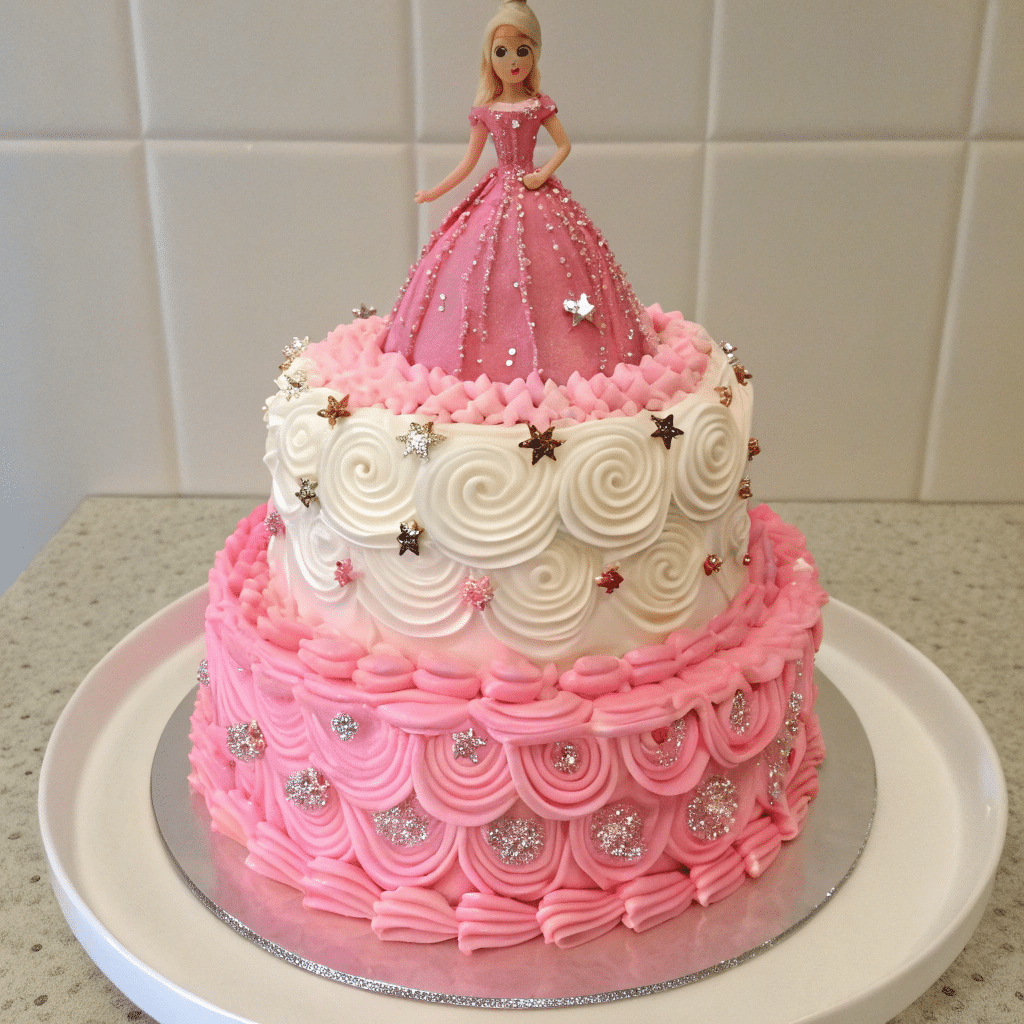
Step 7: Pipe rosettes using star tip, starting from bottom in ombre pink colors
Step 8: Add pearl decorations and final details to complete the dress design
Notes
Store covered at room temperature for up to 2 days
Freeze cake layers before assembly for easier carving
Use gel food coloring for vibrant colors
Practice piping rosettes on parchment before decorating cake
The Magic of Barbie Cake: Why It’s a Showstopper
Childhood Wonder in Cake Form
A Barbie cake isn’t just dessert it’s a centerpiece, a memory-maker, and a guaranteed smile on any child’s face. The first time I made one for my daughter, she gasped and hugged me so tight I almost dropped the cake! That’s the magic: transforming a simple cake into a fairy tale moment.
Alice’s Tip:
Let your child help choose the dress colors or sprinkle decorations. Their excitement makes the process even sweeter.
Not Just for Kids: The Nostalgia Factor
Barbie cakes aren’t only for little ones. I once made a Barbie cake for my friend’s 30th birthday, complete with a glittery gown and edible pearls. The nostalgia and laughter it brought to the party was priceless.
Mistake to Avoid:
Don’t assume only kids will love this cake adults light up just as much!
Ingredients & Tools: Building the Perfect Barbie Cake
Essential Ingredients for a Stunning Barbie Cake
| Ingredient | Purpose/Tip |
|---|---|
| 4½ cups all-purpose flour (or cake flour) | For a lighter texture |
| 3 cups granulated sugar (or coconut sugar) | Less refined, more flavor |
| 1 tbsp baking powder (aluminum-free) | Even rise |
| ½ tsp baking soda | Extra lift |
| 1 tsp fine sea salt | Balances sweetness |
| 1½ cups unsalted butter, room temp | European butter for flavor |
| 8 large eggs, room temp | Structure and richness |
| 1½ cups whole milk (or buttermilk) | Moisture and tenderness |
| 2 tbsp pure vanilla extract | Flavor boost |
| 1 tsp almond extract (optional) | Depth of flavor |
Buttercream Frosting
- 2 cups unsalted butter, room temp
- 8 cups powdered sugar, sifted
- ¼ cup heavy cream (or coconut cream)
- 2 tsp pure vanilla extract
- ¼ tsp fine sea salt
- Gel food coloring (your choice of dress colors)
Decoration & Assembly
- 1 new Barbie doll (wrap in plastic wrap)
- Edible pearls, sprinkles, edible glitter
- Small fondant flowers (optional)
- Food-safe ribbon for bodice
- 10-inch cake board
Alice’s Insight:
Room temperature ingredients are a must cold butter or eggs can ruin the cake’s texture and make mixing uneven.
Tools & Equipment
- Stand mixer (or hand mixer)
- Dome cake pan or oven-safe bowl (for skirt shape)
- Two 8-inch round cake pans
- Piping bags and star/ribbon tips
- Offset spatula
- Serrated knife
- Parchment paper
- Plastic wrap
Mistake to Avoid:
Don’t skip lining your pans with parchment removing the cakes without it is a recipe for disaster!
Step-by-Step: How to Make a Barbie Cake
Baking the Cake Layers
- Prep: Preheat oven to 350°F (325°F convection). Grease and flour all pans, line bottoms with parchment.
- Mix Batter: Cream butter and sugar until light and fluffy (4-5 min). Add eggs one at a time. Whisk dry ingredients separately. Alternate adding dry mix and milk to butter mixture, starting and ending with dry. Mix until just combined.
- Bake: Fill dome pan 2/3 full, divide rest between round pans. Bake rounds 30-35 min, dome 45-50 min, until a toothpick comes out with moist crumbs. Cool in pans 15 min, then turn out to cool completely.
Alice’s Tip:
If you want extra stability, freeze the cooled cakes for 30 minutes before assembling this makes carving and frosting much easier.
Assembling and Decorating
Final Frosting & Design: Apply a thick, smooth layer of colored buttercream. Use piping tips to create ruffles, rosettes, or pleats for the dress. Add pearls, sprinkles, and fondant flowers. Decorate Barbie’s bodice with buttercream and a ribbon.
Level & Stack: Trim tops for flat layers. Place one round cake on the board, spread frosting, add the second round, then the dome on top. Carve the skirt shape as needed.
Create Doll Space: Cut a hole in the center of the cake stack, just big enough for the Barbie. Wrap the doll in plastic wrap, insert gently.
Crumb Coat: Spread a thin layer of buttercream over the whole cake. Chill 20-30 min.
Mistake to Avoid:
Don’t overfill the dome pan it will overflow and bake unevenly. If you have extra batter, make cupcakes on the side.
Troubleshooting & Creative Variations
Common Mistakes (and How to Avoid Them)
- Crumbly Cake: If your cake crumbles when you carve it, it’s likely too warm or too fresh. Always chill or freeze before shaping.
- Leaning Skirt: Stack layers carefully and use a serrated knife to level. If your cake leans, gently press it straight before frosting.
- Frosting Meltdown: Warm kitchens are the enemy of buttercream. If your frosting gets too soft, chill it for 10 minutes before piping.
Alice’s Tip:
Rotate the cake, not yourself, as you decorate. This ensures even ruffles and keeps your piping hand steady.
Creative Variations
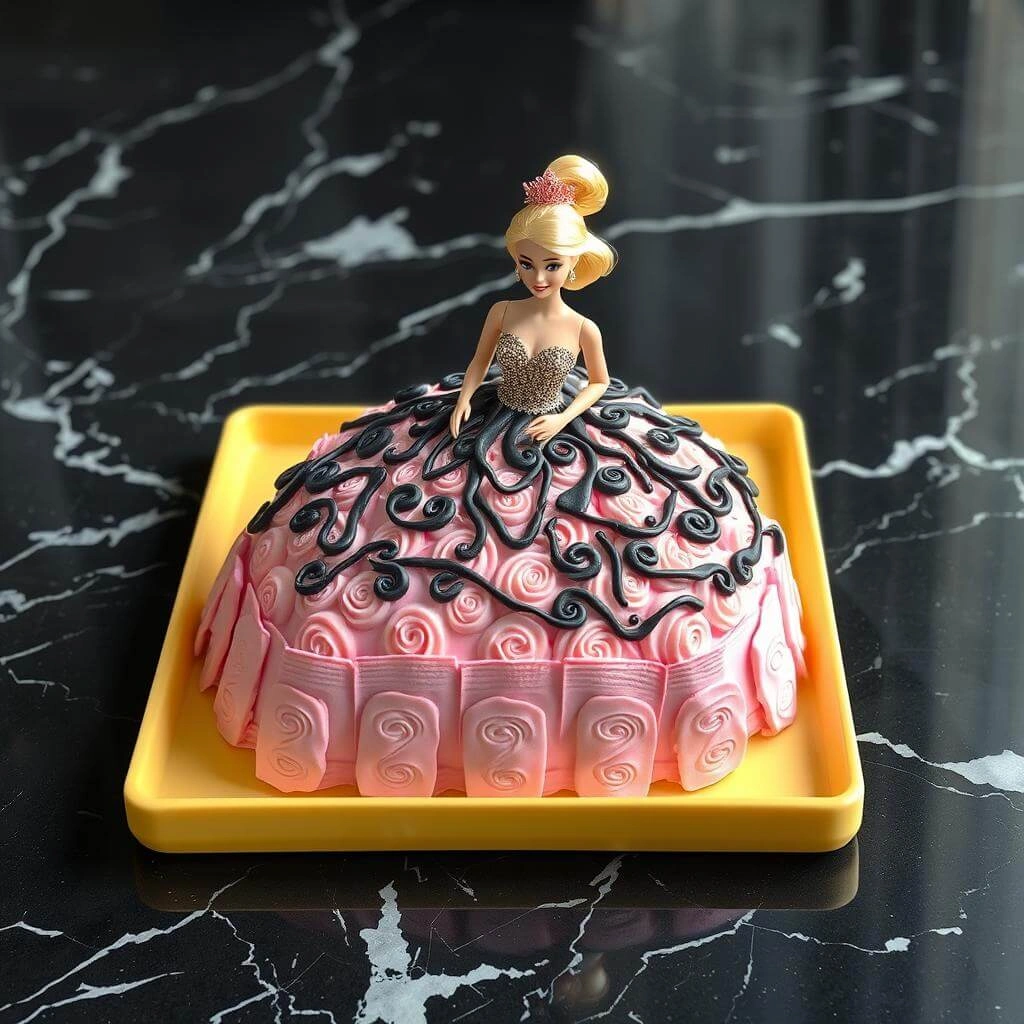
- Flavor Swaps: Try strawberry or chocolate cake for a twist. Red velvet is a hit for older Barbie fans.
- Dress Themes: Match the cake to your party theme think mermaid Barbie with teal and purple, or princess Barbie with gold accents.
Mistake to Avoid:
Don’t use liquid food coloring it can thin your buttercream and make decorating messy. Stick to gel colors for vibrant, stable results.
Barbie Cake FAQ
How far in advance can I make a Barbie cake?
You can bake the cakes and freeze them (well-wrapped) up to a week ahead. Assemble and decorate the day before your event for best freshness.
Can I use a different doll?
Absolutely! Just make sure the doll is new and wrapped in plastic. There are even cake toppers made specifically for this purpose.
How do I store a Barbie cake?
Keep it in the refrigerator until an hour before serving. If your fridge is humid, store in a cake box to avoid condensation.
What if my cake is too short for the doll?
Build up the skirt with extra cake scraps or frosting, or use a “cake pick” doll (with no legs) for a perfect fit.
Can I use fondant instead of buttercream?
Yes! Fondant gives a super smooth finish and allows for intricate dress designs. Just make sure your cake is well-chilled before covering.
Discover More Magical Recipes
If you loved this Barbie cake, you’ll adore these other showstoppers from Deliciousavors.com:
- Princess Cake: 5 magical Secrets of Sweden’s beloved Dessert
- [Mini Pancakes: Tiny Treasures for Your Breakfast Table] – Perfect for a whimsical brunch.
- Ice Cream Cake: 7 Proven Tips for the Perfect Frozen Treat
Conclusion: Share Your Barbie Cake Magic!
A Barbie cake is more than a dessert it’s a memory in the making. I hope this recipe brings as much joy to your kitchen as it has to mine. If you try it, please share your results or questions in the comments below I love seeing your creativity and helping troubleshoot any cake conundrums. Let’s make every celebration a little more magical, one slice at a time!
Article updated 5July 2025.
For more recipes, visit my Facebook page.