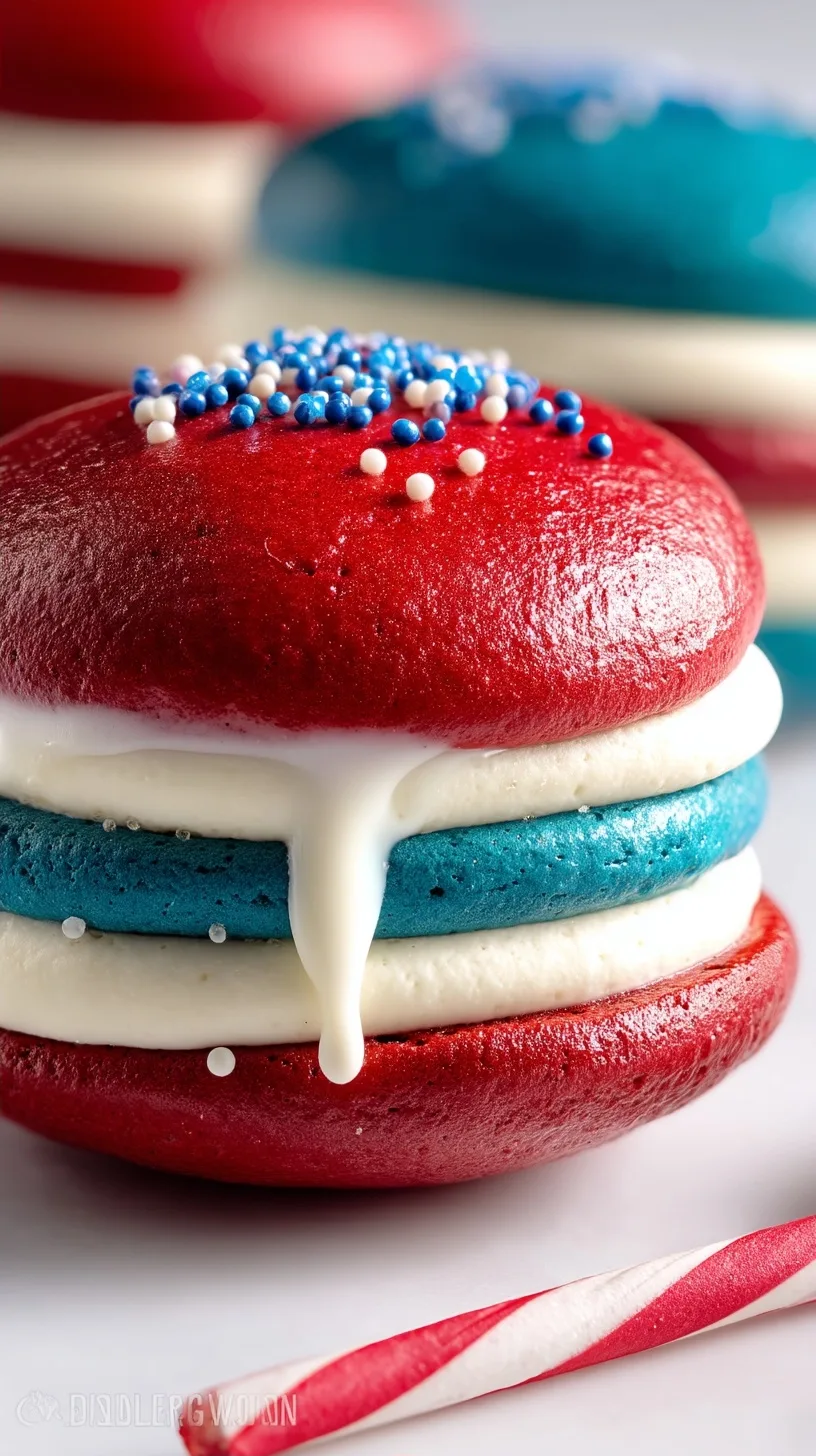
Red White and Blue Whoopie Pies are soft, cake-like sandwich cookies featuring vibrant patriotic colors and a luscious vanilla buttercream filling. These Red White and Blue Whoopie Pies serve as the perfect handheld dessert for Independence Day, Memorial Day, or any summer gathering requiring a touch of Americana. Unlike traditional chocolate versions, this recipe utilizes a tender vanilla base that allows the bold food coloring to pop against the stark white frosting center.
Recipe Overview
| Prep Time | Cook Time | Total Time | Servings | Difficulty | Cuisine | Category | Calories |
|---|---|---|---|---|---|---|---|
| 25 mins | 10 mins | 35 mins | 12 pies | Easy | American | Dessert | 385 kcal |
Why This Recipe Works
This recipe succeeds because it bridges the gap between a light, fluffy cupcake and a portable cookie. By using a specialized ratio of flour to milk, the batter maintains enough structure to hold its shape on a baking sheet while remaining incredibly moist. I find that the addition of an extra egg white provides just enough lift and stability to prevent the cookies from spreading too thin, ensuring that iconic mounded shape.
The flavor profile focuses on high-quality vanilla which complements the sweet, buttery notes without being overpowering. Because we use a classic American buttercream for the filling, the sweetness is balanced by a pinch of salt, making these treats palatable for both kids and adults. You will appreciate how the contrasting red and blue shells create a striking visual presence on any dessert table without requiring complex decorating skills.
Ingredients
| Ingredient | Quantity | Purpose | Substitutions |
|---|---|---|---|
| Unsalted Butter | 12 tbsp (total) | Provides fat for moisture and flavor. | Salted butter (omit extra salt). |
| All-Purpose Flour | 2 ¼ cups | Builds the structure of the cake cookie. | Gluten-free 1:1 baking flour. |
| Granulated Sugar | ¾ cup | Sweetens and tenderizes the crumb. | Cane sugar. |
| Whole Egg + White | 1 each | Binds ingredients and adds height. | Aquafaba (for a different texture). |
| Food Coloring | Red and Blue | Creates the patriotic color palette. | Gel food coloring is preferred. |
| Powdered Sugar | 3 cups | The base of the buttercream filling. | None recommended. |
Step-by-Step Instructions
Make the Cake Cookies
- Preheat your oven to 375ºF and line two large baking sheets with parchment paper to prevent sticking.
- Cream the room temperature butter and granulated sugar in a stand mixer fitted with the paddle attachment until the mixture is pale and fluffy.
- Beat in the whole egg and the additional egg white, ensuring you scrape down the sides of the bowl to incorporate everything evenly.
- Whisk the flour, salt, and baking powder together in a medium bowl while combining the milk and vanilla in a separate measuring cup.
- Add a third of the flour mixture to the butter, followed by half of the milk, rotating until all dry and wet ingredients are just combined.
- Divide the batter into two separate bowls and dye one half bright red and the other half deep blue using quality food coloring.
- Drop small mounds of batter onto the prepared sheets using a cookie scoop, leaving two inches of space for slight expansion.
- Bake the cookies for 7 to 10 minutes until the tops are springy to the touch and just barely dry.
- Cool the cookies on the baking pan for five minutes before moving them to a wire rack for complete cooling.
Make the Buttercream and Assemble
- Beat the softened butter on medium-high speed until it becomes very light and aerated.
- Mix in the vanilla extract and a pinch of salt to balance the sugar.
- Add the powdered sugar one cup at a time on low speed, then pour in the milk or cream.
- Whip the frosting on high for at least three minutes until it reaches a cloud-like consistency.
- Match red and blue cookies of similar sizes into pairs for a uniform look.
- Pipe a generous dollop of buttercream onto the flat side of one cookie and press its partner on top gently.
Chef Tips for Perfect Results
- Use gel-based food coloring rather than liquid drops to achieve intense red and blue hues without thinning out the batter consistency.
- Ensure your butter is truly at room temperature but not melting to maintain the proper emulsion during the creaming stage.
- Check your oven temperature with an external thermometer to ensure the cookies do not over-bake and become dry or crunchy.
- Space the batter mounds evenly on the tray to allow air circulation, which helps the edges set while keeping the middles soft.
- Wait until the cookies are completely cold before filling, as even a hint of warmth will cause the buttercream to melt and slide.
Common Mistakes to Avoid
Over-mixing the batter after adding the flour is a common error that leads to a tough, rubbery texture. To fix this, only mix until the last streaks of flour disappear. Another mistake is using cold eggs, which can cause the butter to curdle and result in an uneven crumb. Simply soak cold eggs in warm water for five minutes before using them. If your cookies come out flat, your baking powder may be expired; always test for potency by adding a pinch to hot water. Finally, skipping the cooling time on the pan often leads to cookies breaking during the transfer to the wire rack.
Variations and Substitutions
| Ingredient | Substitution | Flavor Impact | Best Use |
|---|---|---|---|
| Vanilla Extract | Almond Extract | Nutty, cherry-like notes. | Elegant adult parties. |
| Milk | Buttermilk | Added tang and tenderness. | Softening the sweetness. |
| Buttercream | Marshmallow Fluff | Extremely sweet and gooey. | Classic New England style. |
| Inner Garnish | Sprinkles | Crunchy texture. | Adding extra festive flair. |
Serving Suggestions and Pairings
These festive treats are best served on a platter where the alternating red and blue colors can be displayed prominently. I recommend pairing them with a cold glass of milk or a refreshing fruit punch at a backyard barbecue. For a complete holiday spread, serve these alongside classic American fare like grilled corn and homemade potato salad. If you are hosting an evening event, they look beautiful stacked in a tiered dessert tower near a coffee station.
Storage and Reheating
| Method | Duration | Instructions | Best Result |
|---|---|---|---|
| Room Temp | 2 Days | Keep in an airtight container. | Standard softness. |
| Refrigerator | 5 Days | Wrap individually to prevent drying. | Firm filling. |
| Freezer | 3 Months | Flash freeze before bagging. | Long-term storage. |
Nutritional Information
| Nutrient | Amount per Serving |
|---|---|
| Calories | 385 kcal |
| Total Fat | 16g |
| Carbohydrates | 58g |
| Protein | 3g |
| Sugar | 42g |
Approximate values per whoopie pie.
Frequently Asked Questions
Can I use a box cake mix for these whoopie pies?
Yes, you can use a white cake mix by reducing the required liquid by half to create a thicker batter. This ensures the cookies hold their round shape rather than spreading like a traditional cake. However, the scratch-made version provided here offers a much better density for sandwiching.
Why are my whoopie pies sticking to the parchment paper?
This usually happens if the cookies are under-baked or if they were removed from the pan while still too hot. Allow them to set for at least five minutes on the hot pan to firm up. If sticking persists, your parchment paper might lack a non-stick coating.
How do I get the red color to be deep rather than pink?
The key to a deep red is using high-quality gel food coloring rather than liquid drops found in grocery stores. You may need to use more coloring than you think, as the white flour and milk will dilute the pigment. Look for “No-Taste Red” brands to avoid a bitter aftertaste.
Can I make the batter ahead of time?
It is best to bake the batter immediately after mixing because the leavening agents begin to react as soon as they touch wet ingredients. If you must wait, store the batter in the fridge for no more than an hour. If left too long, the cookies will not rise properly in the oven.
What is the best way to transport these to a potluck?
Place them in a single layer in a large flat container to prevent the soft tops from sticking to each other. If you must stack them, place a sheet of wax paper or parchment between the layers. Keep them in a cool area or a cooler if the outdoor temperature is high.
Conclusion
Mastering these Red White and Blue Whoopie Pies is a fantastic way to celebrate seasonal holidays with a classic American treat. By following the creaming method and using vibrant gels, you ensure a dessert that is as beautiful as it is delicious. These pies offer a nostalgic texture that pleases every generation at the table. Whether you are hosting a small family gathering or a large neighborhood block party, these handheld cakes are sure to be the highlight. Enjoy the soft, pillowy texture and the rich, creamy vanilla center in every bite.
PrintRed White and Blue Whoopie Pies
Soft, cake-like sandwich cookies with vibrant red and blue shells and a smooth vanilla buttercream filling. Perfect for patriotic celebrations without the use of alcohol or pork-derived ingredients.
- Prep Time: 25
- Cook Time: 20
- Total Time: 45
- Yield: 12 whoopie pies
- Category: trends recipes
- Method: Baking
- Cuisine: American
- Diet: Vegetarian
Ingredients
12 tbsp unsalted butter, softened
2 1/4 cups all-purpose flour
3/4 cup granulated sugar
1 whole egg
1 egg white
Red and blue gel food coloring
3 cups powdered sugar
Instructions
Preheat oven to 350°F (175°C)
Line two baking sheets with parchment paper
In a large bowl, cream the butter and granulated sugar until light and fluffy
Add the whole egg and egg white, beating until fully combined
Divide the batter into two portions
Stir red gel food coloring into one portion and blue into the other, mixing until the color is consistent
Transfer each colored batter into separate zip-top bags
Cut off the corners to form small openings and pipe 2-inch circles onto the prepared baking sheets, spacing them 2 inches apart
Bake for 10 minutes or until lightly golden on the edges and a toothpick inserted in the center comes out clean
Let the cookies cool completely on a wire rack
In a bowl, mix the softened butter and powdered sugar until light and fluffy; add a pinch of salt to balance the sweetness
Once the cookies are fully cooled, pipe a thick layer of buttercream onto the flat side of a red cookie and top with a blue cookie to form a sandwich
Repeat with the remaining cookies
Notes
Use gel food coloring to achieve bold colors with minimal liquid.
Store in an airtight container at room temperature for up to 2 days or in the refrigerator for up to 5 days.
For best results, assemble whoopie pies just before serving to preserve the soft centers.