Table of Contents
Table of Contents
Chicken Breast: How to Boil It Right Every Time
Boiled chicken breast may not sound glamorous, but when done right, it becomes one of the most useful ingredients in your kitchen. It is lean, full of protein, and incredibly versatile. From shredded chicken for salads and tacos to a tender bite for casseroles or soups, learning how to boil chicken breast properly is a game-changer for home cooks.
In this article, we’ll cover exactly how long to boil chicken breast, how to avoid dry or rubbery meat, and how to make it flavorful enough to stand on its own. We will also answer the most common questions about boiling time, safety, and results. Whether you’re meal prepping or cooking dinner on the fly, this guide has you covered.
The Story & Intro: How I Learned to Love Boiled Chicken
Boiled Chicken Wasn’t Always My Favorite
When I was growing up, chicken breast usually came grilled or breaded. Boiling it? That felt like something bland and boring. But when I started prepping meals for the week, I realized boiled chicken had a place at my table. It was easy, clean, and if done with the right seasoning and timing, it came out juicy and ready to transform into dozens of meals.
Now, it’s part of my weekly routine. I use it in salads, casseroles, wraps, and even pasta dishes like garlic parmesan chicken pasta or chicken and gravy. It’s my go-to protein when time is short and I want something light but filling.
Why Boiling Chicken Breast is a Kitchen Skill You Need
Boiling chicken gets a bad reputation because it’s easy to overcook. But once you know how to control time and temperature, you unlock a protein that’s affordable, fast, and ideal for meal prep. You do not need fancy tools or expensive ingredients. Just a pot of water, some seasoning, and a few simple tips to make it right.
PrintHow Long to Boil Chicken Breast Fast: 3 Juicy & Easy Tips

This simple boiled chicken breast recipe yields tender, juicy chicken that is perfect for salads, soups, casseroles, and meal prep. Quick, healthy, and versatile.
- Prep Time: PT5M
- Cook Time: PT15M
- Total Time: PT20M
- Yield: 2 servings
- Category: Dinner
- Method: Boiling
- Cuisine: American
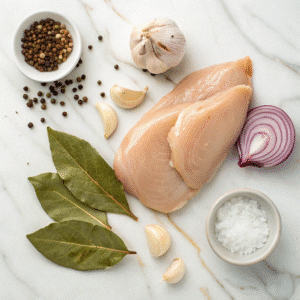
Ingredients
2 boneless, skinless chicken breasts (fresh or thawed)
1 teaspoon salt
½ teaspoon black pepper
2 garlic cloves (optional)
¼ onion, sliced (optional)
1 bay leaf (optional)
4 cups water or enough to fully submerge the chicken
Instructions
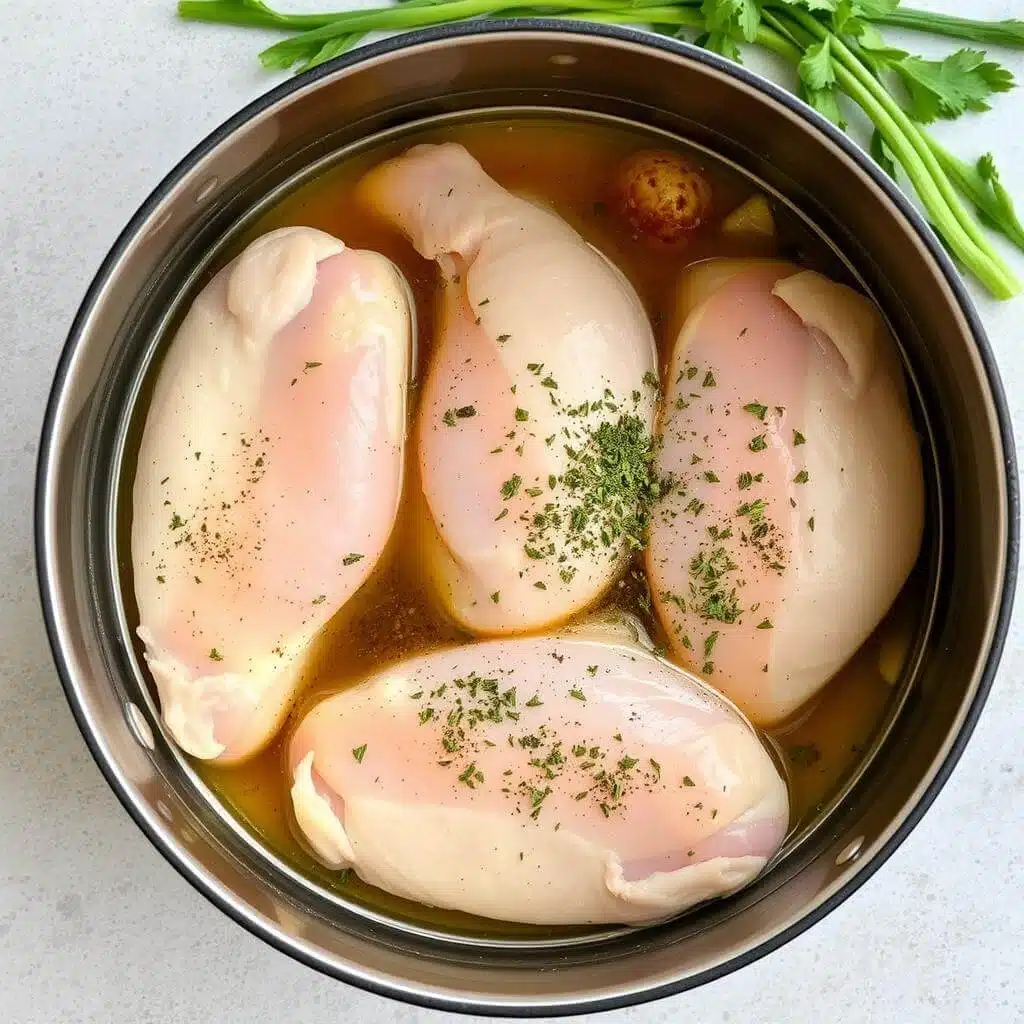
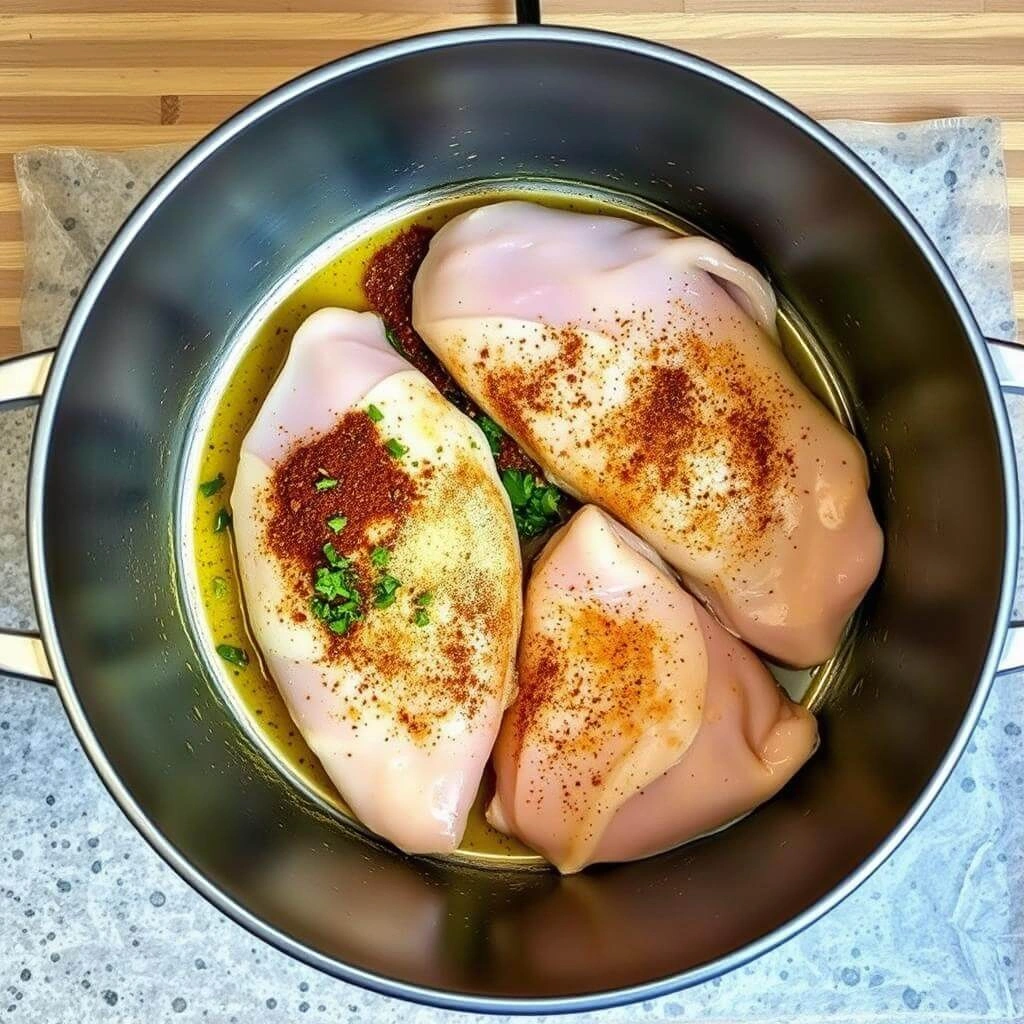
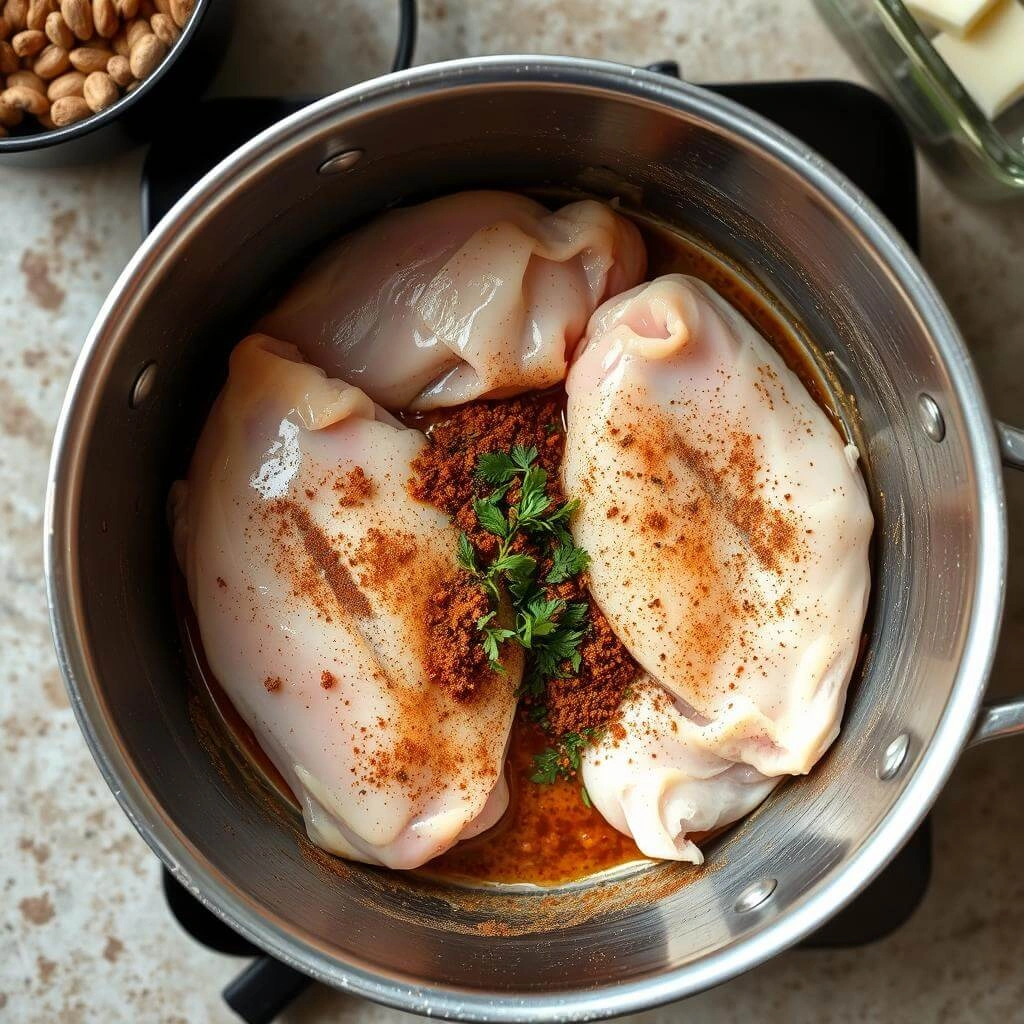
Step 1: Place chicken breasts in a large pot and add enough water to cover them by about 1 inch.
Step 2: Add salt, pepper, garlic, onion, and bay leaf if using.
Step 3: Bring water to a gentle boil over medium-high heat.
Step 4: Once boiling, reduce heat to low and cover the pot.
Step 5: Simmer for 12 to 15 minutes for boneless, or up to 20 minutes for larger pieces.
Step 6: Use a meat thermometer to check that internal temperature reaches 165°F.
Step 7: Remove chicken from water, rest for 5 minutes, then shred or slice for use.

Notes
Store boiled chicken in the cooking liquid to keep it moist.
For added flavor, use chicken broth instead of water.
Do not hard boil. A gentle simmer produces better texture.
How Long Does It Take to Boil Chicken Breast?
One of the biggest mistakes when boiling chicken breast is guessing the timing. Undercooked and it’s unsafe to eat. Overcooked and it’s dry and chewy. The good news is that with a little guidance, you can hit that sweet spot every time.
Is 30 Minutes Long Enough to Cook Chicken Breast?
Yes, but only if you’re starting with large, thick, bone-in breasts. For boneless, skinless chicken breasts, 30 minutes is too long. Most boneless pieces are done in 12 to 18 minutes, depending on their size and whether they are fresh or frozen.
Here’s a quick reference chart:
| Chicken Type | Boiling Time |
|---|---|
| Boneless, skinless (fresh) | 12 to 15 minutes |
| Boneless, skinless (frozen) | 18 to 22 minutes |
| Bone-in, skin-on | 25 to 30 minutes |
How to Check If It Is Done
Always check the internal temperature. Chicken is safe to eat at 165°F. Use a meat thermometer and test the thickest part of the breast. If you do not have one, slice into the center. It should be white all the way through with no pink and the juices should run clear.
Boiling too long can lead to dry, stringy chicken. If you want moist, flavorful meat, start testing for doneness around the 12-minute mark.
Can You Boil Chicken for an Hour?
It’s a common question, especially when multitasking in the kitchen. People often leave chicken on the stove and wonder if an hour is too long. The short answer is yes, most of the time. Overcooking chicken breast in boiling water can lead to dry, stringy meat that lacks both flavor and texture.
Is Boiling Chicken for 1 Hour Enough or Too Much?
Boiling chicken breast for an hour is far beyond what is needed. Unless you’re cooking a whole bird or making broth, one hour is too long for breast meat. The fibers in the meat begin to break down and tighten excessively, leaving it chewy or mealy.
The ideal boiling time is between 12 and 18 minutes for boneless pieces. For bone-in breasts, go up to 30 minutes max. Anything longer should be reserved for slow simmering with vegetables and bones if you’re making stock.
You will get better results by starting with cold water and gently bringing the pot to a low boil. This method allows the inside of the meat to cook evenly without shocking the outside. Once it simmers, lower the heat and cover it to finish cooking gently.
How to Make Boiled Chicken Breast Taste Better
Boiled doesn’t have to mean bland. You can add layers of flavor even in water. Toss in aromatics like garlic cloves, onion slices, bay leaf, peppercorns, and a good pinch of salt. Some even add celery or carrots for extra depth.
The chicken will absorb the seasoned water, making it flavorful enough to eat alone or shred into recipes like chicken pot pie casserole or marry me chicken pasta. Just remember to avoid a hard boil. A gentle simmer is always better.
What to Do With Boiled Chicken Breast
Once your chicken breast is boiled and cooked perfectly, the possibilities open wide. Boiled chicken might not look exciting on its own, but it becomes the star of countless dishes when you use it right.
Easy Recipes That Start With Boiled Chicken
Shredded chicken breast is the base for fast, protein-packed meals. You can toss it into pasta, stir it into soups, or wrap it in tortillas. Try it in a creamy chicken salad with Greek yogurt and celery for a light lunch. It also works great in enchiladas, rice bowls, or cold noodle salads.
You can cube it and add it to dishes like low-carb bread sandwiches or layer it into funeral potatoes for a protein boost. Because the flavor is mild, it blends well with bold sauces like barbecue, buffalo, or pesto.
For meal prep, store your boiled chicken in its cooking liquid. This keeps it moist and makes it easy to reheat without drying out. Use airtight containers and keep it in the fridge for up to four days or freeze it in portions for future meals.
Make It Part of a Healthy Routine
Boiled chicken breast is perfect for high-protein diets, low-fat meal plans, or anyone tracking macros. A 3-ounce serving packs around 25 grams of lean protein with little to no fat, depending on how it’s cooked.
Add it to a salad with mixed greens, chickpeas, and avocado. Serve it on top of a baked sweet potato with yogurt dressing. Blend it into a hearty soup or grain bowl. Boiled chicken is the kind of simple, adaptable protein that fits your life no matter what your goals are.
Frequently Asked Questions About Boiled Chicken Breast
Q: How long does it take for chicken breast to boil?
A: Boneless, skinless chicken breasts take about 12 to 15 minutes when fresh. If frozen, they may need 18 to 22 minutes. Bone-in pieces can take 25 to 30 minutes. Always check for an internal temperature of 165°F.
Q: Is boiling chicken for 1 hour enough?
A: Yes, but it is more than necessary. One hour is too long for chicken breast and will likely result in dry, stringy meat. Use shorter cook times to preserve moisture and texture.
Q: Is 25 minutes enough to boil chicken?
A: It can be, depending on the size and type. For thick, bone-in breasts, 25 minutes may be just right. For boneless breasts, that would be too long. Check for doneness early and adjust as needed.
Q: Is 30 minutes long enough to cook chicken breast?
A: Thirty minutes is usually too long for boneless chicken breast but perfect for large bone-in cuts. Use a meat thermometer to ensure safety without overcooking..
Conclusion
Boiling chicken breast is one of the simplest cooking techniques, but when done properly, it becomes a powerful tool in your kitchen. It delivers tender, juicy meat that works in everything from salads to casseroles to meal prep bowls.
By understanding how long to boil chicken breast and how to season it well, you can avoid the dry and bland results many people fear. Whether you’re using boneless, frozen, or bone-in pieces, the key is to monitor the time, use aromatics in the water, and check the temperature before serving.
This method may not be flashy, but it is dependable, fast, and healthy. From busy weeknights to bulk cooking for the week, boiled chicken breast gives you versatility without the fuss. It is the kind of foundational recipe every home cook should have on hand.
Article updated 23 June 2025.
For more recipes, visit my Facebook page.