
Table of Contents
Table of Contents
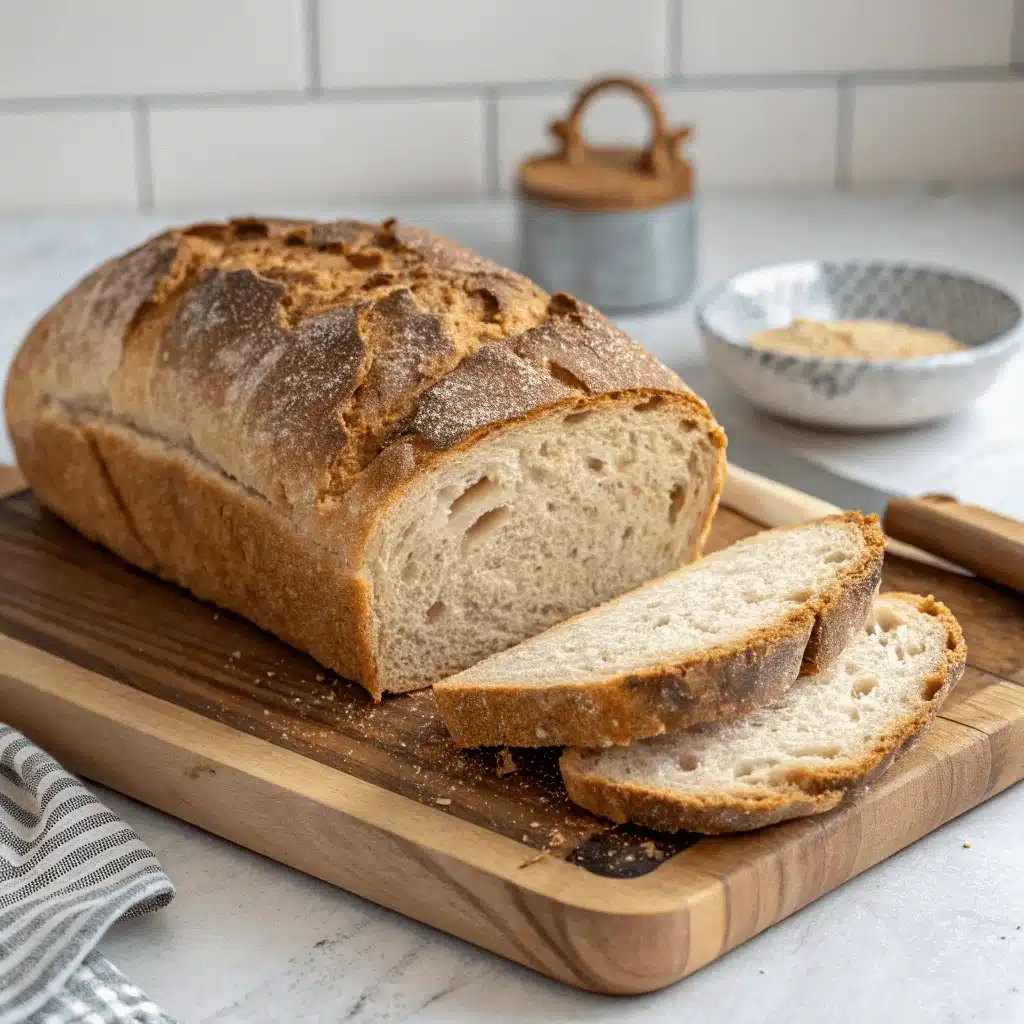
Gluten-Free Sourdough: A Delicious Twist on a Classic Favorite
Gluten-free sourdough brings the beloved tangy flavor and chewy texture of traditional sourdough to those avoiding gluten. This article explores the science, baking techniques, and sourcing options for this artisan bread, combining expert insights with practical tips for perfect results every time. We’ll address common questions and share foolproof methods to help you enjoy this comforting staple without compromise.
Understanding Gluten-Free Sourdough Fundamentals
Alice’s Story
Hi, I’m Alice Thompson from Deliciousavors.com. Growing up in Madison, Georgia, Sunday mornings meant the aroma of fresh sourdough filling our kitchen. After my celiac diagnosis, I refused to give up this comfort food. Through trial and error (and many dense loaves!), I discovered the magic of gluten-free sourdough. Today, I’m thrilled to share my journey and prove that dietary restrictions don’t mean sacrificing flavor or tradition. Pour yourself a cup of tea, and let’s rediscover sourdough together.
What Makes Sourdough Gluten-Free?
True gluten-free sourdough requires two key elements: a gluten-free starter and certified gluten-free flours. Unlike traditional sourdough which contains gluten (even with fermentation), gluten-free versions use alternative grains like brown rice, buckwheat, or sorghum. The starter must be meticulously maintained using gluten-free flours only, as cross-contamination can occur with wheat-based starters. This ensures safety for those with celiac disease or severe gluten intolerance, while still allowing the natural fermentation process to develop complex flavors. For those new to gluten-free starters, our guide on Creating a Foolproof Gluten-Free Starter covers each step.
The Science of Gluten-Free Fermentation
Fermentation works differently in gluten-free sourdough due to the absence of gluten proteins. While traditional sourdough’s fermentation partially breaks down gluten, it doesn’t eliminate it completely. Gluten-free starters rely on wild yeast and bacteria feeding on starches in alternative flours, producing lactic acid that creates the signature tang. The process typically takes longer (24-48 hours) to develop structure since there’s no gluten network to trap gases. This extended fermentation also enhances digestibility by breaking down FODMAPs, making it gentler on sensitive stomachs. Understanding these differences is key to successful baking, as explained in our Gluten-Free Baking Science deep dive.
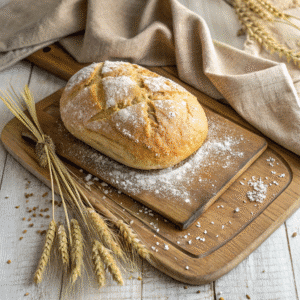
PrintGluten-Free Sourdough: 7 Powerful Tips for Tasty Success

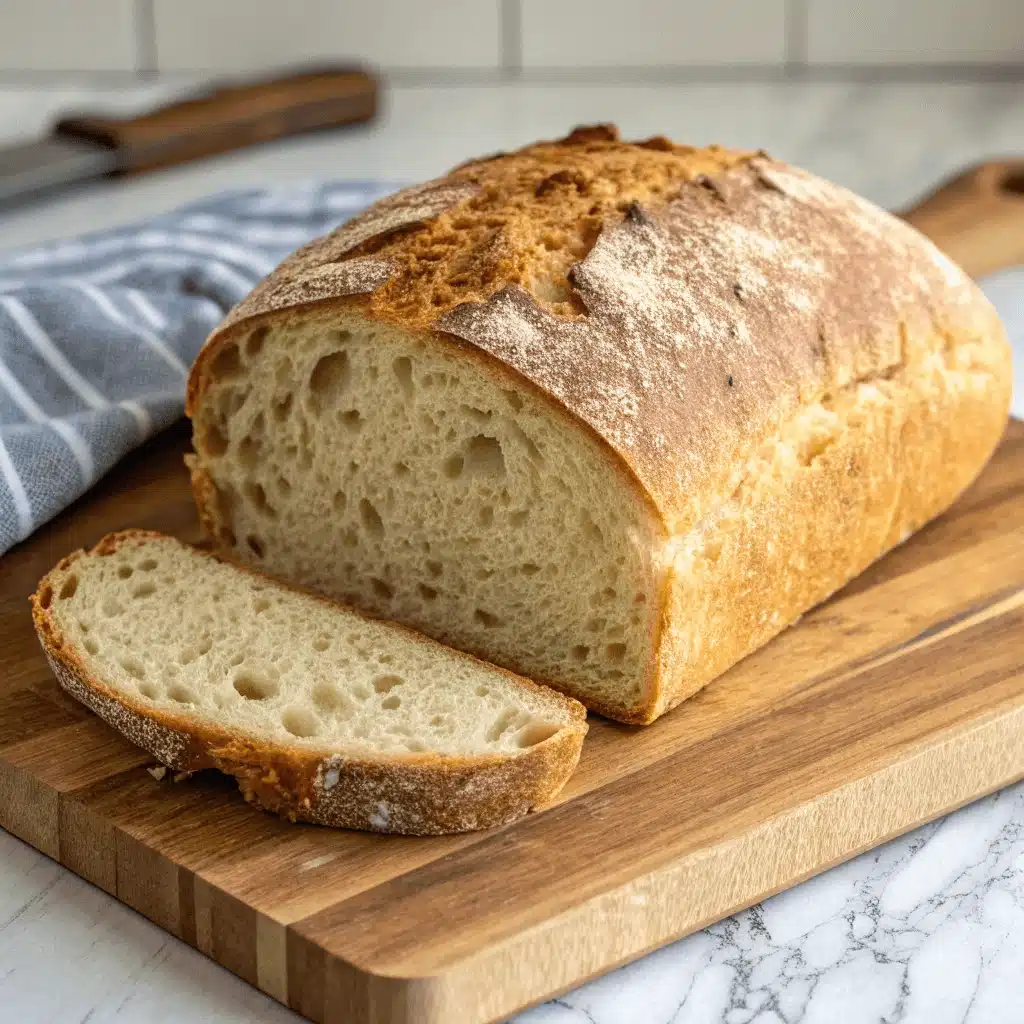
Authentic gluten-free sourdough with crispy crust and tangy flavor.
- Prep Time: PT0H20M
- Cook Time: PT0H40M
- Total Time: PT1H0M
- Yield: 1 loaf
- Category: Bread
- Method: Baking
- Cuisine: American
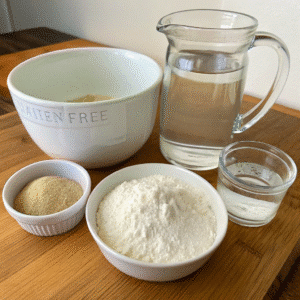
Ingredients
150g active gluten-free starter
500g gluten-free flour blend (40% brown rice, 25% tapioca, 25% sorghum, 10% psyllium)
450g water (90°F)
10g salt
10g honey (optional)
Instructions
Étape 1: Autolyse: Mix flour and water, rest 30 mins
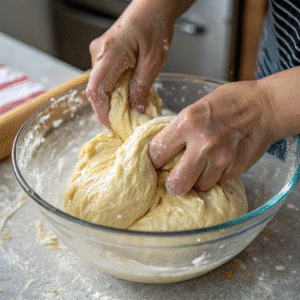
Étape 2: Add starter and salt, fold every 30 mins for 2 hours
Étape 3: Bulk ferment 8-12 hours at 75°F
Étape 4: Shape, place in banneton, cold-proof 12-24 hours
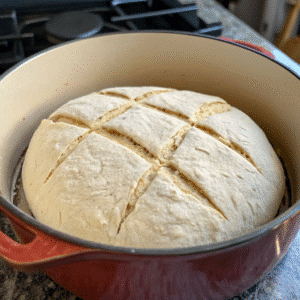
Étape 5: Bake covered 450°F/30 mins, uncovered 400°F/20 mins
Notes
Cool completely before slicing
Freezes well for 3 months
Nutrition
- Serving Size:
- Calories: 364
- Sugar: 12.7 g
- Sodium: 775.8 mg
- Fat: 23.1 g
- Saturated Fat: 12 g
- Trans Fat: 0 g
- Carbohydrates: 26.4 g
- Fiber: 3.9 g
- Protein: 16.4 g
- Cholesterol: 62 mg
Crafting Perfect Gluten-Free Sourdough
Essential Ingredients and Substitutions
Building flavor and texture requires strategic flour blends. A balanced mix typically includes:
- Whole-grain flours (brown rice, buckwheat) for depth
- Starches (tapioca, potato) for chewiness
- Protein-rich flours (sorghum, teff) for structure
| Flour Type | Purpose | Recommended Ratio |
|---|---|---|
| Brown Rice | Base flavor | 40% |
| Tapioca Starch | Chewiness | 25% |
| Sorghum | Structure | 25% |
| Psyllium Husk | Binding | 10% |
Hydration is critical gluten-free doughs need 85-100% hydration (vs. 65-75% for wheat). Add-ins like vinegar or yogurt boost acidity for better rise. King Arthur’s Measure-for-Measure flour works well, but blend it with whole-grain flours for best results. For curated flour combinations, see our Gluten-Free Flour Blending Guide.
Step-by-Step Baking Process
- Feed starter 6-8 hours before baking until bubbly
- Autolyse: Mix flours and water (80°F), rest 30 minutes
- Incorporate starter and salt: Fold every 30 minutes for 2 hours
- Bulk ferment: 8-12 hours at room temperature (70-75°F)
- Shape gently: Use wet hands to prevent sticking
- Cold proof: Refrigerate 12-24 hours in banneton
- Bake: 30 mins covered at 450°F, then 20 mins uncovered at 400°F
The extended cold proof is non-negotiable it develops flavor and prevents gummy texture. If your loaf sinks or remains dense, try increasing fermentation time or adding 1 tsp apple cider vinegar to the dough. Our Step-by-Step Sourdough Video Tutorial demonstrates these techniques visually.
Troubleshooting Common Challenges
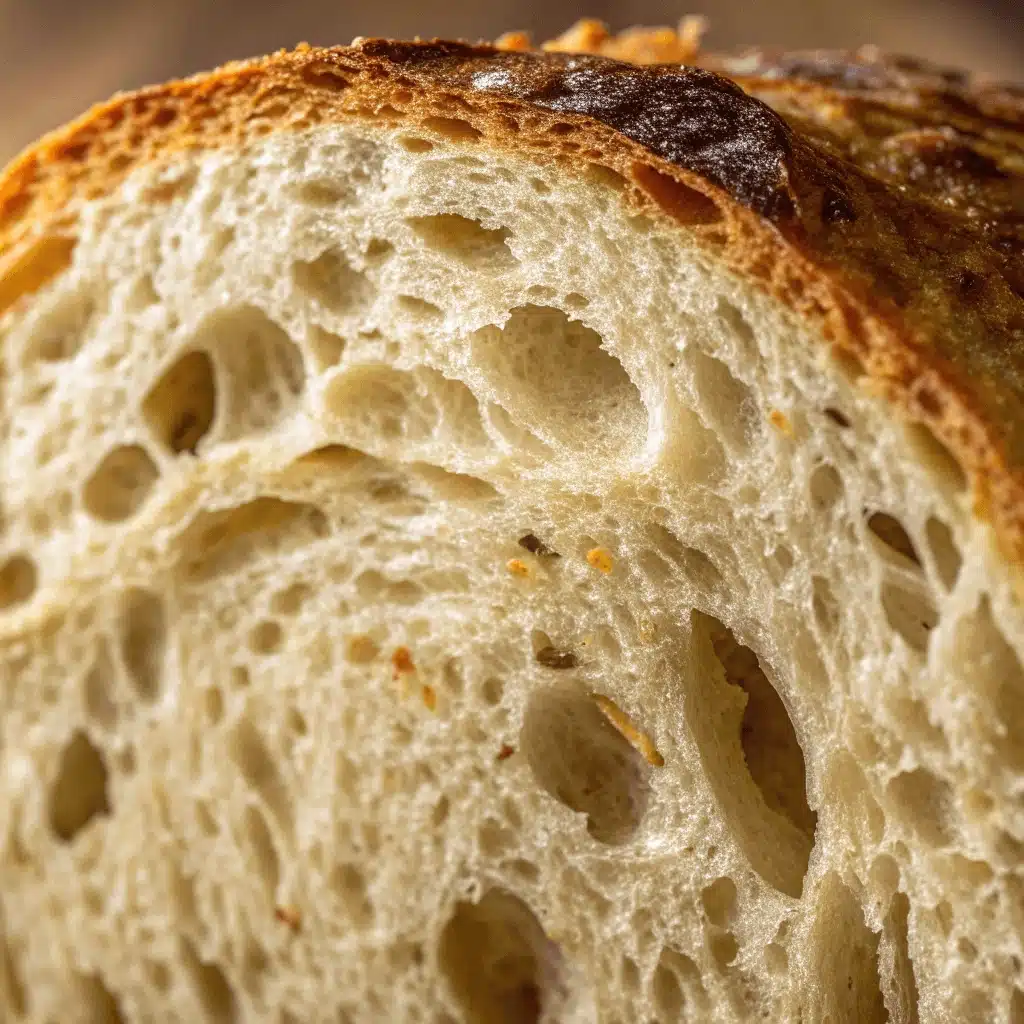
Avoiding Gummy Texture
Gummy interiors typically stem from underbaking or cutting too soon. Gluten-free sourdough requires longer baking than wheat-based versions internal temperature should reach 210°F. Always cool completely (2+ hours) before slicing to allow starch structure to set. Other fixes:
- Increase baking time by 10-15 minutes
- Use lighter baking pans (dark pans over-brown crusts)
- Add 1 tbsp ground chia seeds for better moisture control
- Ensure starter is at peak activity (floats in water test)
Achieving the Perfect Rise
Lack of oven spring often traces to weak starter or incorrect proofing temperature. Revive sluggish starters with whole-grain flour feeds for 3 consecutive days. During bulk fermentation, maintain consistent 75°F temperature using a proofing box or warm oven with light on. If your dough spreads instead of rising:
Place ice cubes in oven for steam during first 10 minutes of baking
Increase psyllium husk by 5%
Shorten bulk fermentation by 2 hours
Score deeper (½ inch) to direct expansion
Sourcing and Buying Gluten-Free Sourdough
Where to Find Quality Options
Several bakeries specialize in certified gluten-free sourdough:
- Modern Bread & Bagel (NYC, nationwide shipping): Uses authentic fermentation
- Bread SRSLY (California): Offers classic and seeded loaves
- Mariposa Baking (San Francisco): Ships frozen sourdough nationwide
Local farmers’ markets often have hidden gems look for vendors explicitly stating “gluten-free facility” to avoid cross-contamination. When buying online, ensure shipping includes cold packs since true sourdough lacks preservatives. Our Local Bakery Finder Tool helps locate trusted sources.
Top Store-Bought Brands Reviewed
After testing 12 brands, these stand out:
- Canyon Bakehouse: Best texture (crispy crust/tender crumb), but mild tang
- Schär: Authentic sour flavor, slightly dense crumb
- Against the Grain: Excellent chew, limited availability
- Trader Joe’s GF Sourdough: Budget-friendly, best toasted
Freeze leftovers sliced for quick refresh in toaster. Avoid brands with xanthan gum as the first ingredient they often have rubbery texture. For brand comparisons, see our Gluten-Free Bread Taste Test.
Frequently Asked Questions
Can sourdough bread be gluten-free?
Yes, but only when made with gluten-free starter and flours. Traditional sourdough still contains gluten and isn’t safe for celiacs.
Is sourdough ok if you are gluten intolerant?
Possibly. Fermentation breaks down some proteins, making it easier to digest for non-celiac gluten sensitivity. Start with small portions.
Where can I buy gluten-free sourdough bread?
Specialty bakeries (Modern Bread & Bagel, Bread SRSLY), health food stores, and online retailers like Thrive Market offer certified options.
Can I use King Arthur gluten-free flour for sourdough?
Yes, but blend it with 30% whole-grain flour (buckwheat or sorghum) for better structure and flavor development.
Conclusion
Gluten-free sourdough proves that dietary restrictions don’t mean sacrificing artisan bread. With the right techniques proper starter maintenance, balanced flour blends, and patient fermentation you can achieve that coveted tangy flavor and open crumb. Whether baking at home or sourcing from dedicated bakeries, this classic bread remains accessible to all. For more gluten-free baking inspiration, explore our full collection at Deliciousavors.com.
Article updated 25 June 2025.
For more recipes, visit my Facebook page.