Table of Contents
Table of Contents
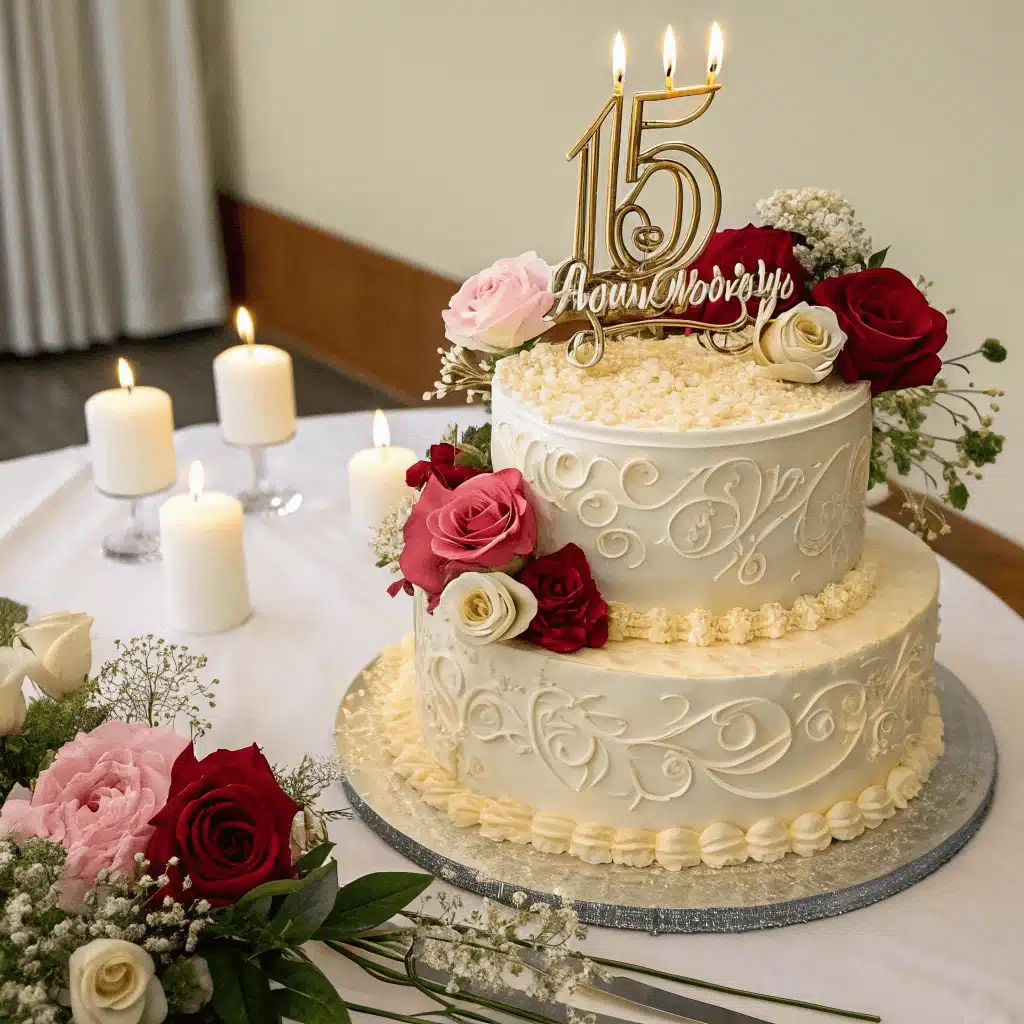
Anniversary Cake Recipe: The Perfect Sweet Celebration of Love
Hi, I’m Alice Thompson, the heart behind Deliciousavors.com. Growing up in Madison, Georgia, my fondest memories are of family and friends gathered in our kitchen, sharing laughter and good food. I’ve always believed that every dish tells a story. Moreover, after years of exploring Southern kitchens and picking up flavors from roadside diners, I love putting a creative twist on classic recipes. Here, you’ll find approachable, flavorful dishes and honest stories. No matter your skill level, I’m cheering you on. So pour some sweet tea, pull up a chair, and let’s make something wonderful together.
Creating an anniversary cake brings together the sweetness of celebration and the warmth of love in every bite. As someone who’s spent countless hours in the kitchen perfecting recipes, I can tell you there’s something truly magical about baking a cake that marks another year of partnership and devotion. Whether you’re celebrating your first anniversary or your golden jubilee, the right anniversary cake becomes more than just dessert it becomes a symbol of your journey together.
I’ll never forget the first anniversary cake I made for my husband. Standing in our tiny kitchen in Madison, Georgia, with flour dusting every surface and my grandmother’s mixing bowl, I realized this wasn’t just about following a recipe. Moreover, I was creating something that would become part of our love story. Subsequently, that cake became the tradition we’ve carried forward, adapting flavors and decorations to reflect each milestone we’ve reached together.
In this guide, you’ll discover everything needed to create the perfect anniversary cake. Furthermore, we’ll explore popular flavors, decoration techniques, and tips that make your celebration unforgettable. Additionally, I’ll share insights about what makes certain cake flavors particularly romantic and suitable for anniversary celebrations.
PrintAnniversary Cake Ideas: 7 Stunning Designs to Celebrate Love
Perfect anniversary cake recipe with romantic flavors and elegant decoration techniques for celebrating love milestones
- Prep Time: PT0H30M
- Cook Time: PT0H35M
- Total Time: PT1H30M
- Yield: 12 servings
- Category: Dessert
- Method: Baking
- Cuisine: American
- Diet: Vegetarian
Ingredients
3 cups all-purpose flour
2 cups granulated sugar
1 cup unsalted butter, softened
4 large eggs
2 tsp vanilla extract
1 cup buttermilk
2 tsp baking powder
1 tsp salt
8 oz cream cheese, softened
4 cups powdered sugar
1/2 cup butter for frosting
Red food coloring (optional)
Instructions
Step 1: Preheat oven to 350°F and prepare cake pans
Step 2: Cream butter and sugar until light and fluffy
Step 3: Add eggs one at a time, then vanilla
Step 4: Alternate adding dry ingredients and buttermilk
Step 5: Pour into prepared pans and bake 30-35 minutes
Step 6: Cool completely before frosting
Step 7: Beat cream cheese and butter for frosting
Step 8: Gradually add powdered sugar
Step 9: Decorate with roses and romantic touches
Notes
Use room temperature ingredients for best results
Cake can be made 1 day ahead
Store covered at room temperature
Add food coloring for red velvet variation
The Art of Anniversary Cake Creation
Choosing Your Perfect Anniversary Cake Flavor
Selecting the right flavor for your cake sets the foundation for your celebration. Classic anniversary cake flavors include vanilla, chocolate, red velvet, and strawberry, each bringing its own romantic appeal to the occasion. Additionally, these timeless choices have remained popular because they appeal to most palates while creating the perfect backdrop for personalized decorations.
Chocolate anniversary cake stands as the most beloved choice among couples, offering rich depth that symbolizes the complexity of lasting relationships. Similarly, red velvet brings romance through its striking color and luxurious cream cheese frosting. Furthermore, vanilla anniversary cake provides the perfect canvas for elaborate decorations while maintaining its classic, comforting appeal that speaks to traditional values.
Understanding Anniversary Cake Traditions
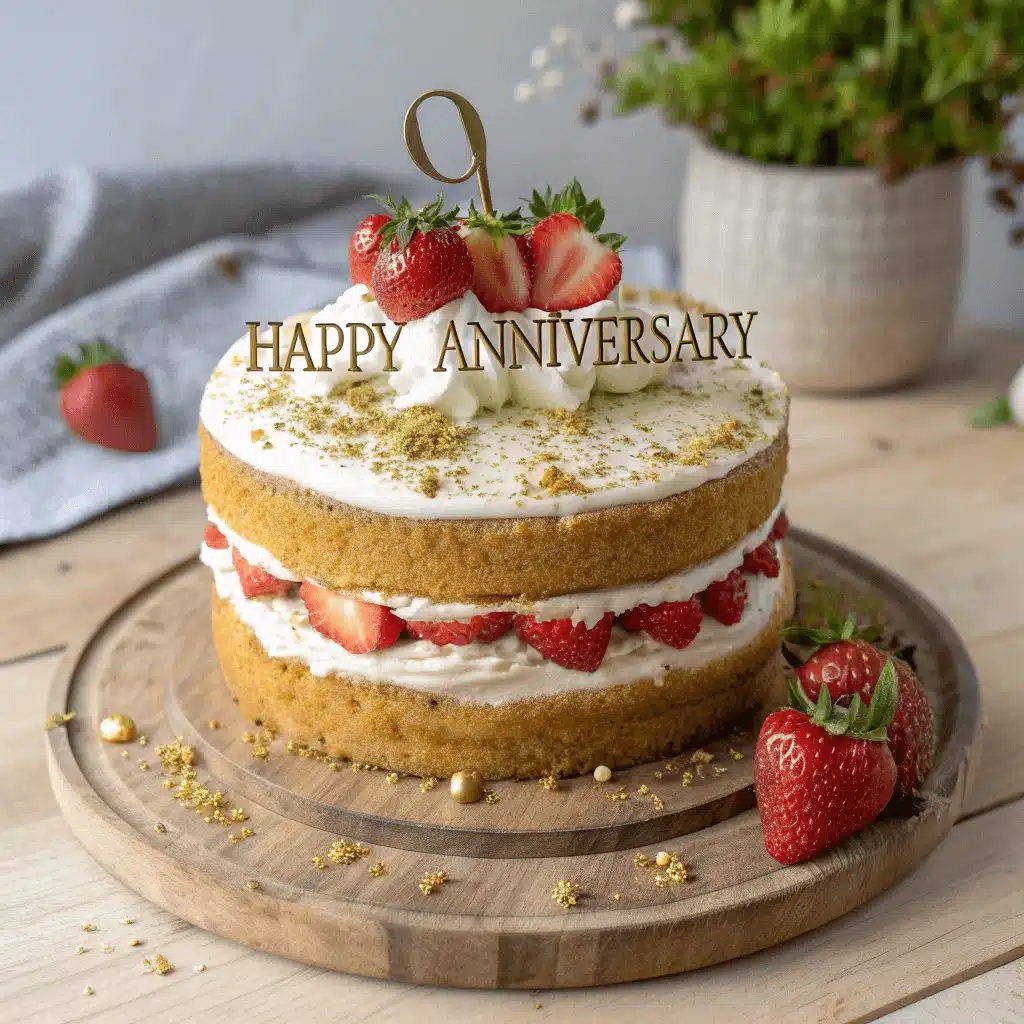
Different anniversary milestones call for specific cake considerations and approaches. For first anniversaries, heart-shaped cakes in romantic flavors like strawberry or red velvet create the perfect intimate celebration. Additionally, couples often choose lighter, more playful designs that reflect the excitement of their new journey together.
Meanwhile, milestone anniversaries like the 5th, 10th, or 25th deserve more elaborate anniversary cake designs that reflect the couple’s growing sophistication. However, the key lies in balancing tradition with personal preferences. Moreover, many couples incorporate flavors that hold special meaning, such as recreating their wedding cake flavor or choosing something that represents a shared memory.
Anniversary Cake Recipe and Preparation
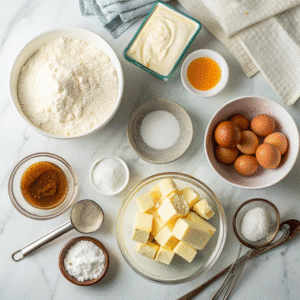
Essential Ingredients for Success
Creating the perfect anniversary cake starts with selecting high-quality ingredients that will deliver exceptional results. For the cake base, you’ll need all-purpose flour, sugar, eggs, butter, baking powder, and your chosen flavorings. Additionally, fresh ingredients make a noticeable difference in both taste and texture, particularly when using real vanilla extract and high-quality chocolate.
The frosting selection plays an equally important role in your anniversary cake’s success. Cream cheese frosting pairs beautifully with red velvet or carrot cake flavors, while buttercream offers versatility for decorating and flavor variations. Furthermore, ganache provides an elegant finish for chocolate anniversary cakes, creating that professional bakery appearance at home.
| Anniversary Year | Recommended Flavor | Design Style |
|---|---|---|
| 1st Year | Red Velvet or Strawberry | Heart-shaped, romantic |
| 5th Year | White Forest or Vanilla | Elegant, sophisticated |
| 10th Year | Chocolate Truffle | Rich, indulgent |
| 25th Year | Silver-themed Vanilla | Grand, celebratory |
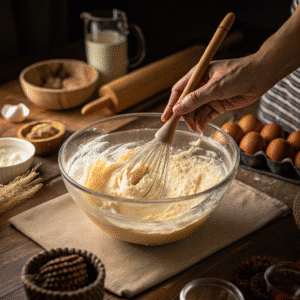
Step-by-Step Anniversary Cake Preparation
Begin your cake preparation by preheating your oven to 350°F and preparing your cake pans with butter and flour. Subsequently, cream together butter and sugar until light and fluffy, which creates the perfect texture foundation. Additionally, adding eggs one at a time ensures proper incorporation and prevents the mixture from curdling.
The mixing technique significantly impacts your anniversary cake’s final texture and appearance. Alternating between dry ingredients and wet ingredients prevents overmixing while ensuring even distribution. Furthermore, gently folding in any additional elements like chocolate chips or fruit preserves maintains the cake’s tender crumb structure while adding those special touches that make your celebration unique.
Anniversary Cake Decoration and Presentation
Romantic Decoration Techniques
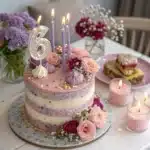
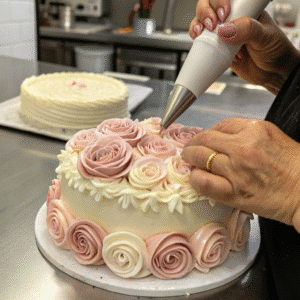
Anniversary cake decoration transforms a simple dessert into a stunning centerpiece that captures the essence of your celebration. Fresh flowers, particularly roses, create timeless elegance while edible gold accents add luxury and sophistication. Additionally, heart-shaped decorations, whether made from fondant or chocolate, immediately communicate the romantic nature of the occasion.
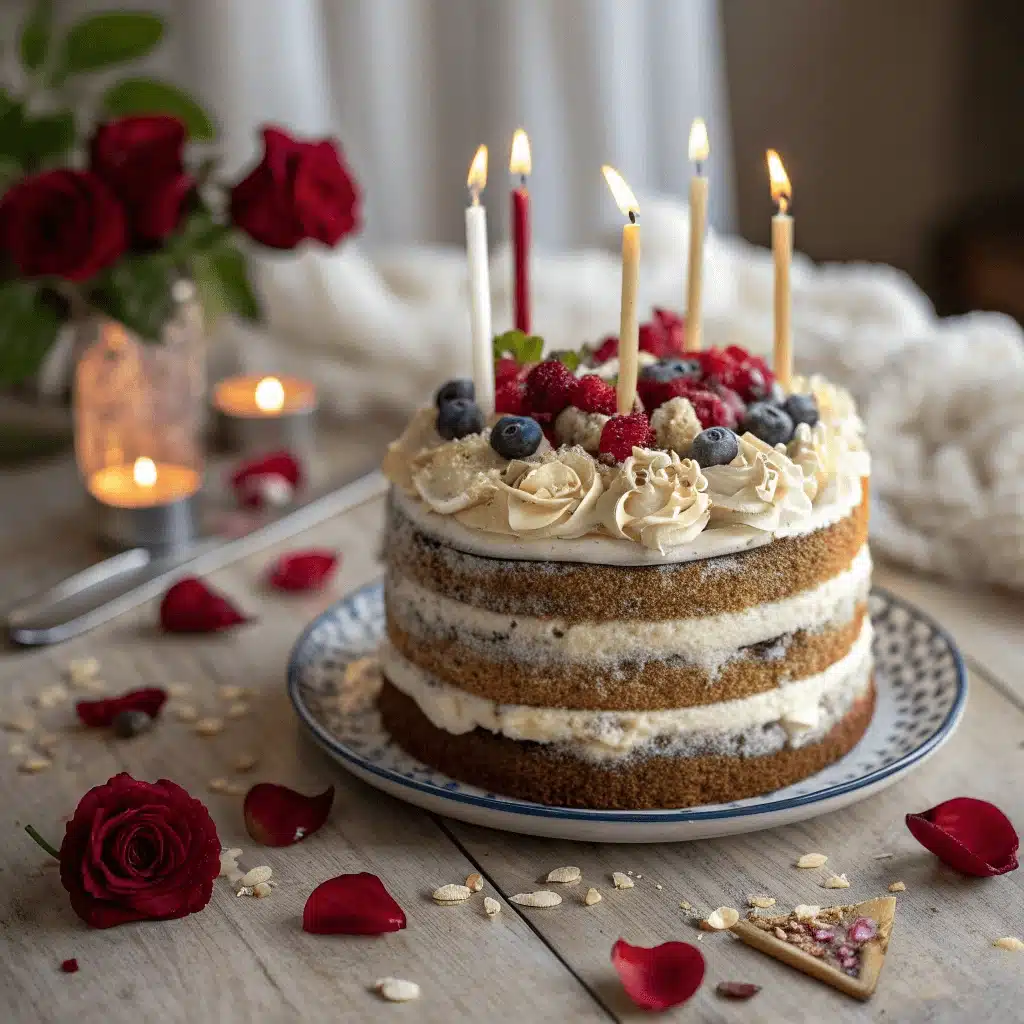
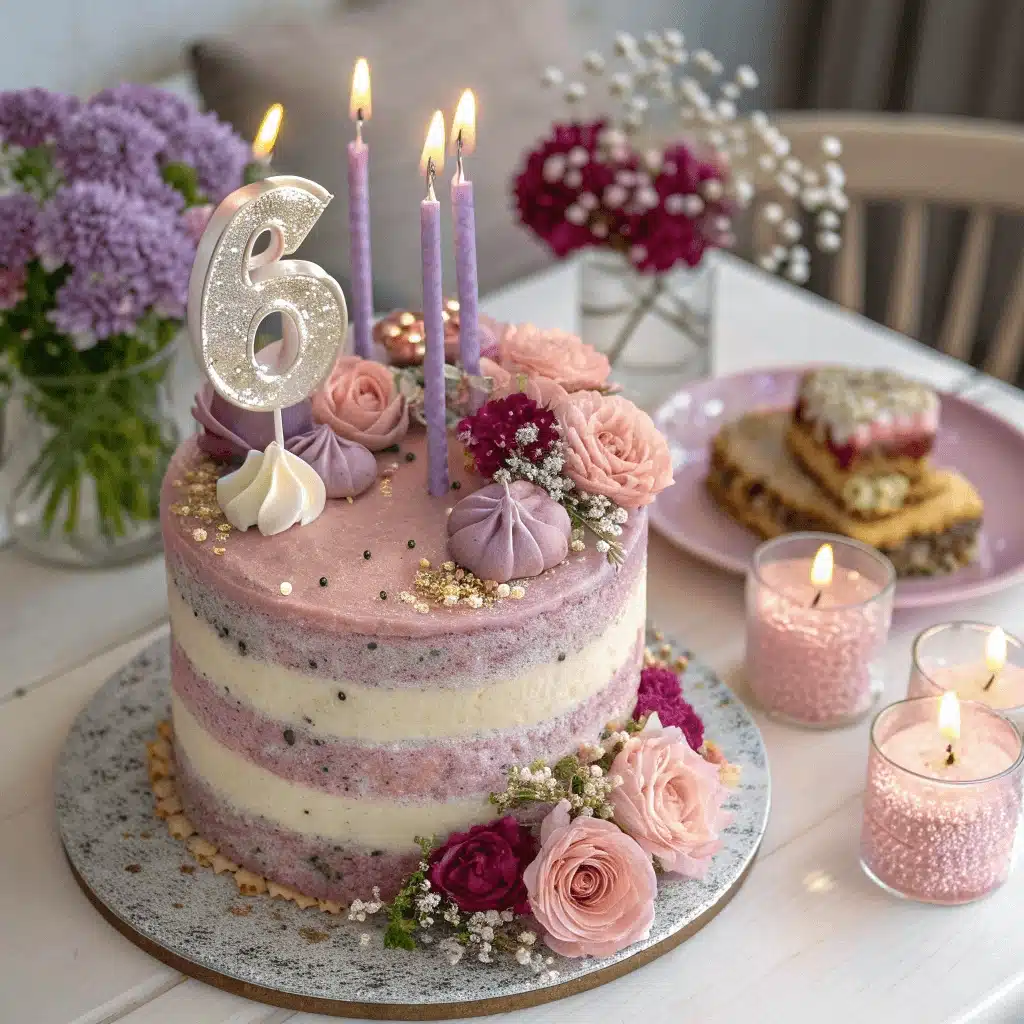
Color selection plays a crucial role in creating the right mood for your anniversary cake. Soft pastels like blush pink and lavender evoke romance and tenderness, while bold colors like deep red or rich purple make dramatic statements. Moreover, monochromatic designs in white and gold create sophisticated elegance that works beautifully for milestone anniversaries.
Professional Finishing Touches
The final presentation details elevate your cake from homemade to professional quality. Smooth buttercream application using an offset spatula creates that bakery-perfect finish, while piped borders and rosettes add texture and visual interest. Furthermore, strategic placement of decorative elements ensures your cake photographs beautifully and serves as a memorable centerpiece.
Consider incorporating personalized elements that reflect your unique love story. Custom cake toppers featuring your names or wedding date create lasting keepsakes, while flavor combinations that represent meaningful moments add personal significance. Additionally, proper cake storage and transport ensure your anniversary cake arrives at your celebration in perfect condition, ready to create new memories together.
Frequently Asked Questions
Q: What flavor is anniversary cake?
A: Anniversary cake flavors vary widely, but the most popular choices include chocolate, vanilla, red velvet, and strawberry. Chocolate remains the top choice for its rich, indulgent nature that symbolizes deep love, while red velvet’s romantic red color makes it perfect for celebrating love milestones.
Q: What to bake for an anniversary?
Q: Which cake flavour is best for an anniversary celebration?
Conclusion
Creating the perfect anniversary cake brings together culinary skill, personal touches, and the celebration of love in every slice. Whether you choose classic chocolate, romantic red velvet, or any flavor that holds special meaning for your relationship, the key lies in putting your heart into every step of the process. As I’ve learned through years of baking for special occasions, the most important ingredient is always the love you pour into your creation.
Remember that your anniversary cake doesn’t need to be perfect to be meaningful. Furthermore, the memories you create while baking and sharing it together matter far more than professional-level decoration skills. Additionally, each anniversary provides another opportunity to continue this sweet tradition, adapting and growing your cake-making skills just as your relationship continues to flourish.
Article updated 26 June 2025.
For more recipes, visit my Facebook page.