Table of Contents
Table of Contents
Hello Kitty Cake: Sweet Magic for Your Next Celebration
Hi, I’m Alice Thompson, the heart behind Deliciousavors.com. Growing up in Madison, Georgia, my fondest memories are of family and friends gathered in our kitchen, sharing laughter and good food. I’ve always believed that every dish tells a story, sometimes with a side of burnt biscuits! After years exploring Southern kitchens and picking up flavors from roadside diners, I love putting a creative twist on classic recipes. Here, you’ll find approachable, flavorful dishes and honest stories. No matter your skill level, I’m cheering you on. So pour some sweet tea, pull up a chair, and let’s make something wonderful together.
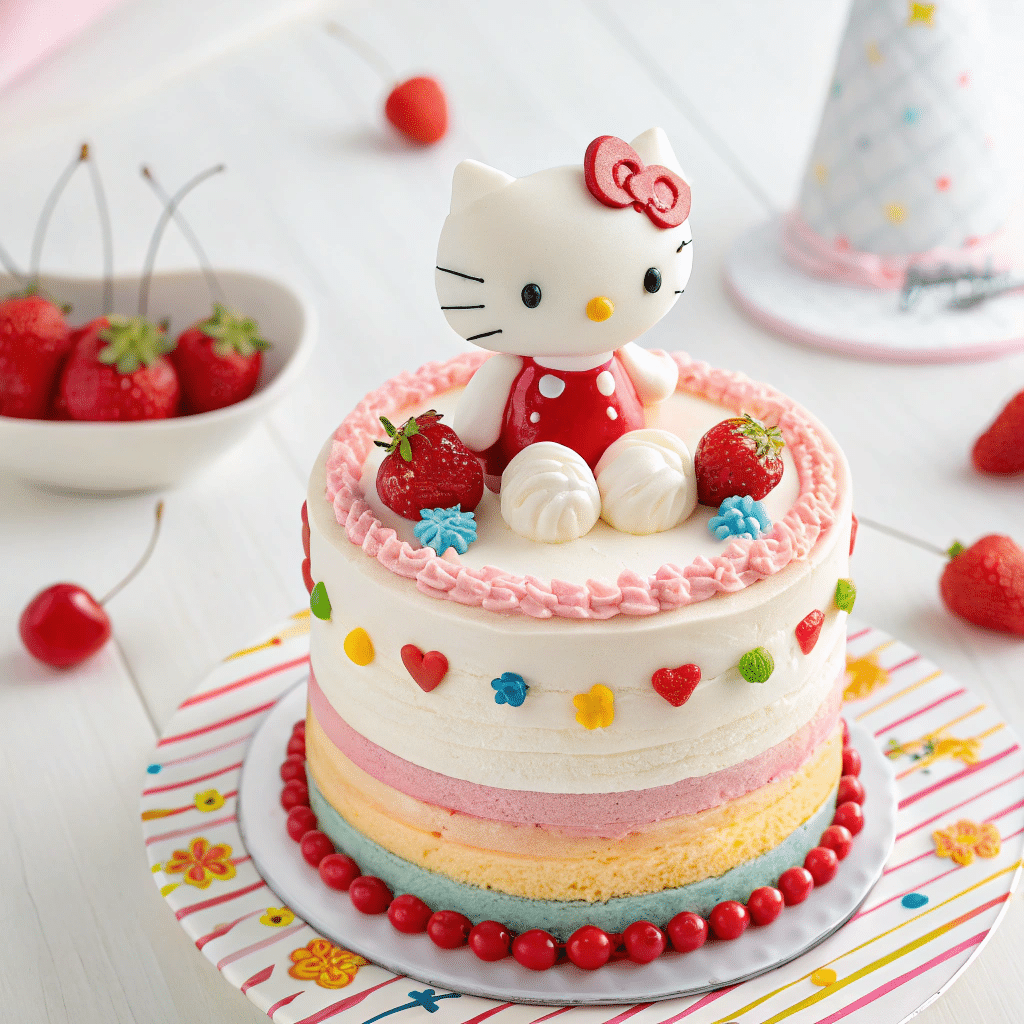
There’s nothing quite like the sparkle in a child’s eyes when they see their favorite character come to life on a cake. Yesterday, my niece Emma visited my kitchen in Madison, and she spotted my Hello Kitty cake pan tucked away in the cabinet. “Aunt Alice, can we make Hello Kitty?” she asked with that irresistible excitement only kids possess. That moment took me back to my own childhood, where Hello Kitty was everywhere – lunchboxes, backpacks, and yes, birthday cakes. Making a Hello Kitty cake isn’t just about baking; it’s about creating pure joy and magical memories. Whether you’re celebrating a birthday, special occasion, or just want to bring some sweetness to your day, this Hello Kitty cake will steal everyone’s heart.
PrintHello Kitty Cake: 5 Sweet Ideas for a Magical Celebration
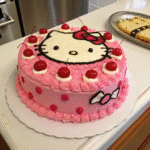
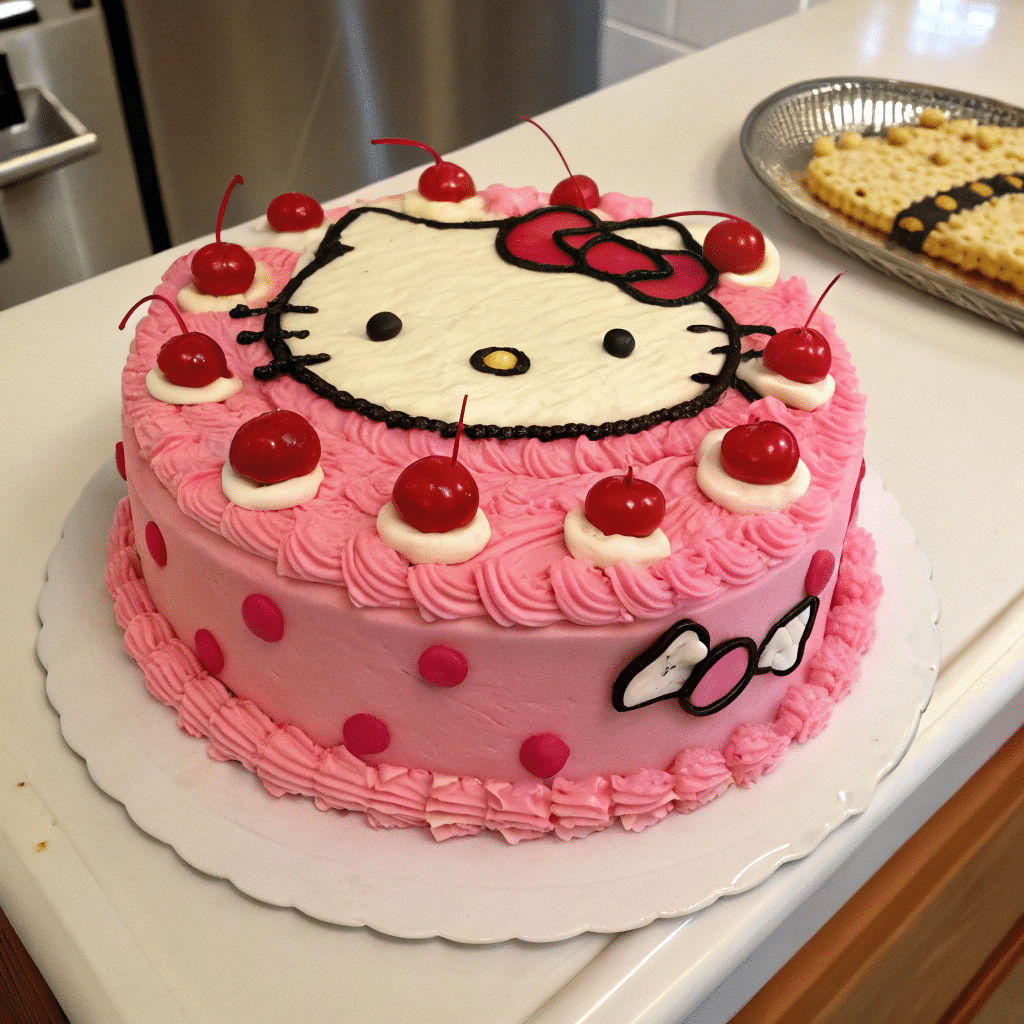
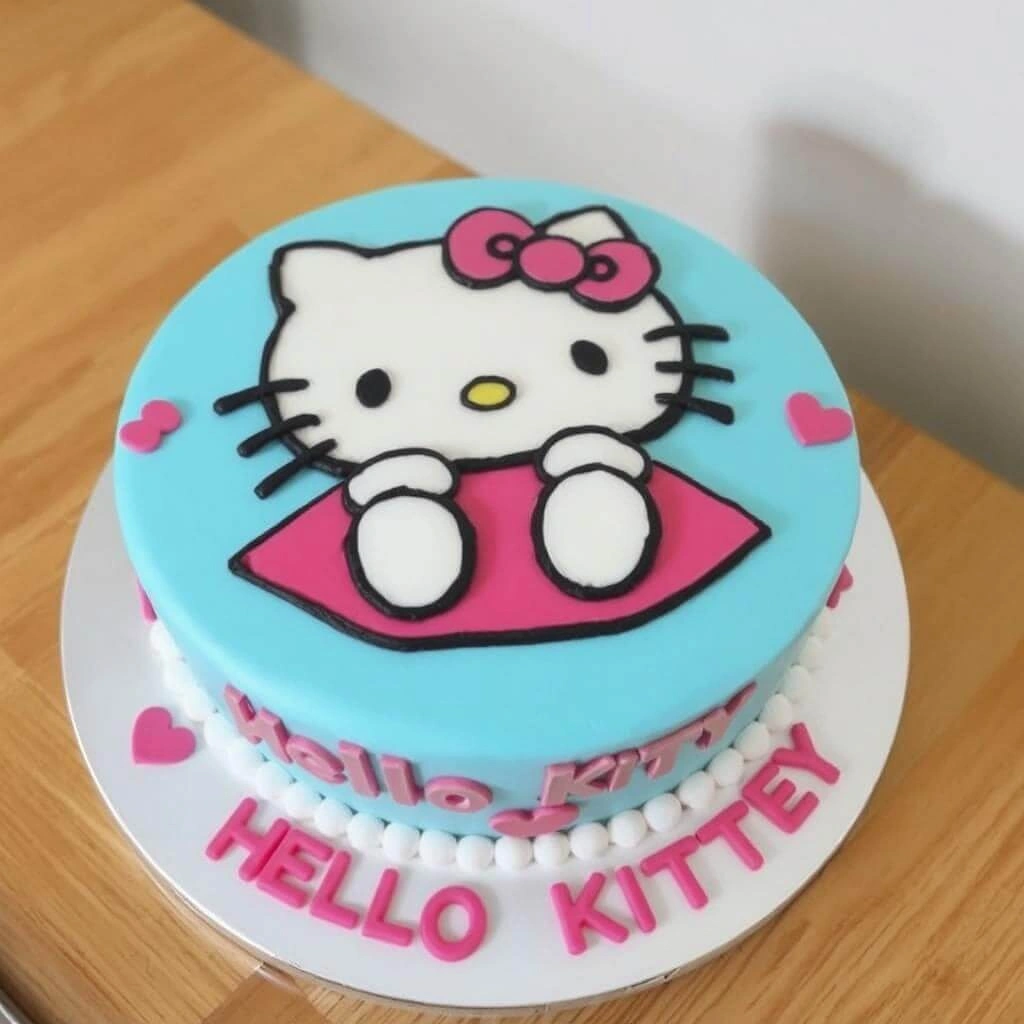
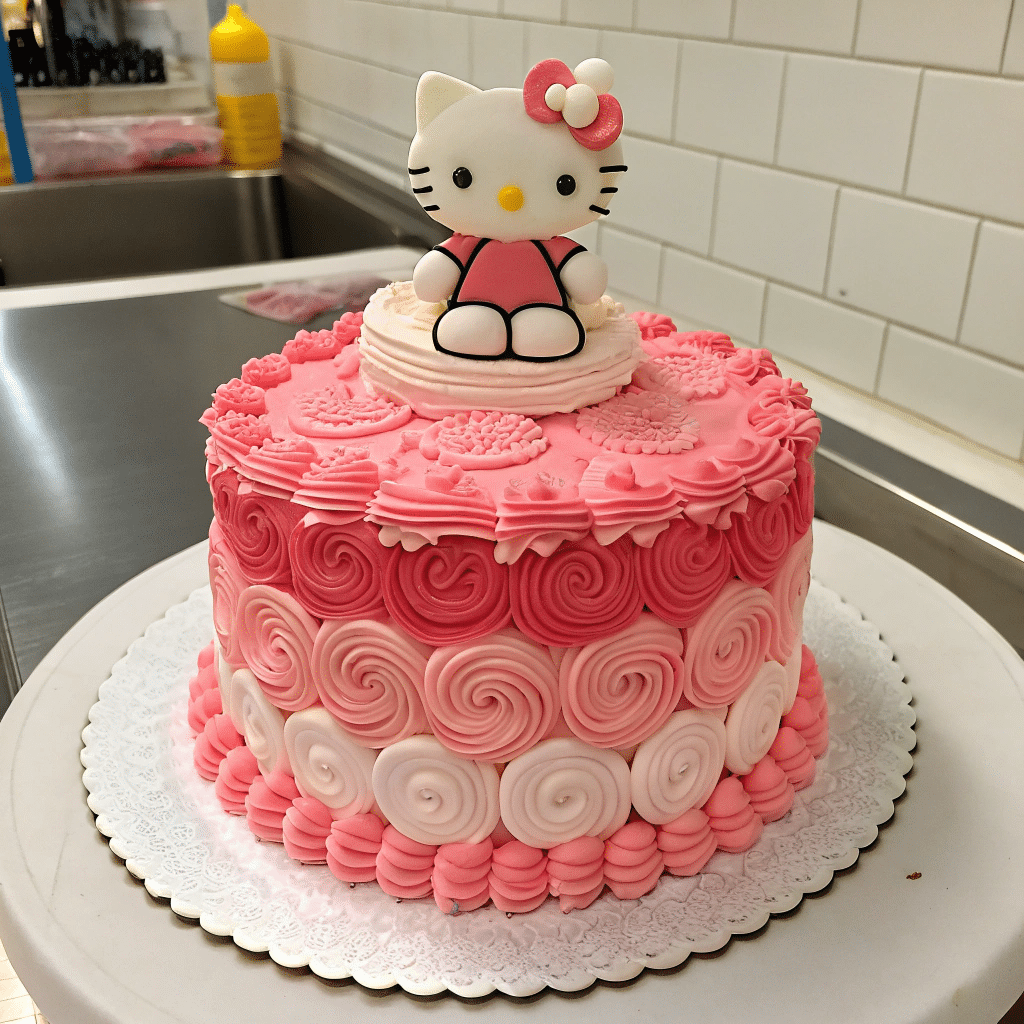
Create a magical Hello Kitty cake perfect for birthdays and special celebrations. This adorable cake features Hello Kitty’s signature pink bow and sweet facial features.
- Prep Time: PT0H30M
- Cook Time: PT0H45M
- Total Time: PT3H0M
- Yield: 12
- Category: Dessert
- Method: Baking
- Cuisine: American
- Diet: Vegetarian
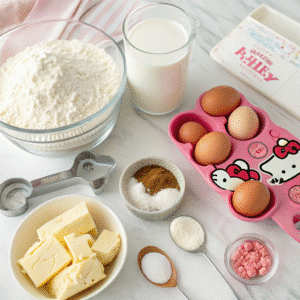
Ingredients
2 1/2 cups cake flour
1 3/4 cups granulated sugar
1/2 cup unsalted butter, room temperature
3 large eggs
1 cup buttermilk
2 teaspoons vanilla extract
2 teaspoons baking powder
1/2 teaspoon salt
Pink food coloring
4 cups buttercream frosting
Black candy for eyes
Yellow candy for nose
Black licorice for whiskers
Instructions
Step 1: Preheat oven to 350°F and grease Hello Kitty cake pan
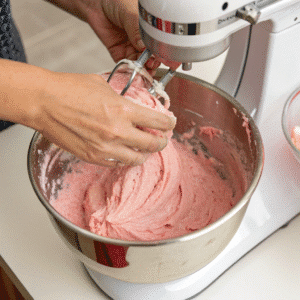
Step 2: Cream butter and sugar until light and fluffy, about 5 minutes
Step 3: Add eggs one at a time, then vanilla extract
Step 4: Alternate adding flour mixture and buttermilk, beginning and ending with flour
Step 5: Add pink food coloring to achieve desired color
Step 6: Pour into prepared pan and bake 40-45 minutes
Step 7: Cool completely before removing from pan
Step 8: Apply thin crumb coat of white buttercream and refrigerate 30 minutes
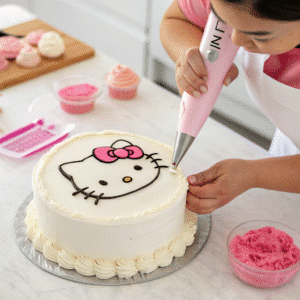
Step 9: Decorate with remaining buttercream using star tip for texture
Step 10: Add black candies for eyes, yellow candy for nose
Step 11: Place thin licorice pieces for whiskers
Step 12: Create pink bow using piped buttercream or fondant
Notes
Use room temperature ingredients for best results
Freeze cake 30 minutes before cutting to reduce crumbs
Store decorated cake in refrigerator up to 3 days
Bring to room temperature 30 minutes before serving
The Sweet Story Behind Hello Kitty Cakes
Creating the perfect Hello Kitty cake starts with understanding what makes this beloved character so special. The iconic white cat with her signature pink bow has captured hearts worldwide since 1974. Most importantly, the beauty of a Hello Kitty cake lies in its simplicity – you don’t need professional decorating skills to create something magical.
Why Hello Kitty Cakes Are Perfect for Any Celebration
Additionally, Hello Kitty cakes work wonderfully for various occasions because they appeal to both children and adults. Furthermore, these cakes offer incredible versatility in design options. Meanwhile, you can customize everything from the cake flavor to the decorating style. Consequently, whether you’re planning a small family gathering or a larger celebration, a Hello Kitty cake becomes the perfect centerpiece.
Essential Tools and Ingredients for Success
First, let’s gather the essential tools that will make your Hello Kitty cake creation smooth and enjoyable. Moreover, having the right equipment ensures professional-looking results. Similarly, quality ingredients make all the difference in both taste and appearance. Therefore, here’s what you’ll need to create your masterpiece.
| Essential Tools | Key Ingredients |
|---|---|
| Hello Kitty cake pan or template | Cake flour for soft texture |
| Piping bags and star tips | Unsalted butter, room temperature |
| Food coloring (pink, black, yellow) | Pure vanilla extract |
| Offset spatula for smooth frosting | Fresh strawberries for pink color |
Baking the Perfect Hello Kitty Cake Base
Now, let’s talk about creating that tender, flavorful cake that serves as your Hello Kitty masterpiece’s foundation. Additionally, the right technique ensures your cake holds its shape during decorating. Furthermore, proper preparation prevents common baking mishaps that could affect your final design.
Choosing Your Hello Kitty Cake Flavor
First, consider what flavors will complement your Hello Kitty design perfectly. Moreover, vanilla cake provides the ideal neutral base for creative decorating. Similarly, strawberry cake adds natural pink color that matches Hello Kitty’s aesthetic beautifully. However, chocolate cake can work wonderfully too, especially when you’re creating contrast with white buttercream. Check out our anniversary cake and princess cake recipes for additional flavor inspiration.
Step-by-Step Baking Instructions
Next, let’s walk through the baking process that guarantees perfect results every time. Meanwhile, proper mixing technique creates the light, fluffy texture that makes Hello Kitty cakes irresistible. Therefore, follow these steps carefully for the best outcome. Additionally, timing plays a crucial role in achieving that perfect crumb structure.
Begin by preheating your oven to 350°F and thoroughly greasing your Hello Kitty pan or preparing your template. Subsequently, cream butter and sugar until light and fluffy, which takes about 4-5 minutes. Then, add eggs one at a time, beating well after each addition. Finally, alternate adding flour and buttermilk, beginning and ending with flour.
Decorating Your Hello Kitty Creation
Creating Hello Kitty’s adorable features requires patience and the right techniques. However, don’t worry if you’re a beginner – these methods work for bakers of all skill levels. Moreover, the key lies in planning your design before you start decorating. For more cake decorating inspiration, browse our wedding cakes and barbie cake design collections.
Mastering Hello Kitty’s Signature Features
First, let’s focus on creating Hello Kitty’s most recognizable elements – her eyes, nose, and whiskers. Additionally, the placement of these features determines whether your cake looks professionally made. Furthermore, using the right tools makes this process much easier than you might expect. Meanwhile, small details make the biggest impact on your final result.
Start with Hello Kitty’s eyes by placing two small black candies or piping black dots symmetrically on the face. Next, create her signature yellow nose using a small oval candy or piped buttercream. Then, add six whiskers using thin black licorice pieces or piped lines. Finally, ensure all features are properly aligned before moving to the bow.
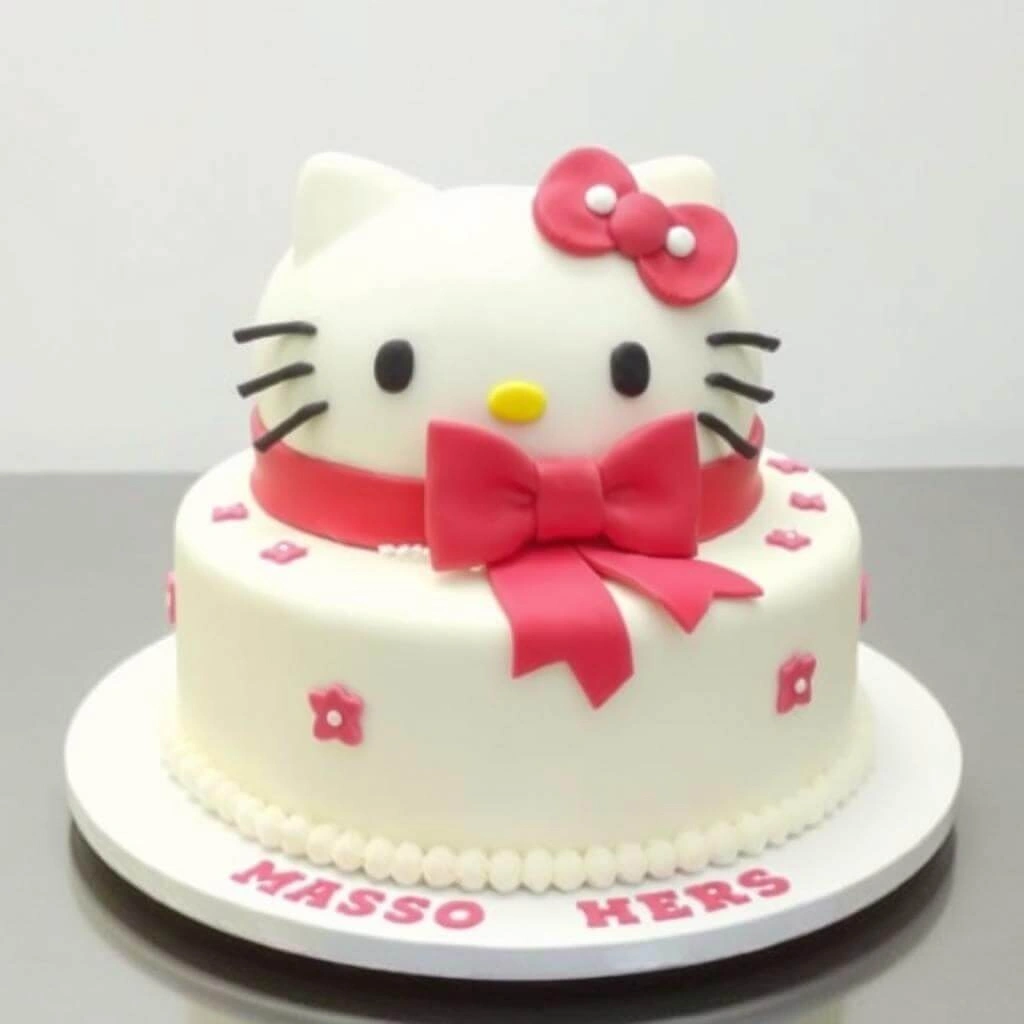
Creating the Perfect Pink Bow
Moreover, Hello Kitty’s bow serves as the crowning glory of your cake design. Additionally, there are several techniques you can use depending on your skill level and available materials. Furthermore, the bow’s size should be proportional to your cake’s dimensions. Therefore, let’s explore different methods for bow creation.
You can create the bow using pink fondant rolled and cut into bow shapes, or pipe it directly with pink buttercream using a star tip. Alternatively, use red Fruit by the Foot candy for a simple yet effective bow design. Finally, add texture and dimension by creating folds and shadows with slightly darker pink frosting.
Serving and Storing Your Hello Kitty Masterpiece
Finally, let’s discuss how to properly serve and store your Hello Kitty cake to maintain its beauty and freshness. Additionally, proper handling ensures your decorated features stay intact during serving. Moreover, storage techniques help preserve both appearance and taste for days. Complement your Hello Kitty cake with our ice cream cake or strawberry shortcake ice cream for an extra special treat.
Best Practices for Serving Your Creation
First, use a sharp, clean knife for clean cuts that don’t disturb your decorative elements. Additionally, wipe the knife between cuts to maintain neat slice edges. Furthermore, consider the cake’s size when determining portion sizes for your guests. Meanwhile, photographing your cake before cutting preserves the memory of your beautiful creation.
Remove the cake from refrigeration 30 minutes before serving to allow optimal flavor development. Subsequently, cut with a gentle sawing motion rather than pressing down hard. Then, use a cake server to transfer slices without damaging the frosting. Finally, arrange slices on individual plates for the most appealing presentation.
Storage Tips for Maximum Freshness
Moreover, proper storage extends your Hello Kitty cake’s life while maintaining its decorated appearance. Additionally, different storage methods work better for different types of frosting and decorations. Furthermore, understanding these techniques helps you plan ahead for special events. Therefore, choose the storage method that best suits your specific cake and timeline.
Store decorated cakes in the refrigerator for up to three days, covered loosely with plastic wrap to avoid disturbing decorations. Alternatively, freeze undecorated cake layers for up to three months, wrapping tightly in plastic wrap and aluminum foil. Finally, bring refrigerated cakes to room temperature before serving for the best flavor and texture. For more dessert storage tips, check out our protein brownies and frosted cookies guides.
Frequently Asked Questions
Q: Does Walmart make Hello Kitty cakes?
Q: Does Sam’s Club have Hello Kitty cake?
Q: What happens if you serve 1000 customers in Hello Kitty Cafe?
Conclusion
Creating a Hello Kitty cake brings together the joy of baking with the magic of childhood memories. Throughout this journey, we’ve learned that success comes from proper preparation, patience with decorating, and most importantly, having fun with the process. Whether you’re making this cake for a birthday party, special celebration, or just because someone loves Hello Kitty, the smiles it creates make every step worthwhile. The techniques we’ve covered work for bakers of all skill levels, so don’t be afraid to try something new. Remember, even if your Hello Kitty doesn’t look perfect, the love and effort you put into making it will shine through. Most importantly, take photos of your creation and enjoy sharing this sweet masterpiece with the people you care about most.
Article updated 26 June 2025.
For more recipes, visit my Facebook page.