Table of Contents
Table of Contents
Homemade Baskin Robbins Ice Cream Cake: The Ultimate Birthday Treat
Hi, I’m Alice Thompson, the heart behind Deliciousavors.com. Growing up in Madison, Georgia, my fondest memories are of family and friends gathered in our kitchen, sharing laughter and good food. After years of exploring Southern kitchens and picking up flavors from roadside diners, I love putting a creative twist on classic recipes. Here, you’ll find approachable, flavorful dishes and honest stories. No matter your skill level, I’m cheering you on.
I still remember the first time I attempted to recreate one of those iconic Baskin Robbins ice cream cake at home. It was for my daughter’s seventh birthday, and she’d been begging for one of those gorgeous pink and white masterpieces she’d seen at the store. As I stood in my Madison kitchen that summer afternoon, surrounded by softened ice cream and melting frosting, I thought I’d bitten off more than I could chew! However, after plenty of trial and error, I discovered that making a homemade Baskin Robbins ice cream cake isn’t just possible, it’s actually quite rewarding. The secret lies in understanding the layering technique and having the patience to let each component freeze properly.
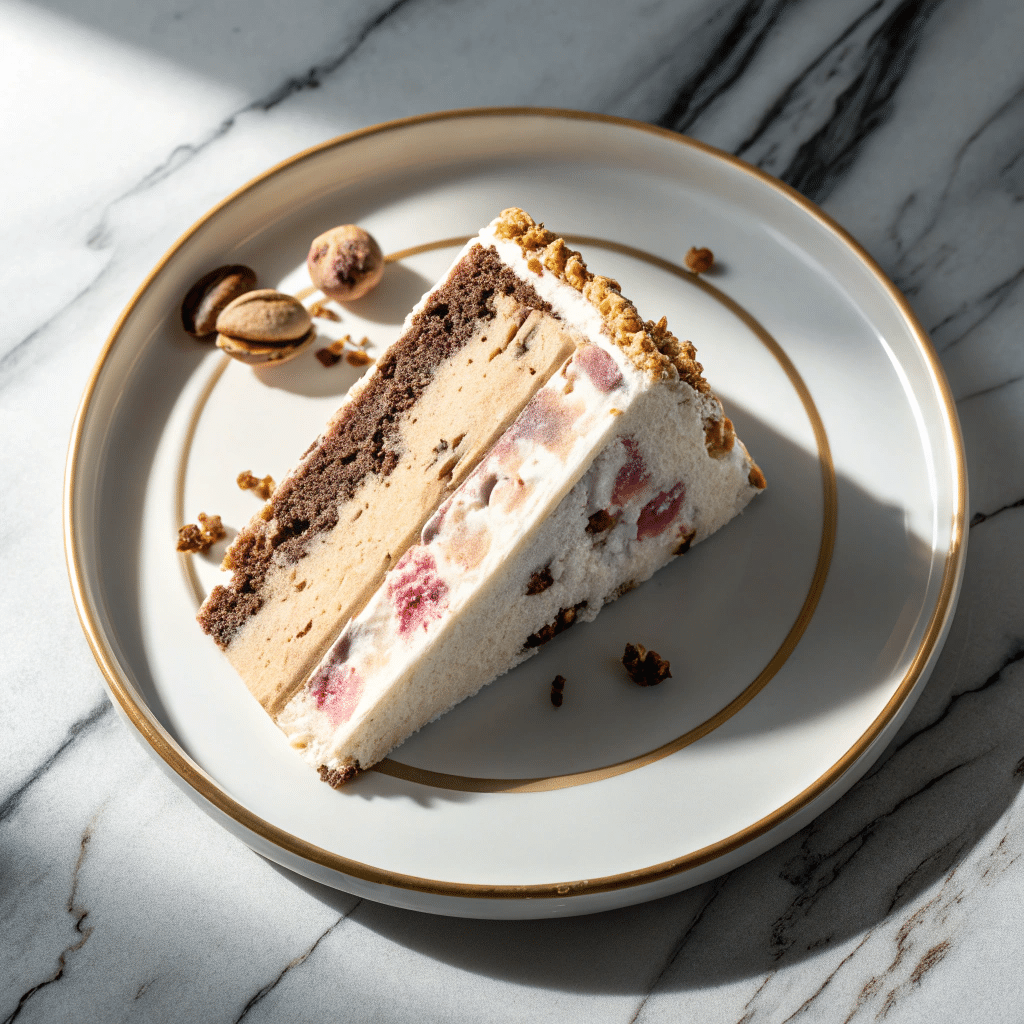
Creating your own Baskin Robbins ice cream cake brings together the best of both worlds: the satisfaction of homemade baking and the show-stopping appeal of a professional dessert. What makes this treat so special is the combination of moist cake layers, creamy ice cream, and that signature fudge crunch layer that Baskin Robbins is famous for. When you slice through a perfectly assembled ice cream cake, you’ll see beautiful layers that tell a story of careful construction and love.
Print7 Amazing Baskin Robbins Ice Cream Cake Secrets Revealed

This homemade Baskin Robbins ice cream cake features layers of moist cake, creamy ice cream, and a signature fudge crunch layer, all topped with smooth frosting for the perfect celebration dessert.
- Prep Time: PT0H30M
- Cook Time: PT0H40M
- Total Time: PT6H0M
- Yield: 12 servings
- Category: Dessert
- Method: Freezing
- Cuisine: American
- Diet: Vegetarian
Ingredients
1 box white cake mix
1 1/4 cups water
1/3 cup vegetable oil
3 egg whites
1 tsp vanilla extract
1.5 quart vanilla ice cream
1.5 quart chocolate ice cream
1 cup chocolate sandwich cookies, crushed
1/2 cup hot fudge sauce
2 containers white frosting
Food coloring (optional)
Decorative sprinkles
Instructions
Step 1: Prepare cake according to package directions and bake in 9-inch round pan. Cool completely.
Step 2: Line springform pan with plastic wrap and spread softened chocolate ice cream evenly. Freeze 2 hours.
Step 3: Mix crushed cookies with hot fudge sauce to create crunch layer. Spread over ice cream and freeze 1 hour.
Step 4: Add vanilla ice cream layer and freeze another 2 hours until firm.
Step 5: Place cooled cake on top of ice cream layers and freeze overnight.
Step 6: Remove from pan and frost with softened vanilla ice cream, then decorative frosting.
Step 7: Freeze final cake for 2 hours before serving. Thaw 30 minutes before cutting.
Notes
Use springform pan for easy removal
Soften ice cream 10-15 minutes before spreading
Work quickly to prevent melting
Store covered up to 2 weeks in freezer
Essential Tools and Techniques for Perfect Results
Choosing the Right Equipment for Assembly
Success with a Baskin Robbins ice cream cake heavily depends on having the proper equipment. A springform pan is absolutely essential for easy removal and clean presentation. The removable bottom and adjustable sides allow you to unmold the finished cake without damaging the delicate layers. For best results, use a 9-inch springform pan which provides the perfect size for most celebrations.
Additionally, you’ll need offset spatulas for smooth spreading, a sharp serrated knife for clean cuts, and plenty of plastic wrap for protecting your creation during the freezing process. Having a large freezer space is crucial, as the cake needs several hours between each layer to properly set.
Mastering the Freezing and Thawing Process
The freezing timeline is critical for achieving professional-looking results. Each layer should be frozen for at least one to two hours before adding the next component. This prevents the layers from bleeding into each other and maintains clean, distinct sections. The final assembled cake requires a minimum of four to six hours of freezing time before it’s ready for the final frosting layer.
When it comes time to serve your homemade Baskin Robbins ice cream cake, proper thawing is essential for both texture and ease of cutting. Remove the cake from the freezer and place it in the refrigerator for 30 to 45 minutes before serving. This allows the cake to soften just enough for clean slicing while maintaining the integrity of the frozen layers.
Creative Variations and Flavor Combinations
Exploring Beyond Traditional Flavors
While classic Baskin Robbins ice cream cake flavors like pralines and cream with vanilla cake remain popular, homemade versions offer unlimited creative possibilities. Consider seasonal combinations like pumpkin spice cake with cinnamon ice cream for fall celebrations, or lemon cake with raspberry and vanilla ice cream for summer birthdays.
The beauty of making your own version lies in customizing flavors to match personal preferences or dietary needs. You can easily substitute gluten-free cake mixes, dairy-free ice creams, or create sugar-free versions using appropriate substitutions. Popular modern combinations include cookies and cream cake with mint chocolate chip ice cream, or red velvet cake with cream cheese and chocolate ice cream layers.
Decorating Techniques for Stunning Presentation
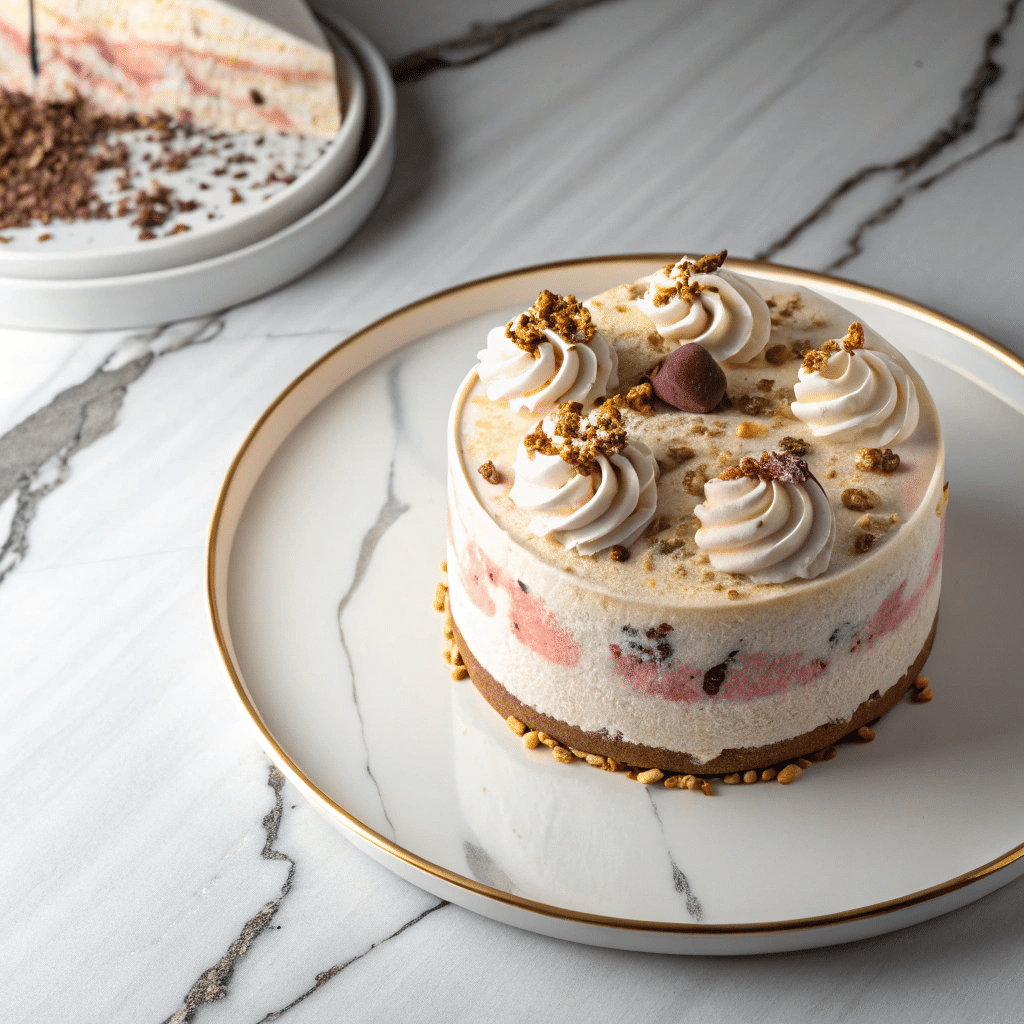
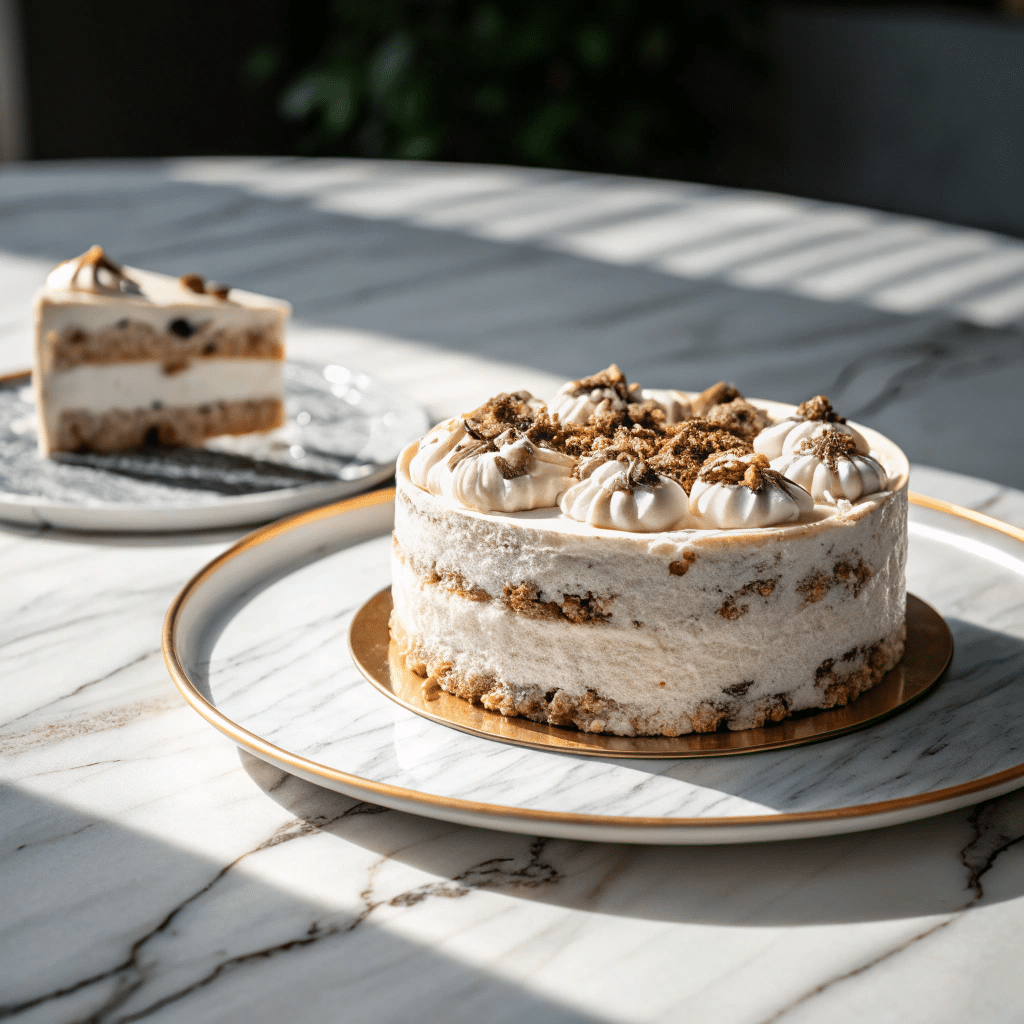
The final decoration transforms your homemade creation into a true showstopper that rivals store-bought versions. The traditional approach uses softened vanilla ice cream as the base “frosting,” spread smooth over the entire surface and then re-frozen before adding decorative elements. This creates that signature white coating that serves as a canvas for colorful decorations.
For the classic Baskin Robbins Ice Cream Cake look, use colored frosting to pipe borders, rosettes, and personalized messages. Many home bakers find success using stabilized whipped cream tinted with gel food coloring, which provides easier piping and a lighter texture than traditional buttercream. Don’t forget the finishing touches like colorful sprinkles, chocolate chips, or even fresh fruit that complement your chosen flavor combination.
Storage, Serving, and Cost Benefits
Maximizing Freshness and Quality
Proper storage ensures your homemade Baskin Robbins ice cream cake maintains optimal quality and taste. Wrap the finished cake tightly in plastic wrap, then cover with aluminum foil to prevent freezer burn. When stored properly, ice cream cakes can maintain quality for up to two weeks in the freezer, though they’re best enjoyed within the first week for peak flavor and texture.
Label your creation with the date and flavors for easy identification, especially if you’re making multiple cakes for different occasions. For longer storage, consider individually wrapping slices after the initial cutting, which allows for portion control and reduces waste.
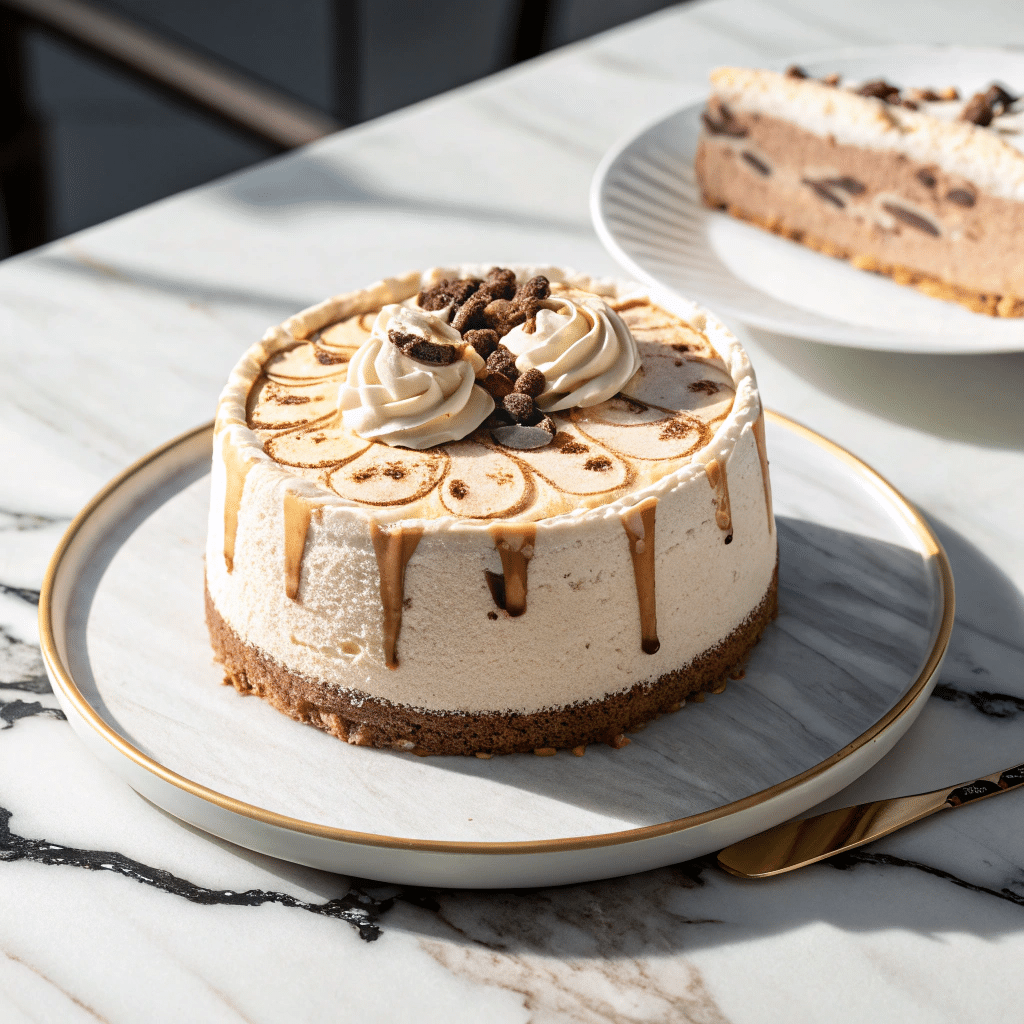
Economic Advantages of Homemade Ice Cream Cakes
Creating a Baskin Robbins ice cream cake at home offers significant cost savings compared to purchasing from the store. While a commercial 6-inch round cake can cost between $25-$30, and larger sizes range up to $60 or more, homemade versions typically cost less than half that amount. The savings become even more substantial for larger celebrations where multiple cakes might be needed.
Beyond the financial benefits, homemade versions allow complete control over ingredient quality and dietary accommodations. You can choose organic ingredients, reduce sugar content, or create allergen-free versions that might not be available commercially. The satisfaction of creating a beautiful, delicious dessert from scratch, combined with the joy on celebrants’ faces, makes the effort worthwhile for any special occasion.
Frequently Asked Questions
Q: Does Baskin-Robbins sell ice cream cake?
A: Yes, Baskin-Robbins offers a wide variety of ice cream cakes in multiple sizes and designs. Their cakes can be customized with different ice cream flavors, cake types, and decorative themes for various occasions.
Q: Does Baskin-Robbins ice cream cake need to thaw?
Q: How much is a Baskin-Robbins Oreo ice cream cake?
Conclusion
Creating a homemade Baskin Robbins ice cream cake transforms any ordinary celebration into an extraordinary memory. The process might seem daunting at first, but with proper planning, quality ingredients, and patience for the freezing process, you’ll achieve professional-looking results that taste even better than the original. The combination of moist cake layers, creamy ice cream, that signature fudge crunch, and beautiful decorations creates a dessert that’s truly worthy of special occasions.
From my own kitchen adventures to yours, I encourage you to embrace the creativity and satisfaction that comes with making this iconic treat from scratch. Whether you’re celebrating a birthday, graduation, or simply want to surprise someone special, a homemade Baskin Robbins ice cream cake delivers both visual impact and delicious flavor that will have everyone asking for seconds.
Article updated 27 June 2025.
For more recipes, visit my Facebook page.