
Table of Contents
Table of Contents
Hi! I’m Alice Thompson from Deliciousavors.com. I grew up in Georgia where Apple Crumble was our go-to dessert for gatherings, holiday dinners, or just a simple Sunday supper. My recipe uses fresh apples tossed with cinnamon under a crisp, buttery topping you can mix by hand in minutes. It’s easy, nostalgic, and never fails to impress guests.
This heartwarming treat brings distant family close and turns even a regular meal into a celebration. If you love classic, approachable baking with a sprinkle of sweet Southern charm, give this Apple Crumble a try and add your own twist!
Apple Crumble holds a special place in my kitchen stories. Every bite brings back warm childhood moments from Madison, where the scent of apples and cinnamon meant guests were about to fill the table with laughter.
When the weather turned cooler, we’d gather around for homemade desserts, sharing jokes as someone always snuck that first spoonful of crumble topping. After years of collecting family secrets and learning from roadside diner cooks across the South, I discovered that the best Apple Crumble isn’t just about the fruit – it’s about honest, simple ingredients and a good balance of texture.
Some days, that meant a little improvisation, maybe swapping in peaches if apples were scarce, or slipping in a pinch of ginger for a brighter bite. Here at Deliciousavors, my goal is to offer you real, approachable recipes like this Apple Crumble, rooted in tradition yet easy enough for any skill level. Grab your apron and let’s get into a batch that tastes just like home.
PrintApple Crumble: Best Simple Comfort Dessert (Top 5 Tips)
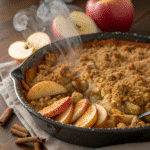
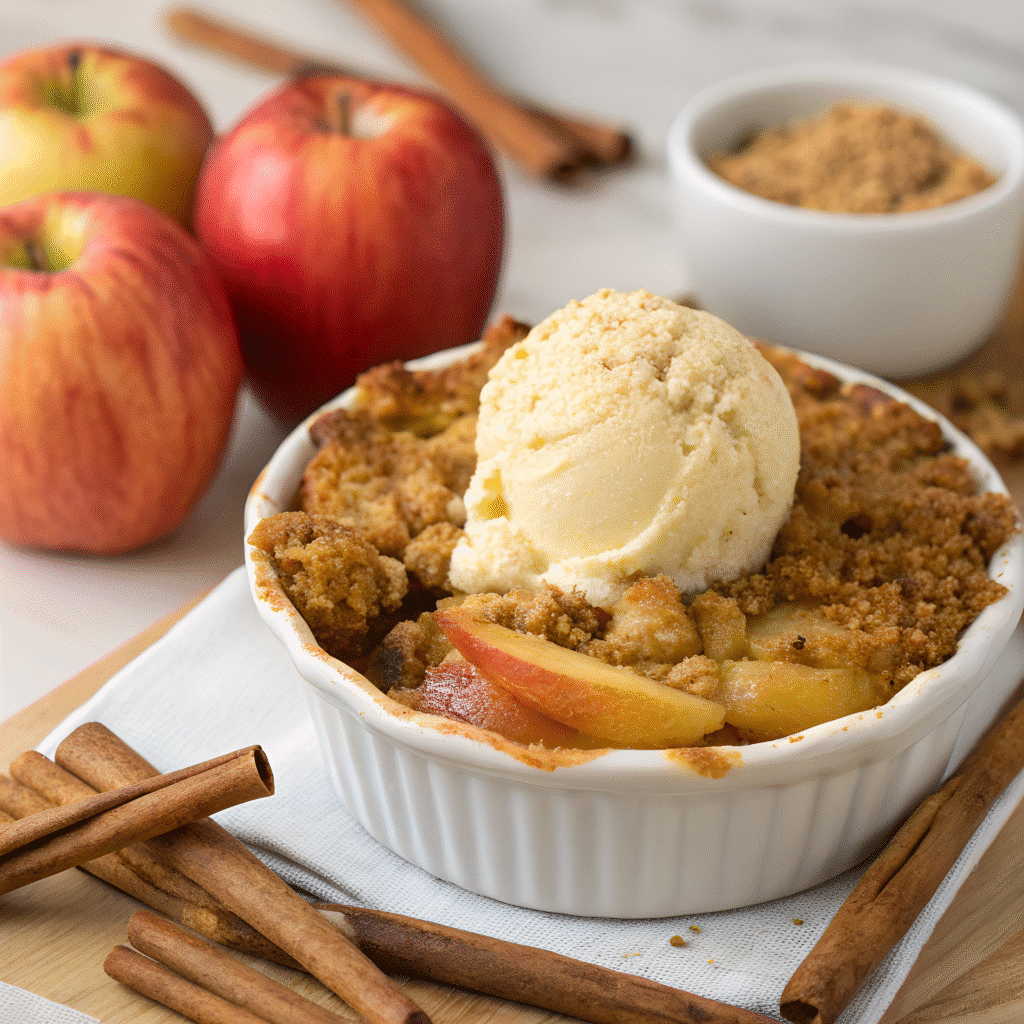
Classic Apple Crumble with cinnamon apples and a crumbly, golden topping. Comforting, easy, and a family favorite.
- Prep Time: PT0H15M
- Cook Time: PT0H40M
- Total Time: PT0H55M
- Yield: 6 servings
- Category: Dessert
- Method: Baking
- Cuisine: American
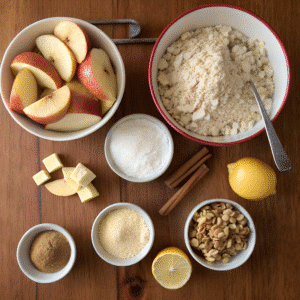
Ingredients
6 medium apples, peeled and sliced
3/4 cup packed light brown sugar (divided)
1 tbsp lemon juice
1 tsp cinnamon (divided)
2 tbsp all-purpose flour
1 cup all-purpose flour (for topping)
8 tbsp cold unsalted butter, cubed
1/2 tsp salt
1/2 cup rolled oats (optional)
Instructions
Step 1: Preheat oven to 375°F (190°C). Grease an 8-inch baking dish.
Step 2: In a large bowl, toss apples with 1/4 cup brown sugar, lemon juice, 1/2 tsp cinnamon, and 2 tbsp flour. Spread evenly in dish.
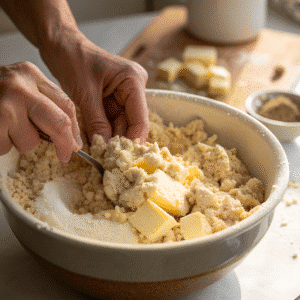
Step 3: In another bowl, mix 1 cup flour, 1/2 cup brown sugar, remaining 1/2 tsp cinnamon, salt, and oats. Add butter and rub in until mixture forms crumbs.
Step 4: Scatter topping over apples without pressing.
Step 5: Bake for 35¬40 minutes until topping is golden and apples are bubbling.
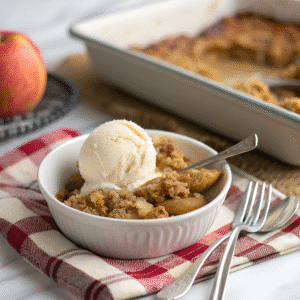
Step 6: Cool at least 10 minutes before serving. Serve warm, optionally with ice cream.
Notes
Mix tart and sweet apples for best flavor.
Make the crumb topping in advance and freeze.
Add chopped nuts for extra crunch.
What Makes a Good Apple Crumble
Choosing Apples for Texture and Flavor
For the best Apple Crumble, pick apples that can hold their shape and provide a nice balance of sweetness and tartness. Granny Smith apples are a top choice for their tender bite and tangy flavor, but a mix with Honeycrisp or even Gala gives depth. The right combination ensures you get sweet, slightly sharp filling without mushiness after baking. If you find yourself with an abundance of pears or peaches, you can substitute using the same method adjust sugar to taste for naturally sweet fruit.
Building the Perfect Crumble Topping
The crumble topping makes all the difference in an Apple Crumble. Start by mixing flour, brown sugar, and a pinch of salt, then gently work in cold butter using only your hands. This step creates those irresistible, chunky crumbs that bake crisp but retain just a bit of chew. For a classic touch, stir in a dash of cinnamon and, for added texture, toss in a spoonful of oats or chopped nuts if you wish. Remember: sprinkle the topping lightly over apples never press down or you’ll end up with a dense layer instead of those beautiful peaks.
Here’s a quick look at the traditional elements:
| Key Apple Types | Crumble Topping Additions |
|---|---|
| Granny Smith, Honeycrisp, Gala | Oats, Brown sugar, Cinnamon, Nuts |
How to Make a Simple Apple Crumble at Home
Step-by-Step Apple Crumble Instructions
Begin by preheating your oven to 375°F. Peel, core, and slice about six medium apples into bite-sized chunks. Toss them with lemon juice, a little sugar, a dusting of flour, and ground cinnamon this mixture keeps the apples juicy and fragrant. Spread them evenly in a greased baking dish. In another bowl, whisk together all-purpose flour, light brown sugar, cinnamon, baking powder, and a pinch of salt. Melt unsalted butter, pour it in, and use a fork to bring it to coarse crumbs. Sprinkle the topping over your apples, leaving it fluffy and uneven for extra crunch. Bake for 35–40 minutes until golden and bubbling at the edges.
Tips for Baking and Serving
Let your Apple Crumble cool for at least ten minutes before serving this helps the juices set. Serve warm, ideally with a scoop of vanilla ice cream, a splash of cream, or even simple Greek yogurt. If you’re making individual servings, divide the filling and crumble into ramekins for a charming presentation. Keep any leftovers covered in the fridge, and reheat portions in the oven or microwave for that fresh-baked texture.
Differences Between Apple Crumble & Apple Crisp
Comparing Topping Styles and Ingredients
Apple Crumble and Apple Crisp both showcase the comfort of baked apples underneath a layer of sweet topping, but each has its own identity. The main difference lies in the topping: a classic Apple Crumble uses flour, butter, and sugar for a soft, chunky finish while Apple Crisp often includes oats or nuts, creating a crunchier, more granola-like layer. Some regions refer to them interchangeably, but in most American kitchens, crumbles skip oats, and crisps welcome them.
The Unique Appeal of Crumble
Apple Crumble offers a softer, more tender bite thanks to the buttery, cake-like topping. Many bakers add a touch of ginger or nutmeg for extra warmth. This dessert’s versatility means you can experiment with spice blends, add a few dried cranberries, or tweak sugars based on what’s in your pantry. Whichever route you choose, you’ll find that both versions capture the essence of fall and make an excellent finish to any meal.
Apple Crumble Troubleshooting and Expert Techniques
Do You Need to Cook Apples Before Baking?
Most modern Apple Crumble recipes call for adding raw apples straight to the dish, coated in sugar and flour. This method keeps the fruit slightly firm and prevents a mushy filling. Only use pre-cooking for especially firm apples or if you like a deeply jammy center. Mixing eating apples with tart cooking varieties creates balanced texture. Don’t forget: tossing apples with a bit of flour or cornstarch absorbs extra juices and maintains the right consistency.
Secrets to a Superior Crumble Topping
The most reliable technique for making the topping is using your hands. Rubbing flour and butter (cold, cut into cubes) gives you control over the crumb size compared to a food processor. Add sugar last, followed by any oats or nuts. Never flatten the topping. Instead, scatter it loosely. For more dimension, blend different sugars brown for caramel flavor, demerara for crunch. You can make and freeze extra topping in resealable bags, so a delicious Apple Crumble is always moments away.
Apple Crumble FAQs
What is the secret to a good crumble?
How to make a simple apple crumble?
What is the difference between apple crisp and apple crumble?
Conclusion
Apple Crumble brings together simple ingredients and homey memories for a dessert that always delivers comfort. The secret lies in thoughtful choices: pick the right apples, build a flavorful, crumbly topping, and let it all come together in your oven as the air fills with the scent of cinnamon and sweet fruit. Whether you’re baking for friends, family, or just a cozy night in, this recipe makes any ordinary day feel special with honest flavor, a golden crumb, and the kind of warmth you’ll want to share. Try different spice blends or fruits to make it your own, and let the joy of baking become a tradition in your home.
For more recipes, visit my Facebook page.
Comments are closed.